

How to Clean a Blender – Simple Guide with over 20 Photos
Learning how to clean a blender so it’s always hygienic and ready to use is essential if you own one of these handy machines and will help it have a longer lifespan.

With any cleaning task, knowing the right steps to follow is crucial to saving time and effort. The great news is that blenders are some of the easiest kitchen appliances to clean.
In this guide we are going to show you how to clean a blender after each use, how to clean the base jar and gasket, how to clean a cloudy jar and motor base.
If you own one of the following brands of blenders you can follow our specific guide for it:
How to Clean a Blender – Fast Method
The fast cleaning method is recommended after each time you use your blender. It only takes 30 seconds by following these steps:
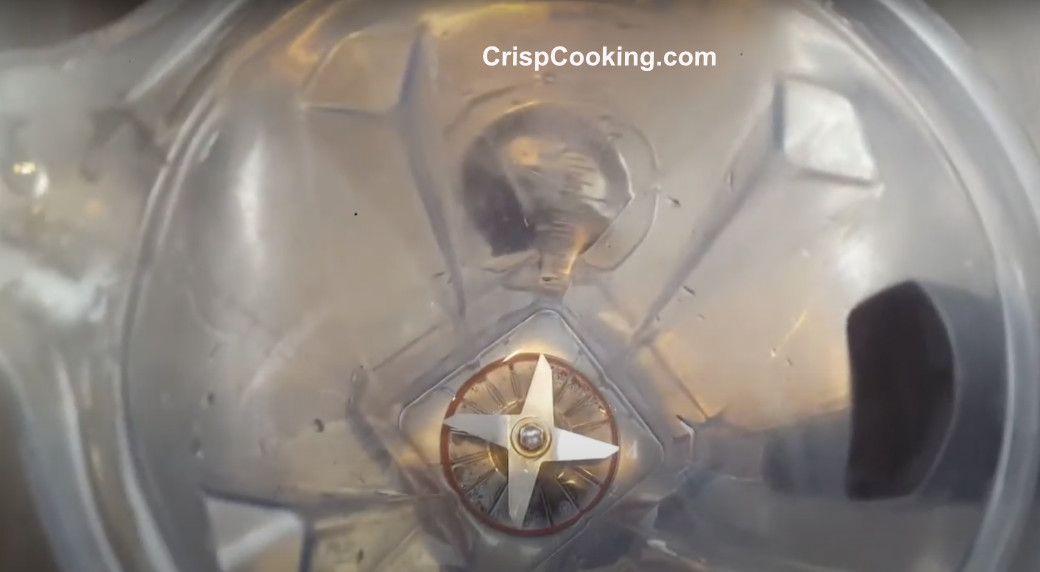
- Rinse the blender jar with warm water inmeditaley after use
- Add a drop of dish soap to the jar
- Fill the jar to half full with warm water
- Put the lid on the jar and run the blender for 30 seconds on low setting
- Dump the dirty water and rinse the jar
- Air dry upside down
How to Clean a Blender Jar Base
This how-to clean a Jar base is an extract of our How to Clean a Black and Decker guide. You can read the complete guide here.
This deep cleaning method is recommended to be done at least once a week if you use your blender daily or once a month if you use your blender once or twice a week.
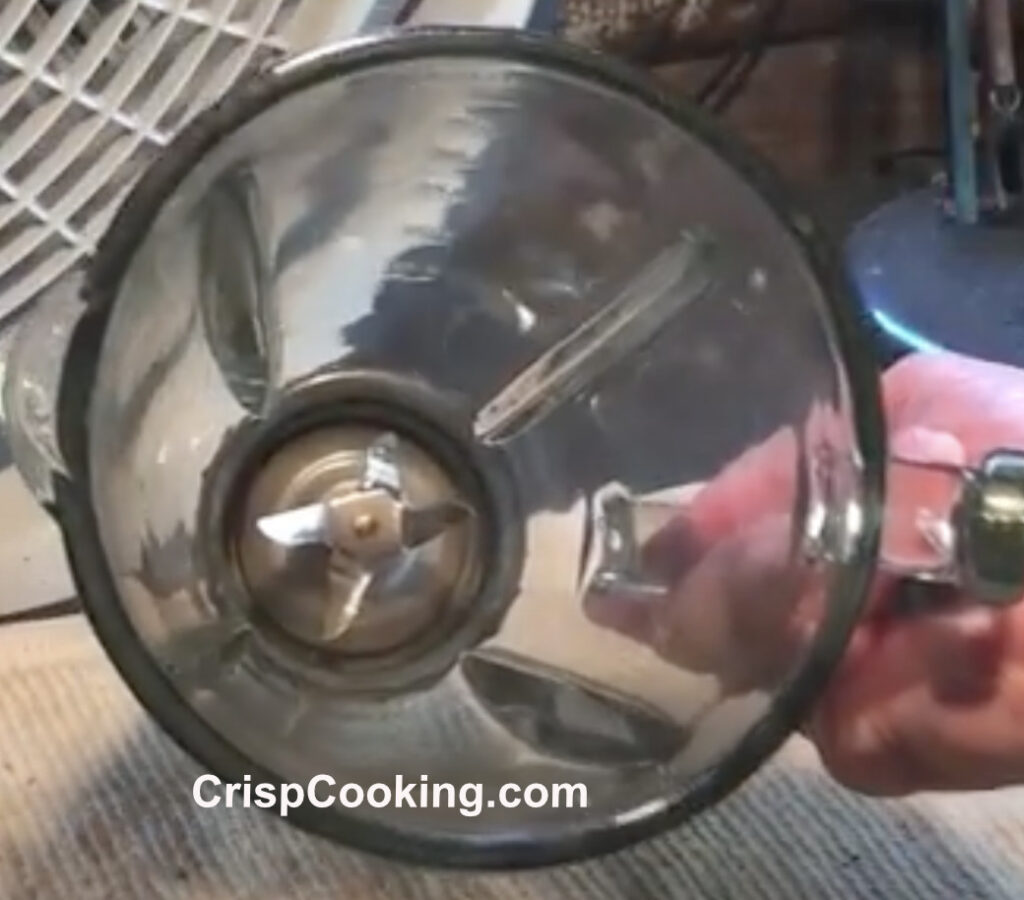
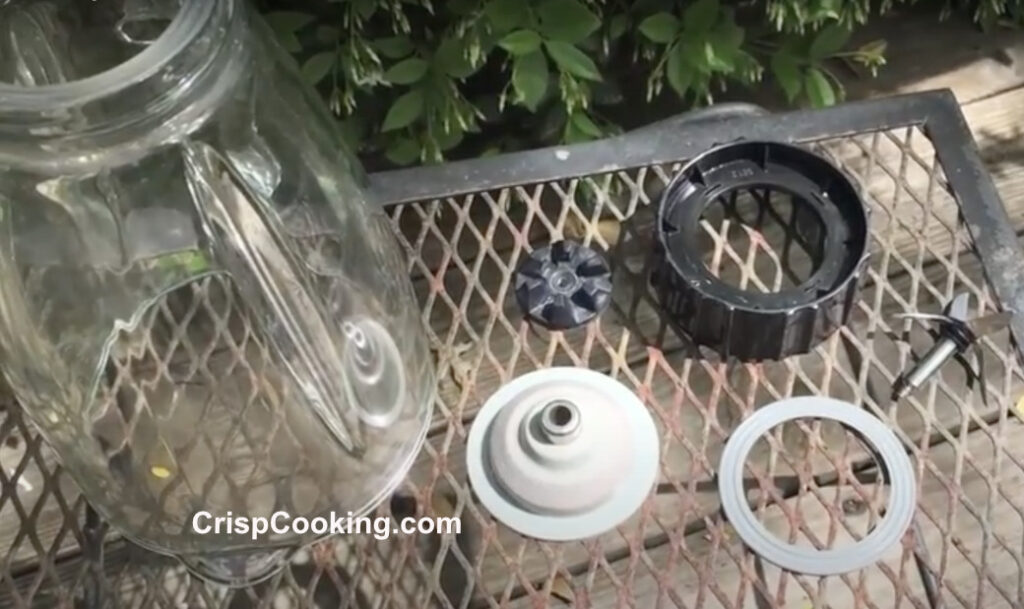
You can see in the following picture, the bottom part surrounding the blade, is pretty dirty. It is very difficult to reach down there and clean without risking to cut yourself with the blade. This is why it is better the take the jar assembly apart.
Tools Needed
- Tongue and Groove pliers
- Socket wrench
- Dish Soap
- Gloves
- Large Soaking Bowl
Step 1
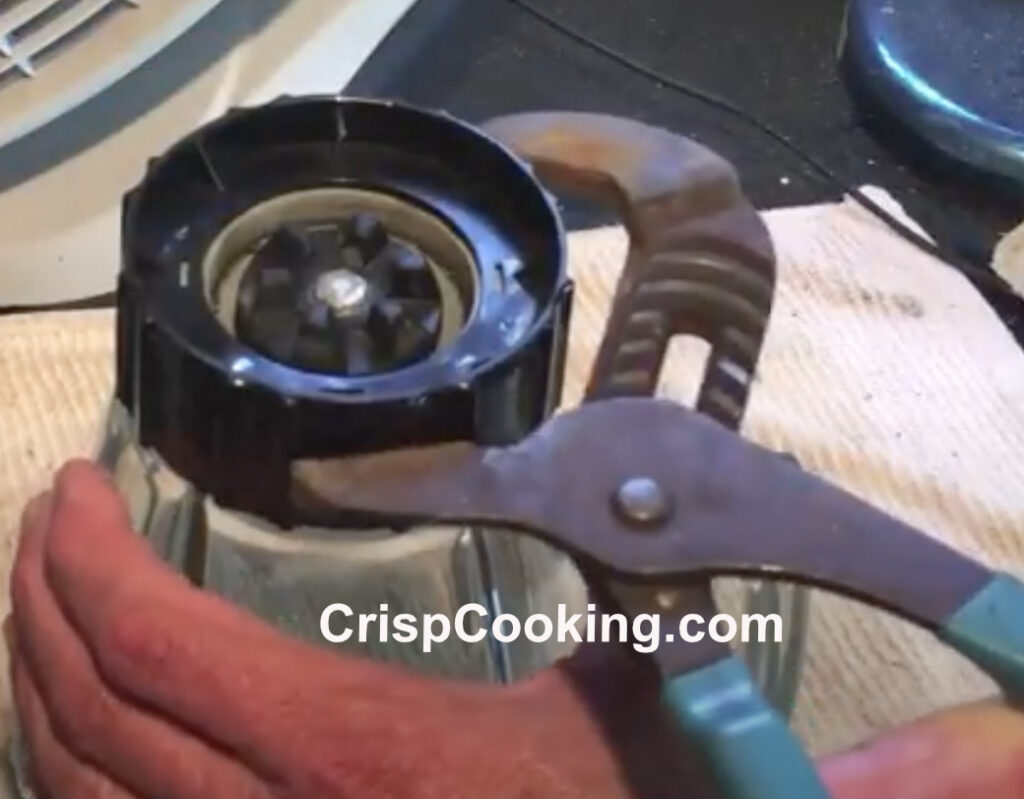
With the tongue and groove pliers (pictured below), grab the bottom black part and twist it counter clockwise. Once it loosens with the pliers, you can finish removing it by hand.
In the picture below you can see the rubber gasket. It is dirty too.

Step 2
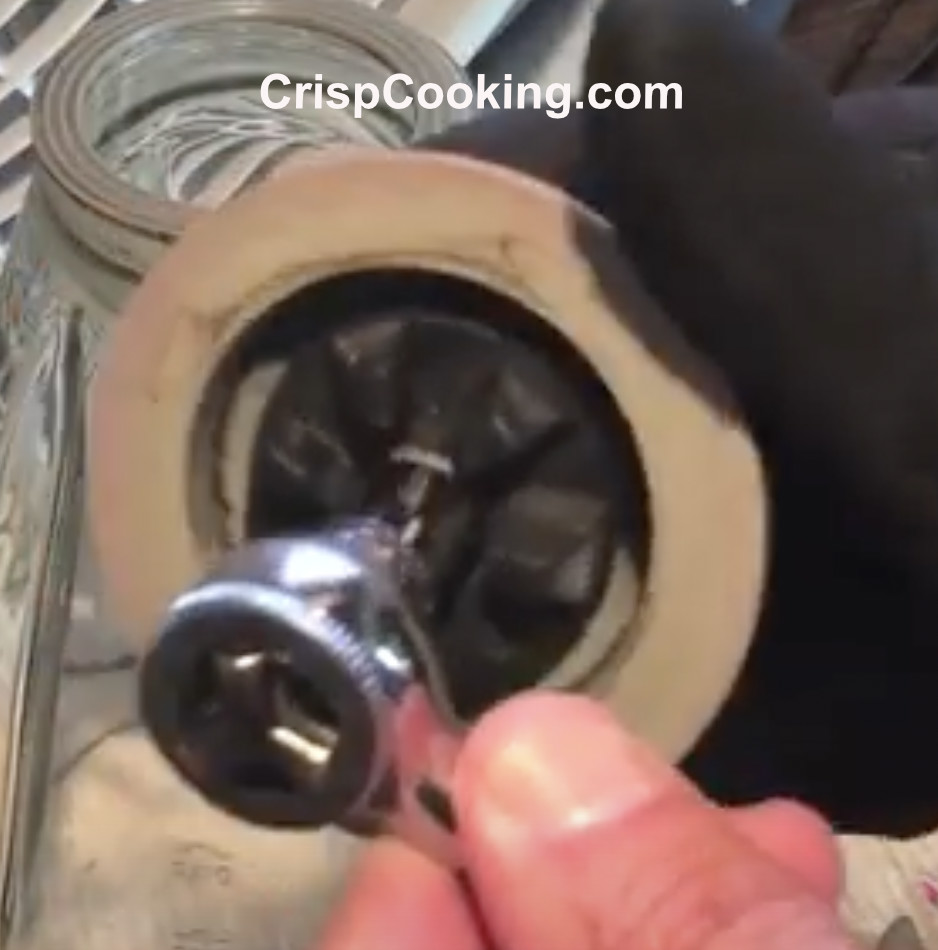
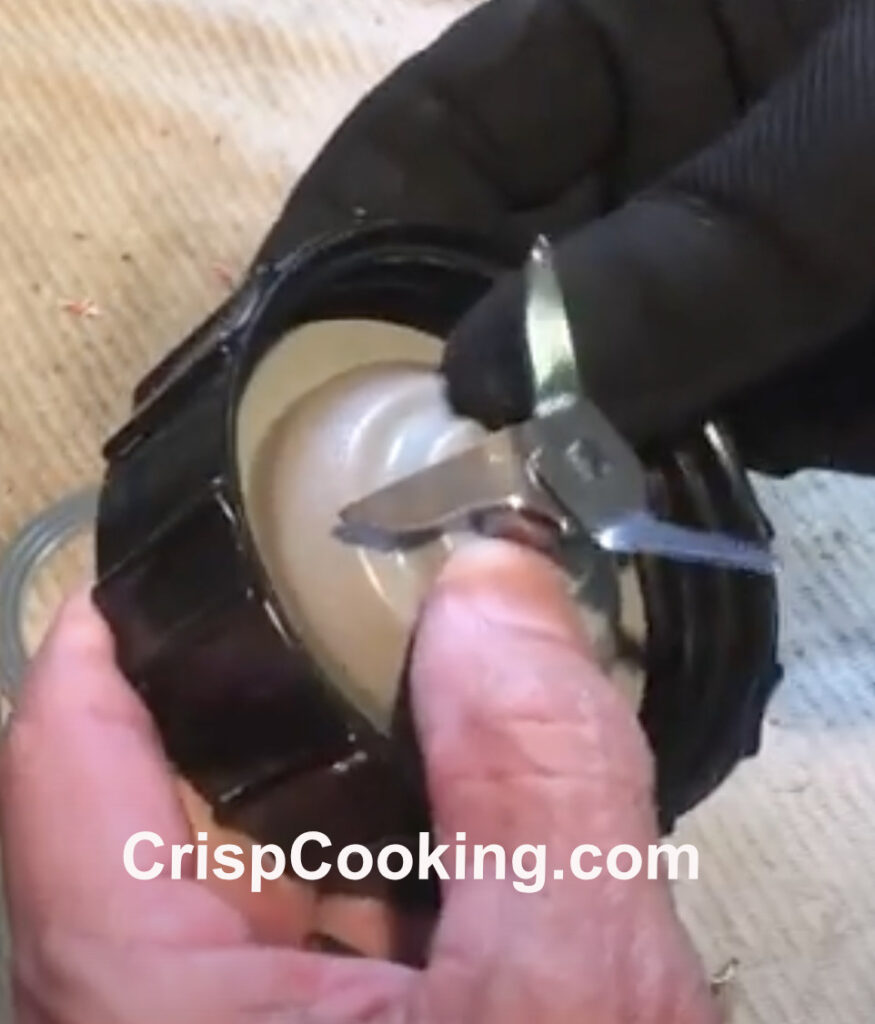
This particular Black and Decker blender has a 3/8″ nut to remove. Use a glove on one hand to avoid being cut with the blade. Grab the blade with gloved hand. With the socket wrench over the nut (pictured below), start twisting clockwise until you remove the nut.
Once you remove the nut, the blade comes off. Now you have all parts disassembled. (picture below)
Step 3
Grab the large soak bowl and add some hot water and some dish soap. Toss the disassembled Jar parts into the bowl. (pictured below)

Also place the bottom part of the jar in the bowl. (pictured below)

Step 4
Scrub all the parts with a non-abrasive sponge to remove any hard grease or food particles stuck. Then let them air dry. (picture below)
Step 5
Reassemble the bottom jar parts. (picture below)
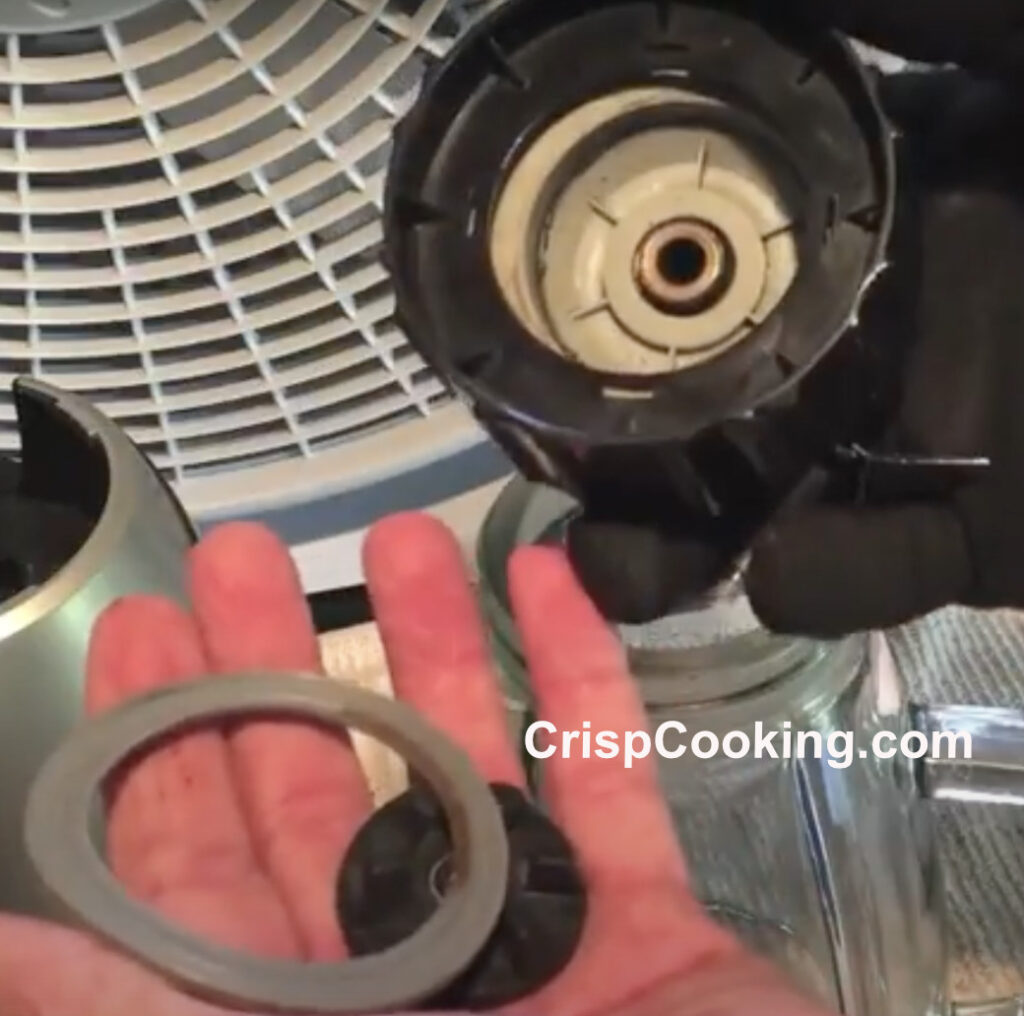
Turn the jar upside down and place the rubber gasket. (picture below).

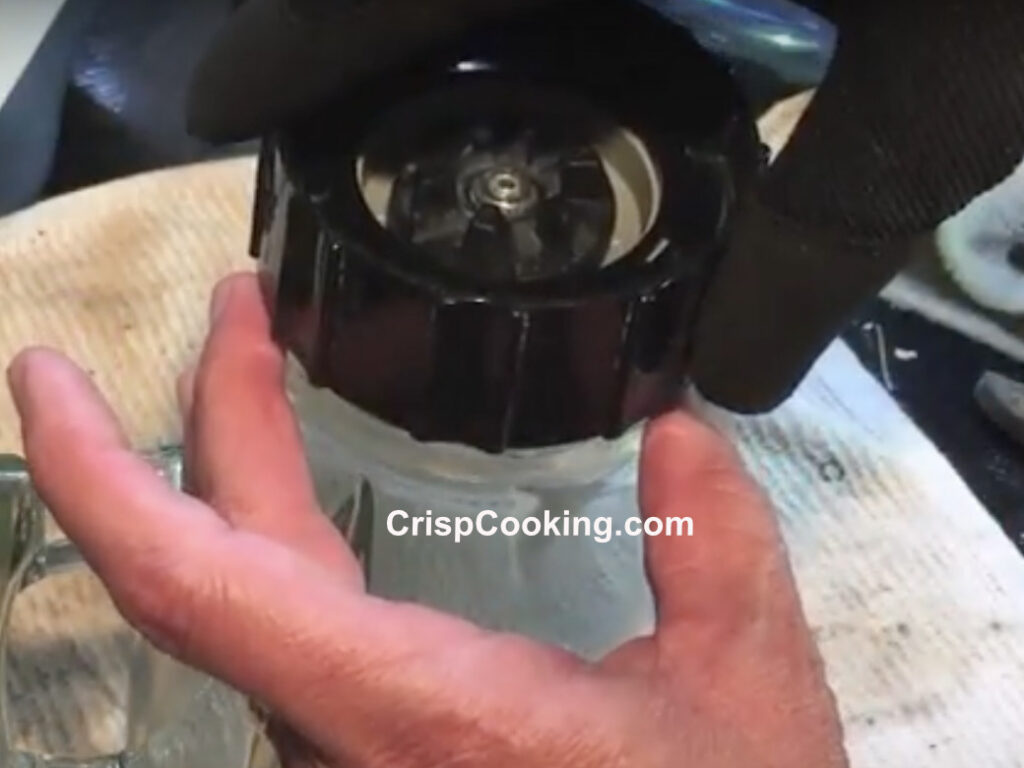
Place back the assembled black bottom. (picture below). Use the Pliers to tighten it.
That completes the deep cleaning process. Now you should connect the blender and try it and see if it is working properly.
How to Clean a Cloudy Blender Jar
This How to Clean a Cloudy Blender Jar is an extract of our How to Clean a Vitamix Blender guide. You can read the complete guide here.
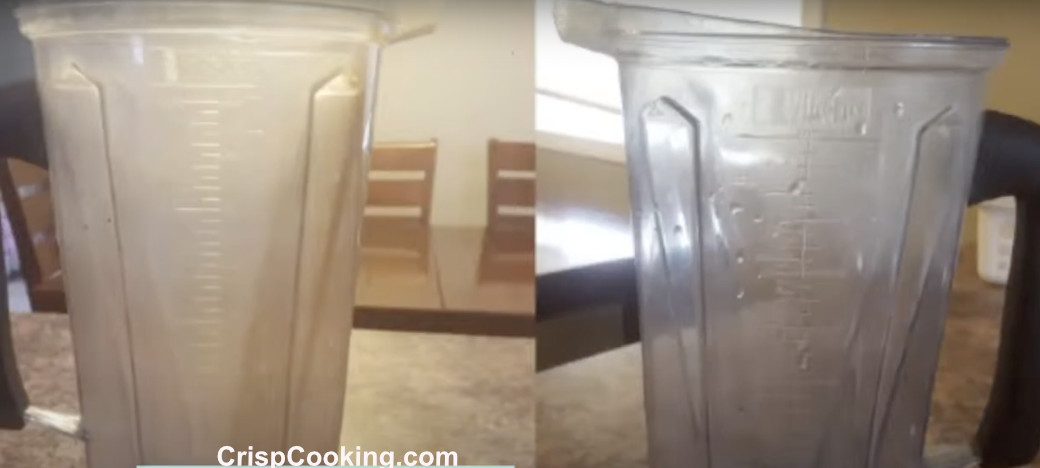
When you have used your Vitamix blender for a long time, it is inevitable to have some stains in the container. Maybe sometimes you didn’t clean the container inmediately after use, or you blended some recipes that left a sticky mess in your blender. Overtime, this result in your container looking cloudy.
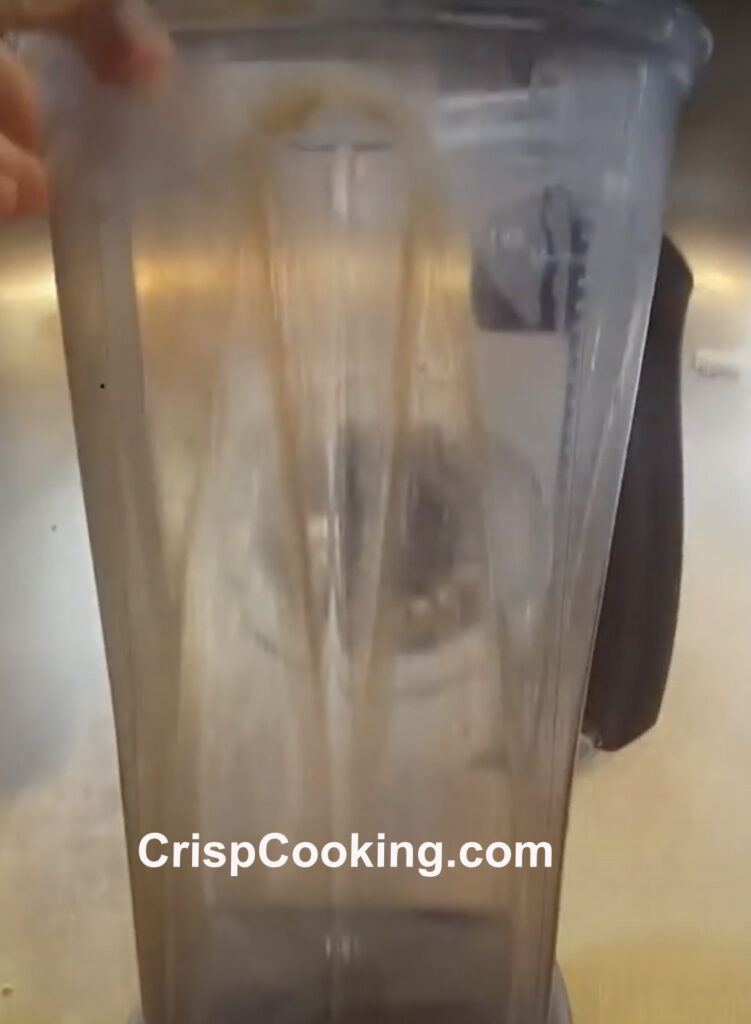
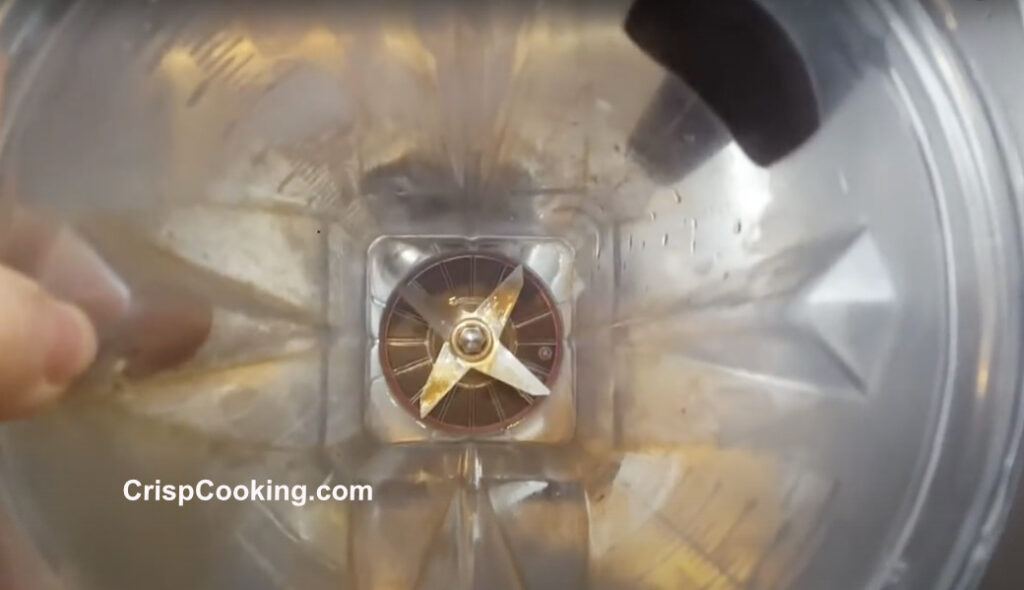
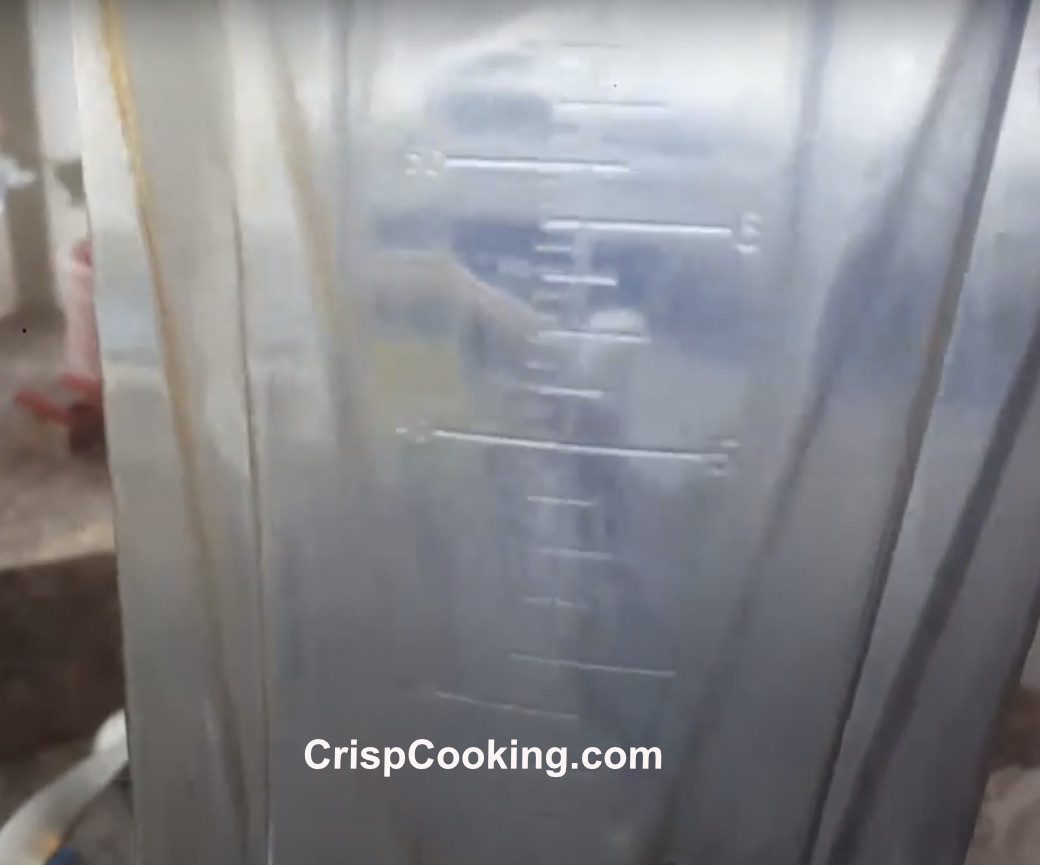
In the following picture you can see our Vitamix container lloking cloudy and with brown stains. This stains won’t come out with just warm water and soap.
In the following picture you can see the blade of our container, it has some brown stains. Continue reading to see how to deep clean a Vitamix cloudy container.
To remove these stains we are going to use the foolowing tools:
1. White Vinegar
2. Baking soda
3. Non-abrasive sponge
4. Warm water
5. Damp cloth
10 minutes
White Vinegar to remove stains
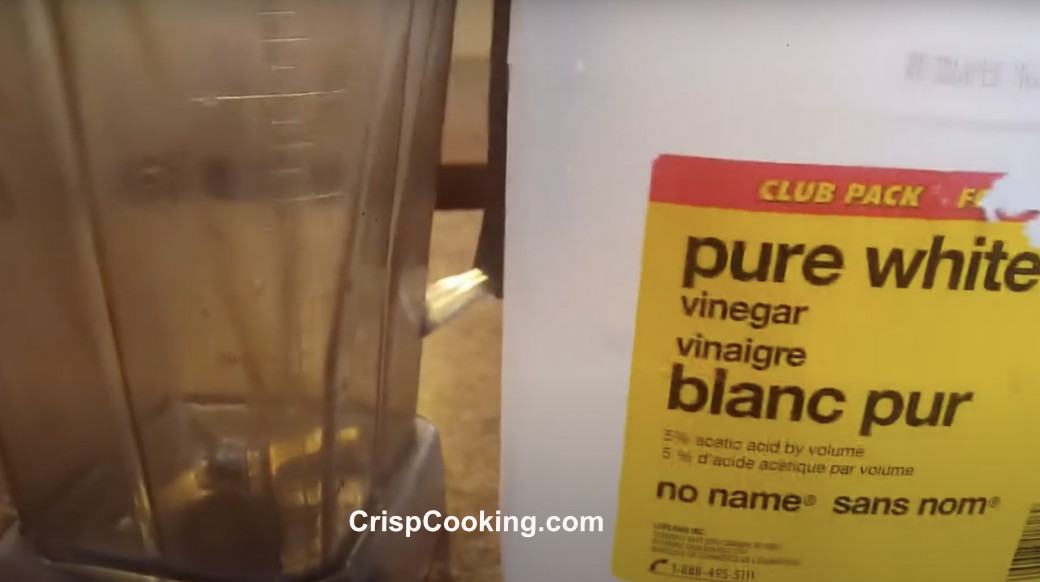
We are going to use white vinegar to remove some of the stains. We prefer not to use magic eraser, clr or other harsh or strong chemicals in cleaning a Vitamix blender because those are harmful if ingested.
Step 1. Add White Vinegar

Add 4 cups of white vinegar to the Vitamix container.
Step 2. Secure the Lid
Secure the lid to the container and place it on the Vitamix motor base.
Step 3. Run the Blender
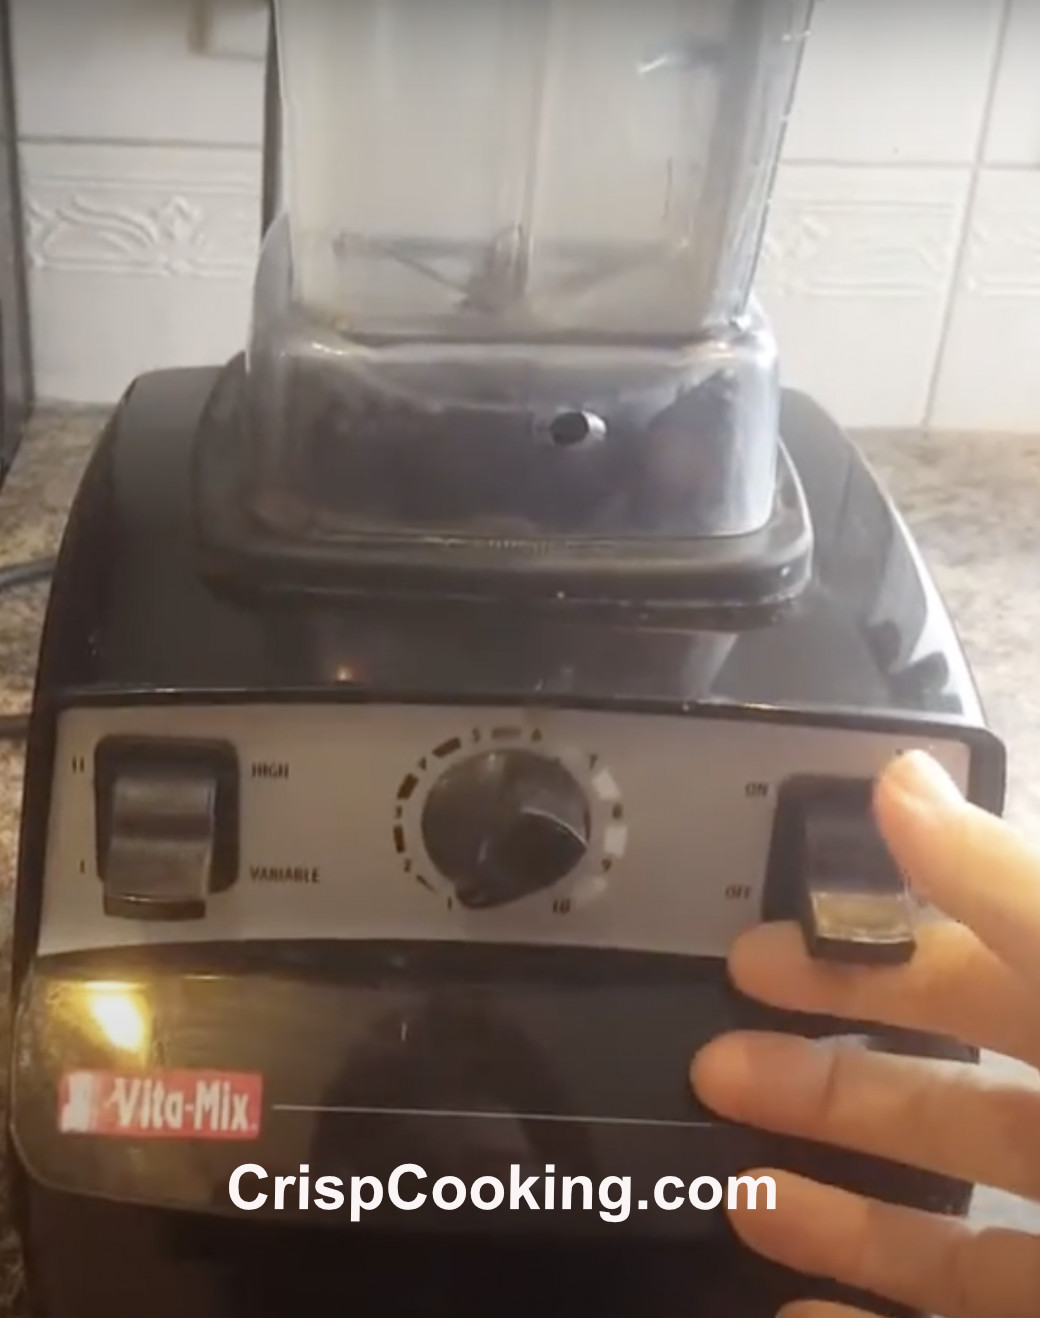
Set the Speed dial in the “1” speed and turn ON the blender.
Step 4. Slowly Increase Speed

Slowly increase the speed of the machine.
Step 5. Set the Speed to the highest setting

When you reach the highest speed, in our case “10” speed, run the blender for 5 minutes.
Step 6. Check the results
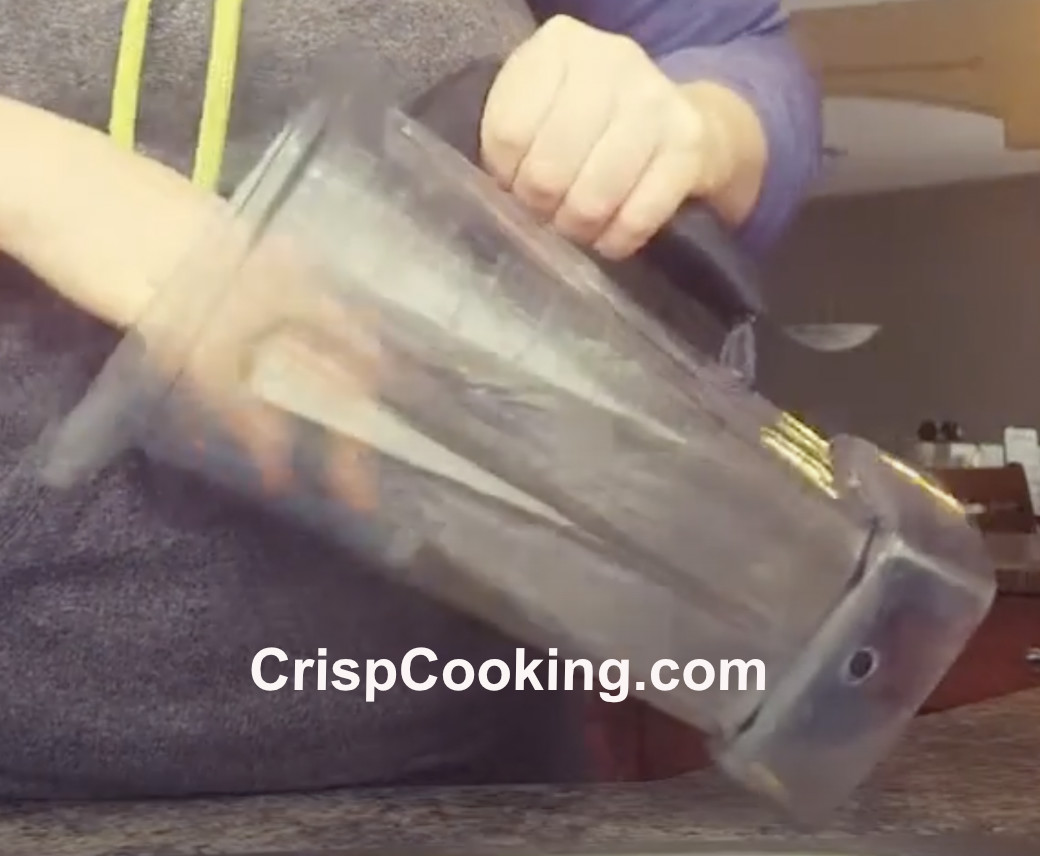
When the 5 minutes at the highest setting has passed, discard the white vinegar and check to see if the stains are compeltely removed. If there are still some stains like in our case, continue to the next step.
Step 7. Grab a Non-abrasive sponge
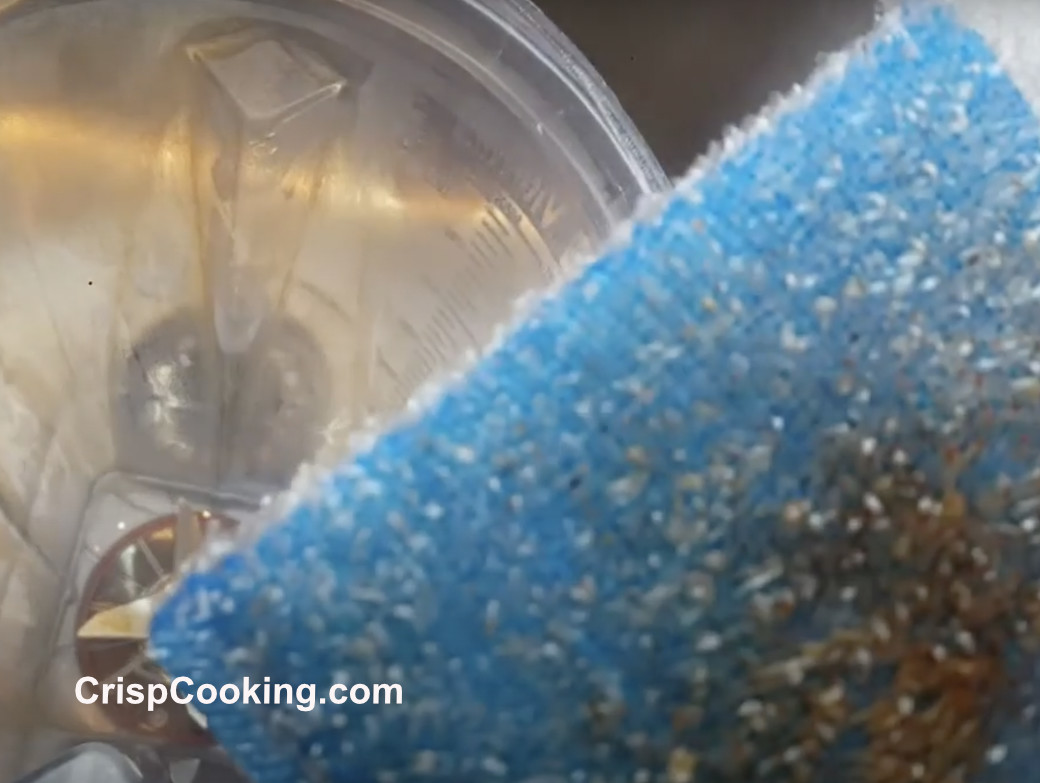
We will be using a non-abrasive sponge to clean the inside of the container and scrub tto remove the tougher stains.
Step 8. Add Baking Soda

Add some baking soda inside the container.
Step 9. Scrub with the sponge
Scrub with the non-abrasive sponge the inside of the container. With the help of the baking soda, the stains should start to disapear. You will need a lot of elbow grease to remove the tougher stains.
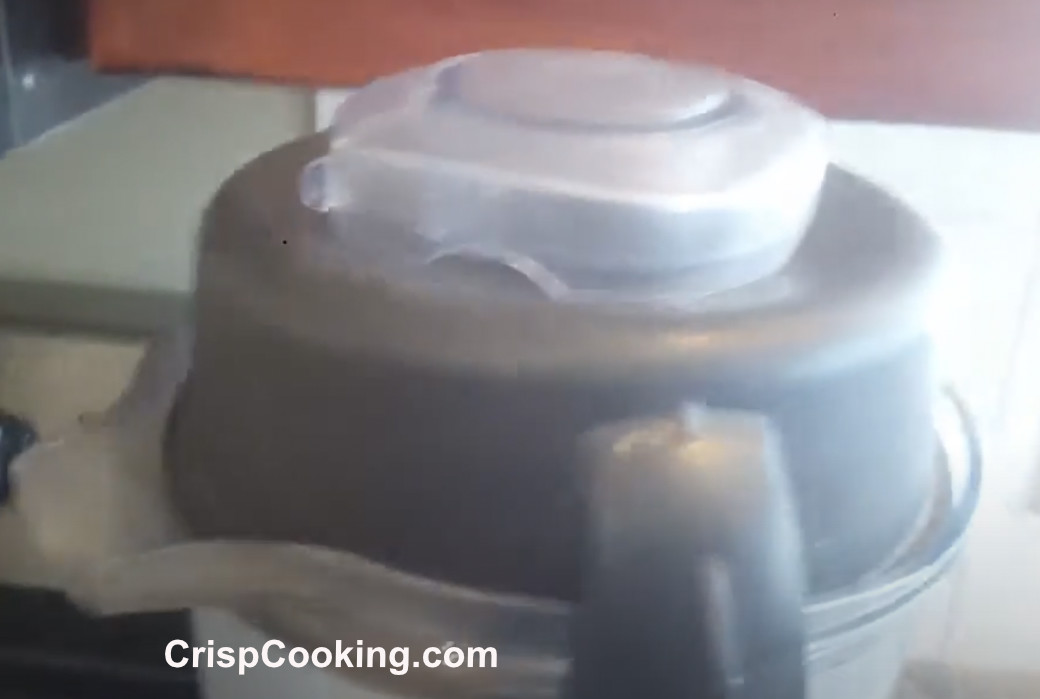
Step 10. Clean the motor base
Now that you have removed all stains from the container we go ahead and clean the motor base.
With a damp cloth, wipe all surfaces and sides of the motor base. The centering pad at the bottom of the motor base is removable. Clean under it and the pad itself.
Tips and Tricks
- Never submerge the blender motor base in ater or any other liquid.
- Always unplug the blender form the wall outlet when cleaning the base.
- Never use metal utensils to clean your blender jar and base. This utensils will stratch the jar and the base.
FAQs on How to Clean a Blender
Can I clean my blender in the Dishwasher?
Yes, most containers and lids of a blender are dishwasher safe. We don’t recommend cleaning them in the dishwasher because it puts stress on the container, blade and bearings. The high temperatures in the dishwasher can harm the plastic in the container and lid. It is best to wash by hand as this will prolong the life of your machine.
How to eliminate odors from my blender?
If your blender has some odors even after cleaning it with warm soapy water you can try the following:
Fill the container with warm water and white vinegar, let soak for at least four hours, or as long as overnight. After the soak is finished, dump out the contents, then run through the quick-cleaning steps using dish soap and warm water.
How to remove turmeric stains from my blender?
Turmeric is super pigmented so it tends to leave a golden trace on everything it touches. It is highly recommended to clean as soon as you finished blending turmeric in your blender to avoid this staining.
To remove turmeric stains we will need th help of the sun. Leave the container out in the sun for 4 hours. Then add some baking soda and scrub with a non-abarasive sponge. Rinse with warm water and let it air dry.
Final Thoughts
As you can see cleaning your blender after each use should not take more than 40 seconds. It is very important to do the basic cleaning immediately after each use so that food has no time of really sticking to the side of the jar or blade.
Cleaning your blender jar base and a cloudy jar takes longer than cleaning after each use, but not more than 10-15 minutes.
By maintaining regular cleaning at the recommended timeframes, you are ensuring to have your blender working at it’s otpimal performance for the long run.
Happy Blending!

Hello, I am Cristy. I love cooking but what I love most is keeping my kitchen tools and appliances top notch. I enjoy writing about everything I have learned around the kitchen. I believe that keeping your kitchen tools well cleaned and maintained produces the best dishes and drinks. Besides writing and cooking I enjoy traveling, camping, hiking and music.