

How to Clean an Oster Blender – Simple Guide with 12 Pictures
Oster is one of the best brands for blenders. They come in a variety of power, speeds and settings. The cleaning method for any blender from the Oster brand is very similar. They are very easy to clean and have dishwasher safe parts. In this article, you will learn the correct steps on how to clean an Oster blender including pictures.

It is highly recommended to clean your Oster blender after each use, especially when blending eggs, meat or any dairy product.
How to Clean an Oster Blender – Fast Method
The fast cleaning method is recommended after each use. It takes less than a minute to clean and will ensure it stays clean for your next use.
- Rinse out the blender jar in the kitchen sink
- Fill the jar to 50% with warm water
- Add one drop of liquid dish soap
- Run the blender with the jar lid on on its lowest setting for 20 seconds
- Discard the dirty water from the jar in the kitchen sink and rinse it
How to Clean an Oster Blender – Deep Clean Method
This method involves more time as you will have to remove the base of the jar. The union between the base of the jar and jar itself gets dirty after many uses of the blender. Food particles tend to get lodge there and there is no other way to remove them than to remove the base of the jar.
The good news is, the deep clean method is to be done only once a week of you use the blender daily or once a month if you use the blender 3 or less times per week.
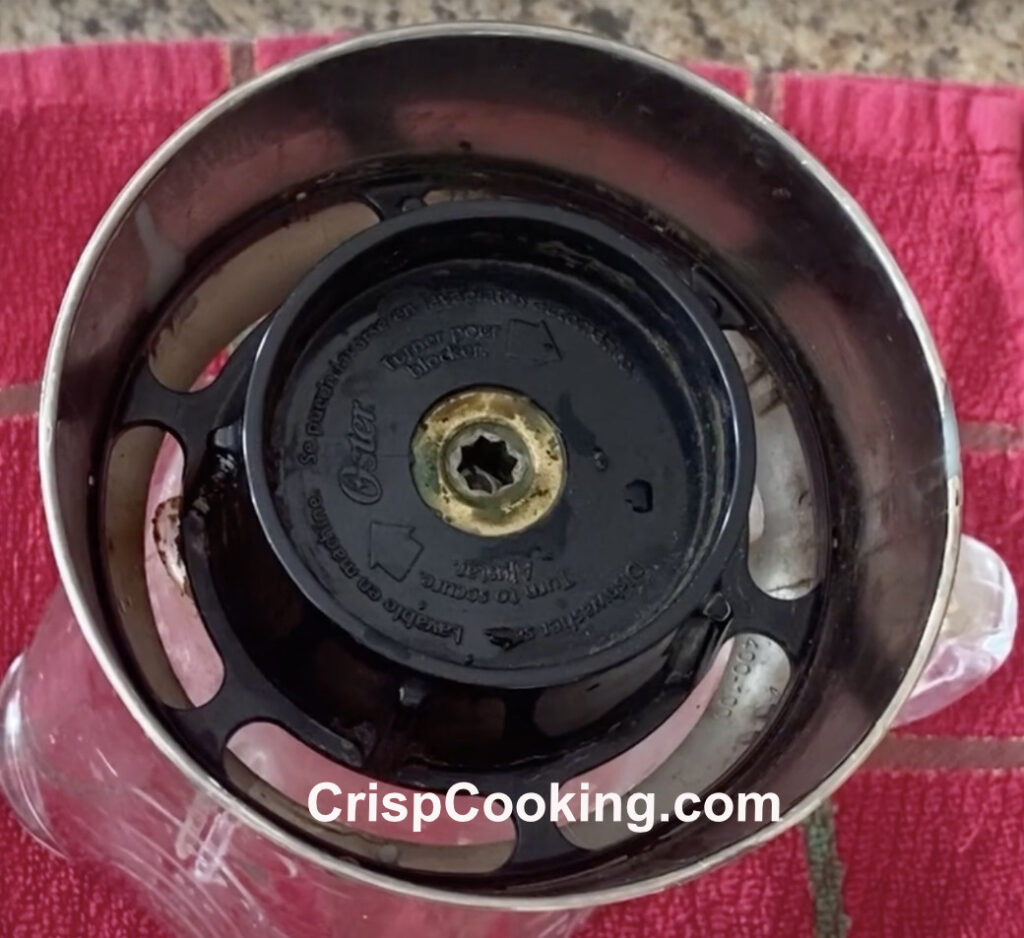
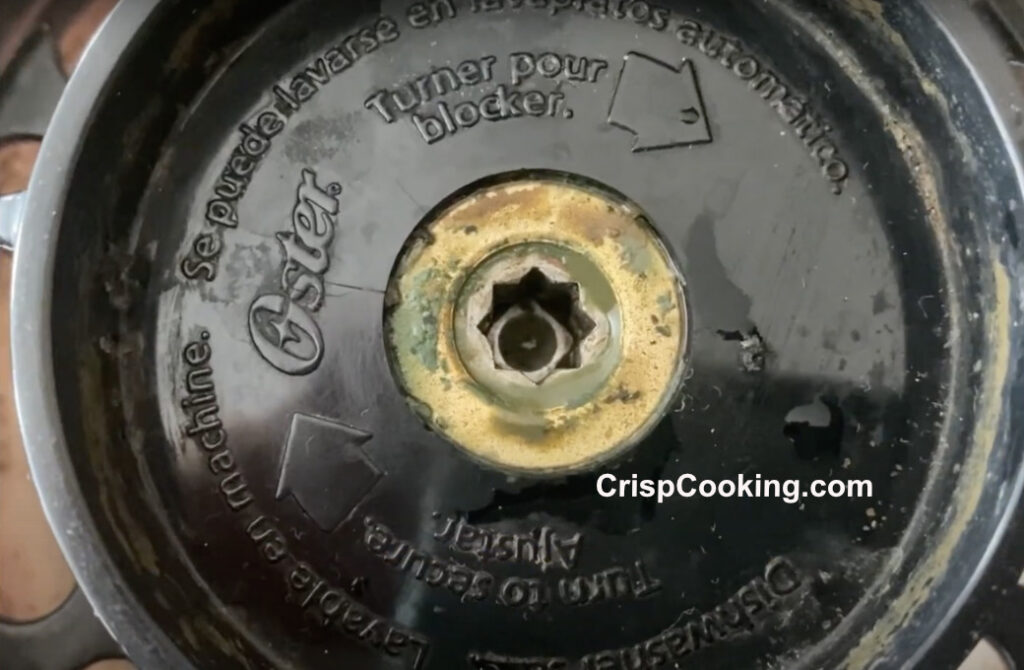
In the following picture you can se the bottom of the jar assemble of our Oster blender. You can see it is very dirty, so it is time to clean it up.
Tools Needed
The following are tools needed for the deep clean method:
- Baking soda
- Soft bristle brush or toothbrush
- Soft cloth
- Warm water
Step 1
Turn off the blender and unplug the power cord of your blender from the wall outlet.
Next we remove the jar assembly form the blender base. We have to remove the jar lid. Then we will have to remove the base of the jar (picutred below), be careful when handling the sharp blade. If you can’t manage to unscrew the base by hand you can use a tongue and groove pliers.
In our case, I place the jar assembly back onto the base unit. (picture below) Once the jar is in the base unit I unscrewed the base of the jar. I remove it from the base unit and continue to unscrew the base of the jar.

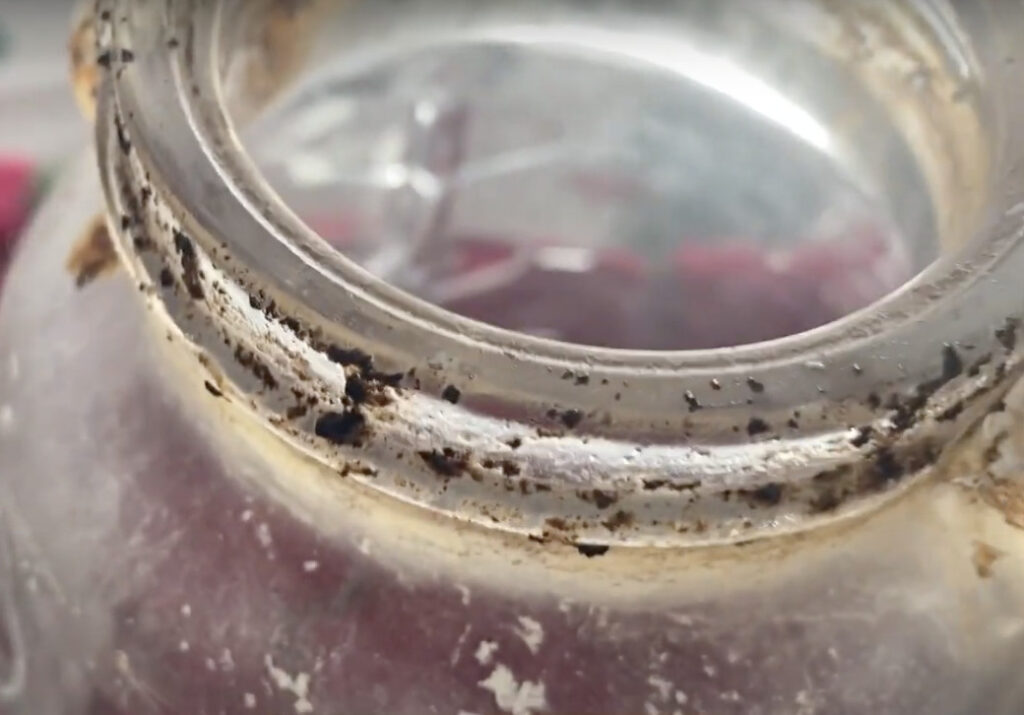
In the following picture you can see how dirty the bottom (where it screws to the base of the jar) of our jar is.
Step 2
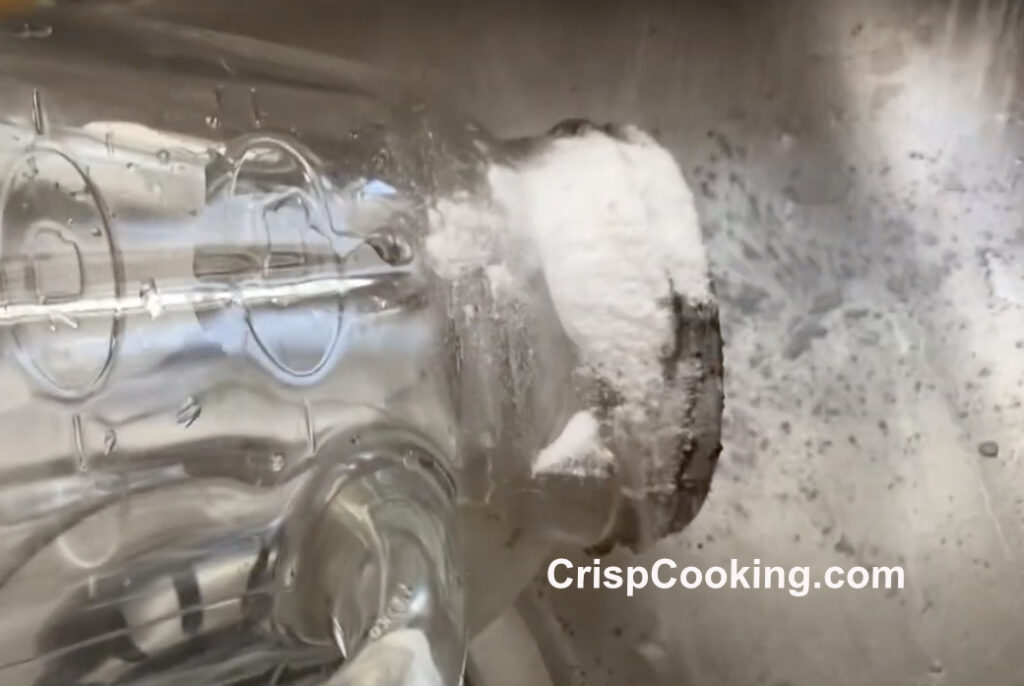
Add some bgaking soda to the bottom part of the jar (pictured below).
Add some baking soda to the base of the jar, including the blade area (pictured below).

Clean in the jar with a soft bristle brush, in our case we are using a toothbrush, to remove the food particles stuck (picture below). Rinse it thoroughly and dry. If still stained you can add some more baking soda and continue scrubbing with the brush until it is clean.
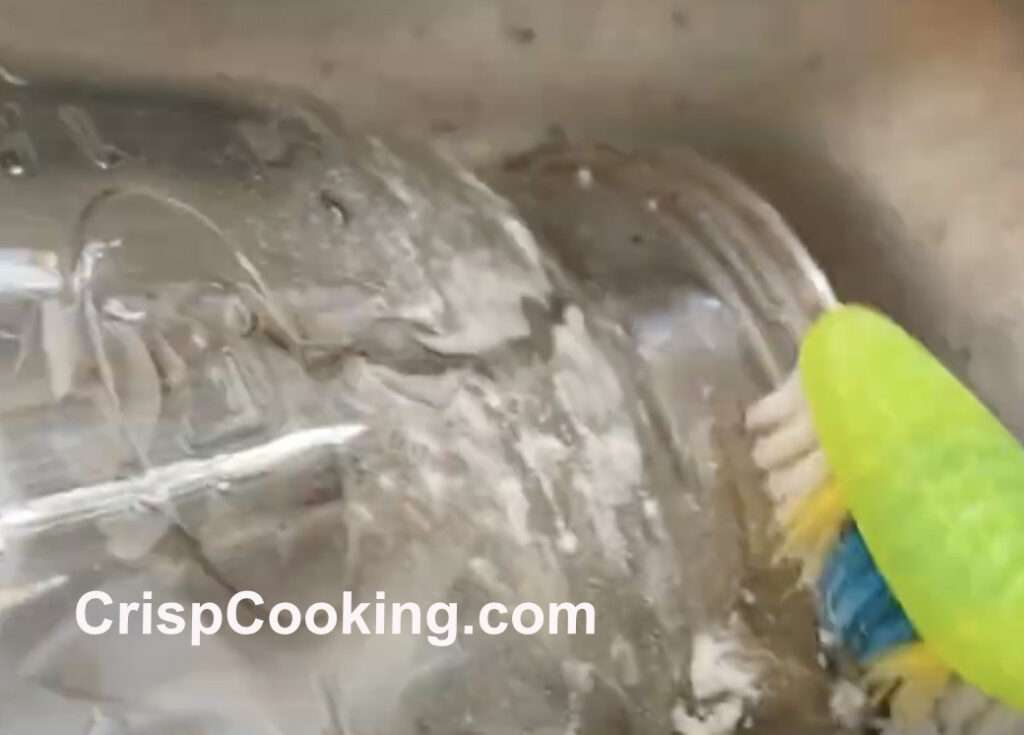
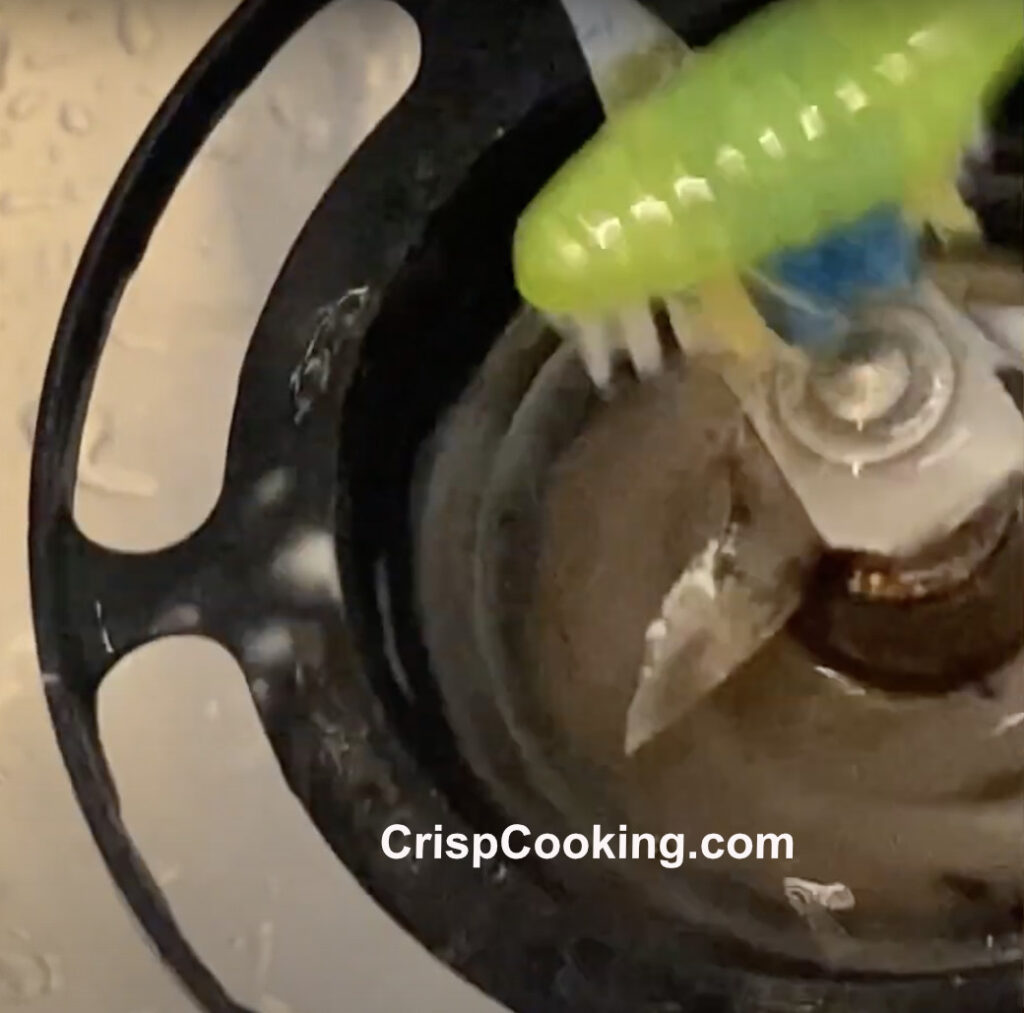
The same with the base of the jar, with the same brush, scrub the baking soda to remove any food particles stuck and stains from the blade (pictured below). Once all stains are removed, rinse thoroughly with warm water and then dry.
In the following picture you can see how our blade turned out. It looks very shiny, like if it was never used.

Step 3
Clean the base of the unit with a damp cloth. Never immerse the base of the Oster blender in water or any other liquid. The base unit is not dishwasher safe.
Step 4
Now it is time to reassemble the Oster blender. Screw the base of the jar to the jar. (pictured below). Place the lid on the jar. Store the blender in a dry place without any object placed over the lid.

In the picutre below is our clean jar and base of the jar. It looks brand new, like never used. It is ready for more blending. We are very happy with the results and hope you too ar ehappy with how your blender turned out.

Tips and Tricks
- We recommend to hand-wash the plastic or glass jar and its parts. You can use the dishwasher but, the jar could get etched and scratched. If the jar is made of glass it can even break in the dishwasher. To avoid any accidents it is best to hand wash them.
- Be careful when cleaning the blender blade and surrounding area as they are pretty sharp.
- If you use your Oster blender frequently, every day, store it on your countertop. If you use it less than 3 times a week, store it inside a kitchen cabinet. never place any object over the lid of the blender.
FAQs on How to Clean an Oster Blender
Can you clean an Oster blender with vinegar?
Yes, you can clean an Oster blender with vinegar when it has stubborn stains or odors. Just fill half the jar with warm water and the other half with white vinegar. Then run the blender with the lid on for 30 seconds. Discard the mixture in the kitchen sink and rinse thoroughly.
How to remove smells and/or odors from an Oster blender?
You can prevent this by not storing any items or foods in the blender. If your Oster blender has a smell that don’t want to leave. To remove the smell, blend equal parts of water and baking soda for 20 seconds. Let the solution sit on the blender for 10 minutes. Then discard the solution and rinse thoroughly. This should get rid of the smell and if not, do the whole process again until the smell is gone.
Can you clean an Oster blender in the dishwasher?
Yes, you can clean the jar and base of the jar in the dishwasher but we don’t recommend it. The jar even if made of glass can get sratched or even broken in the dishwasher. We recommend to hand-wash the jar and base of the jar. The base or main unit is not dishwasher safe.
Final Thoughts
It is recommended to clean an Oster blender after each use with the fast method in this article. The deep clean method is recommended to be done once a week if you use your blender daily or more than 3 times per week. If you use your blender less than 3 times per week it is recommended to do the deep clean method at least once a month.
If your blender is not from Oster, please follow oru specific guide for the following brands:
Happy blending!

Hello, I am Cristy. I love cooking but what I love most is keeping my kitchen tools and appliances top notch. I enjoy writing about everything I have learned around the kitchen. I believe that keeping your kitchen tools well cleaned and maintained produces the best dishes and drinks. Besides writing and cooking I enjoy traveling, camping, hiking and music.