

How to Clean a Keurig Coffee Maker – Easy to Follow Guide with over 25 Pictures
Normally when you think about a cup of coffee, the focus is on your need for caffeine and not on how to clean a Keurig coffee maker. Nothing puts a dent in the day quite like waking up, turning on your Keurig machine and receiving an incomplete brew.
An incomplete brew is a clear indicator that your Keurig is clogged and needs urgent cleaning. Even if you think you coffee machine is working fine, every 3-6 month it still need to be cleaned to ensure smooth operation.
The water reservoir of your Keurig coffee maker can get mould and bacteria if left unattended for a long time. Depending on the water wuality you use on your coffee machine, it gets mineral buildup that can get it clogged and stop it from working properly.
Don’t worry, in this article I will show you a step by step guide on how to clean a Keurig coffee maker in less than 45 minutes.
Note: For a guide on cleaning other brands of coffee makers, please use the following links to for specific step by step guide:
How to Clean a Keurig Coffee Maker
Step 1
Unplug your Keurig coffee maker from the electricity to avoid any accidents. It is not safe to mix water with electricity.
Step 2
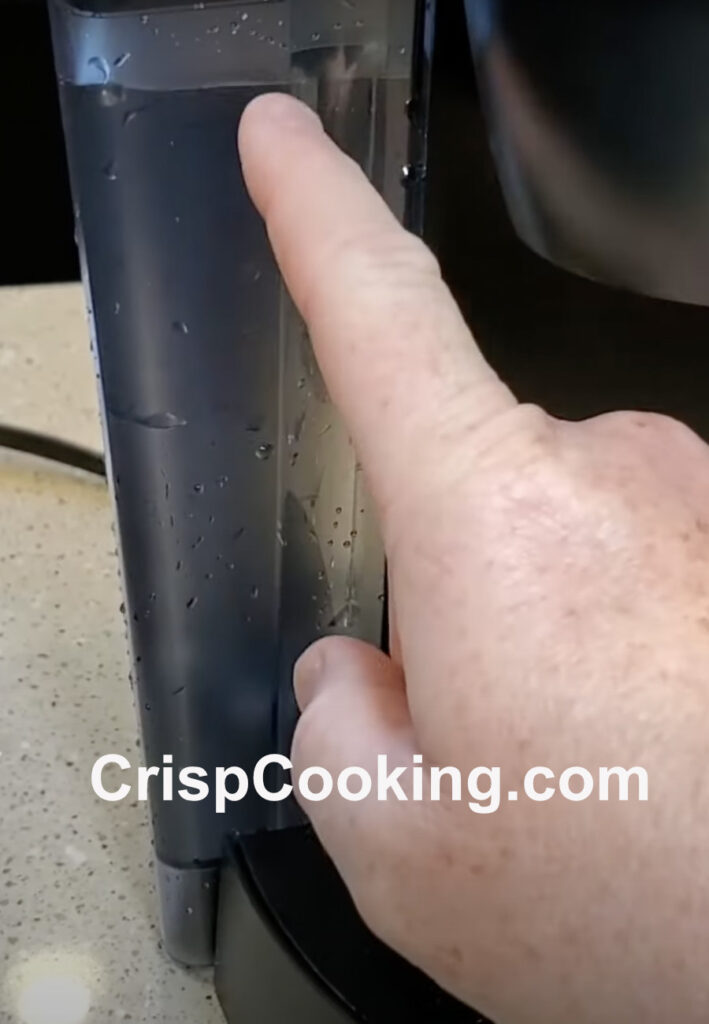
Empty any water from the water reservoir (pictured below).

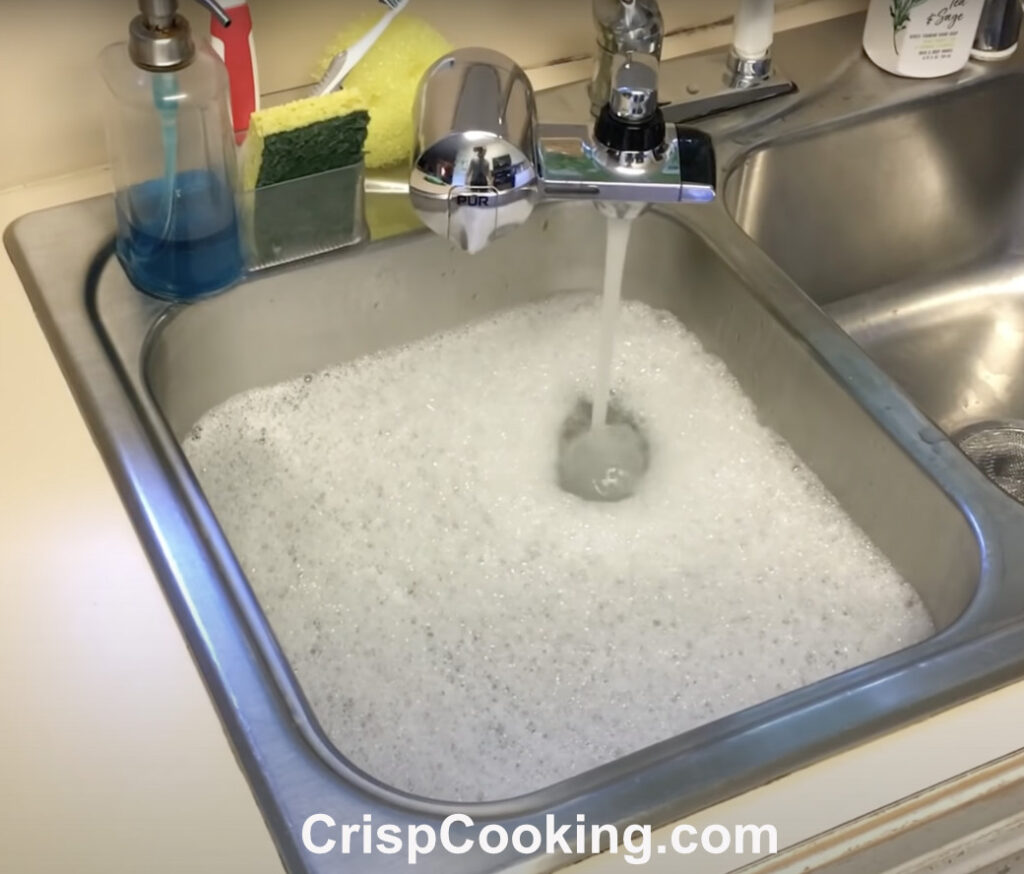
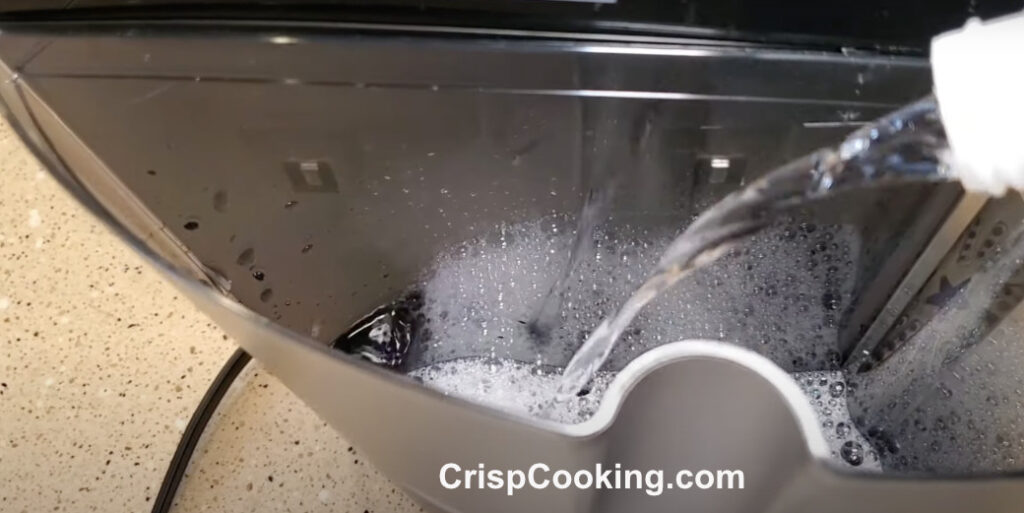
Clean all removable parts with soap and water. For this you can use your kitchen sink. Fill your kitchen sink with water, like the picture below.
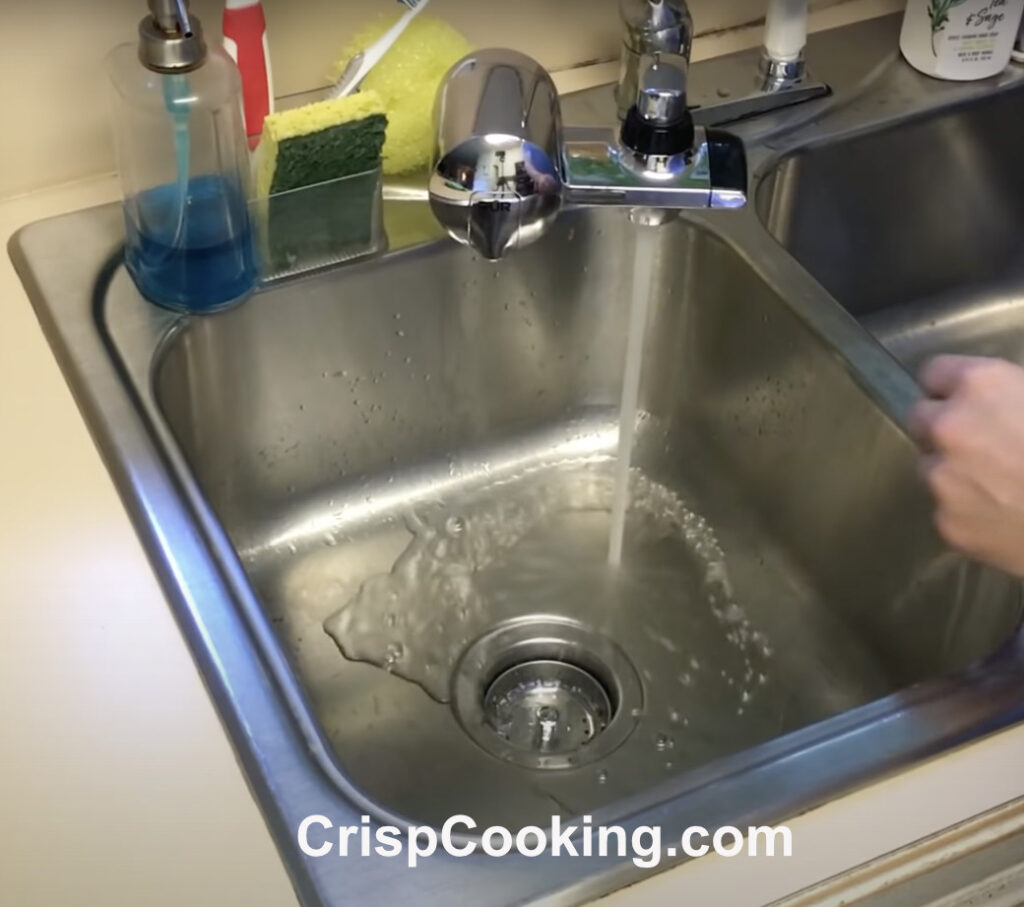
Add sopa to the water in your kitchen sink. Start dipping all removable parts, water tank, base, cup holder, etc, from your Keurig coffee maker into the soap and water.
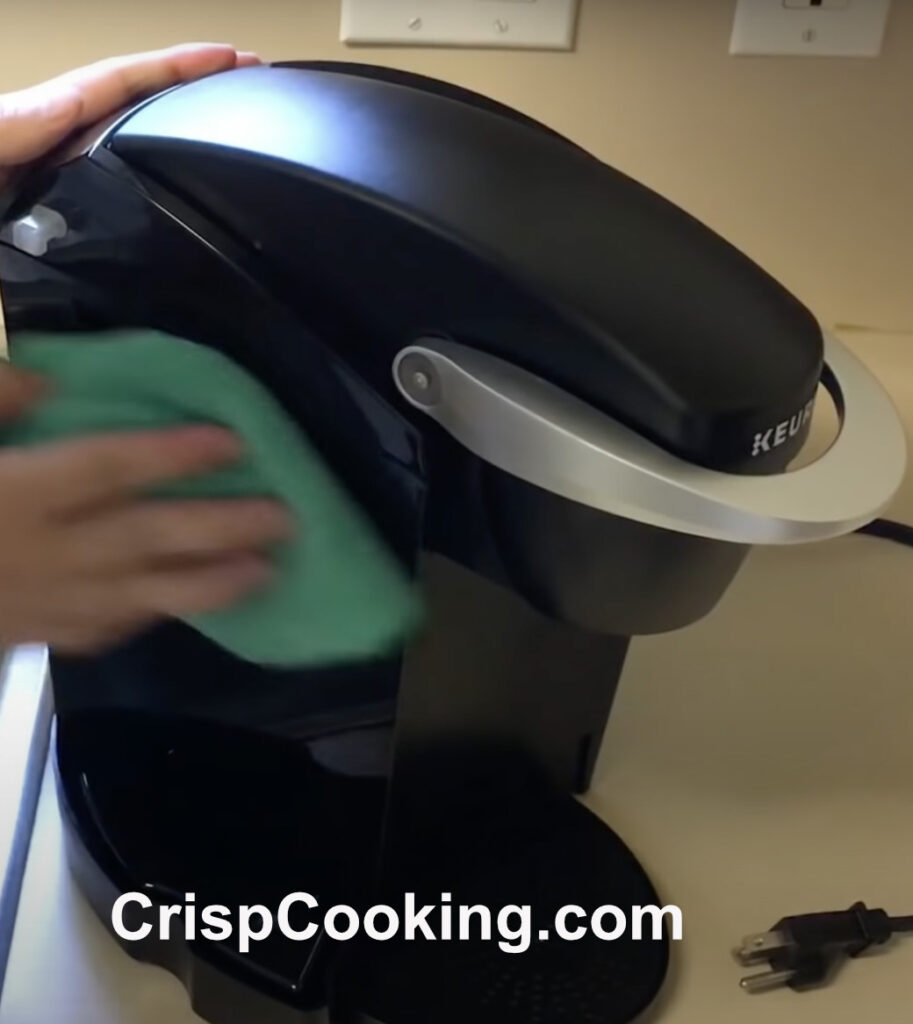
Clean the exterior of your Keurig with a soft microfiber cloth.
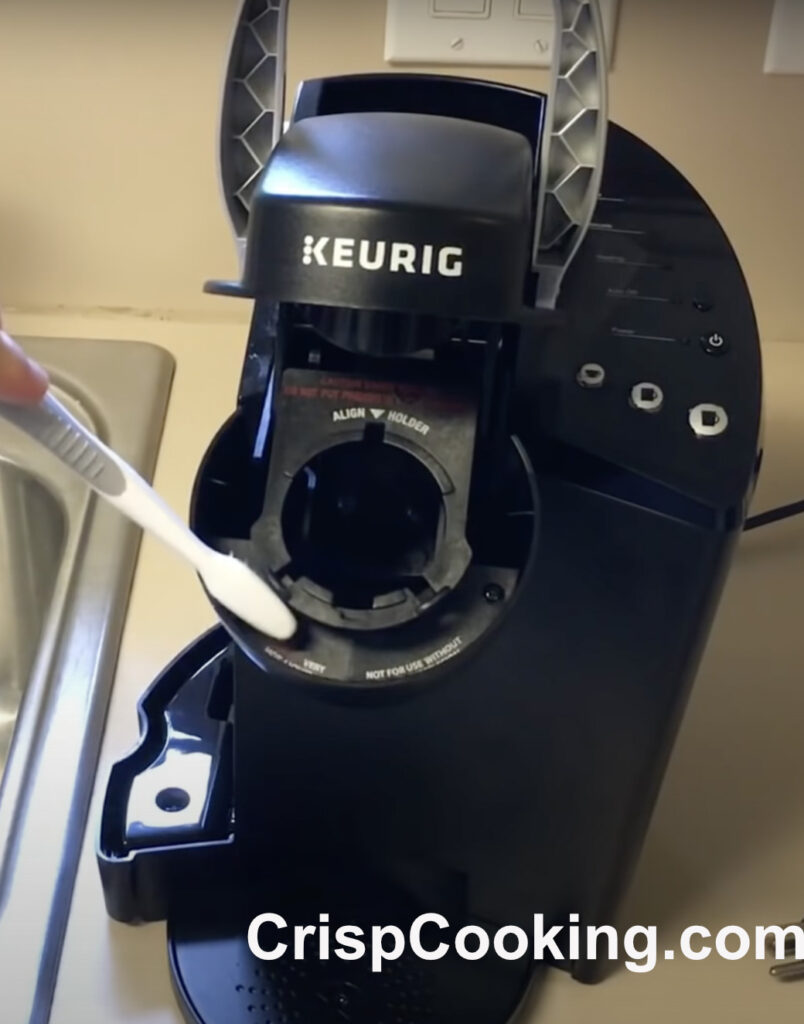
Check the needles(pictured below) of your Keurig coffee maker to see if they are dirty.
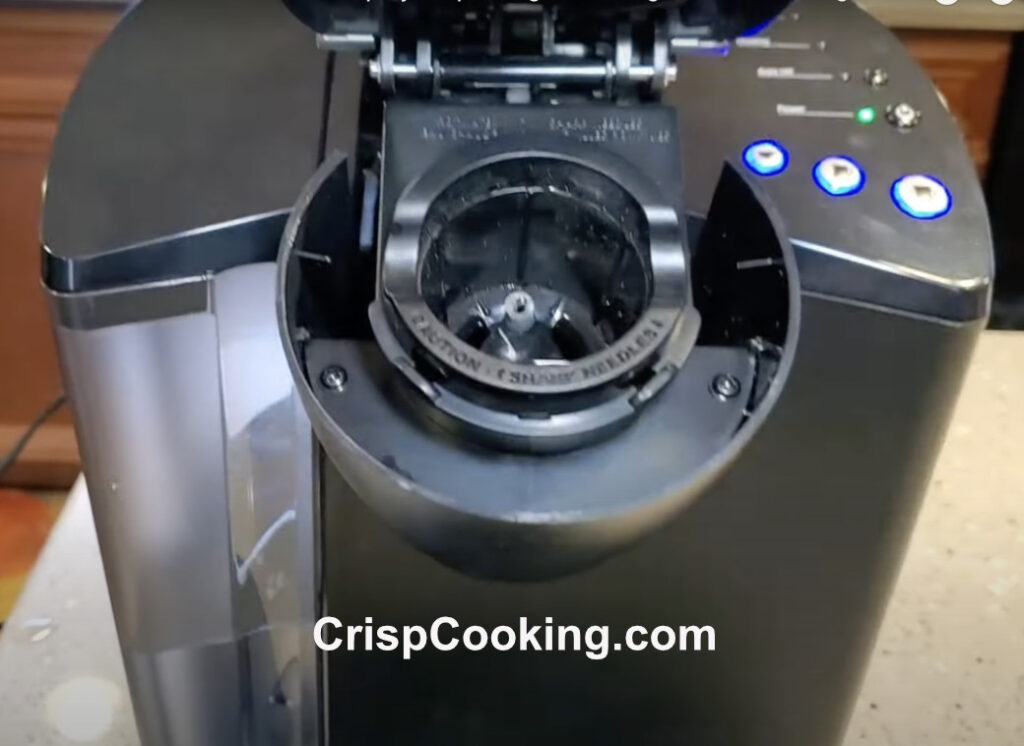
If they are dirty or you think they require some cleaning you can do so with a toothbrush like in the picture below.
Step 2
After cleaning and drying all removable parts it is time to reassemble your Keurig coffee maker.
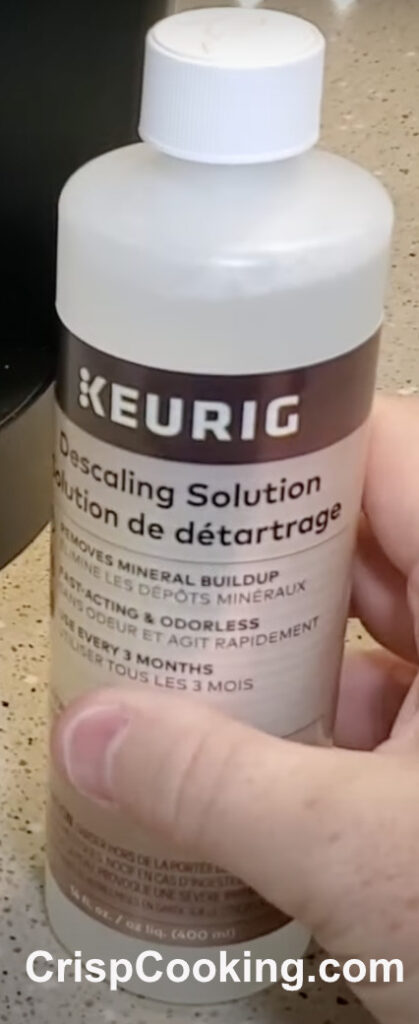
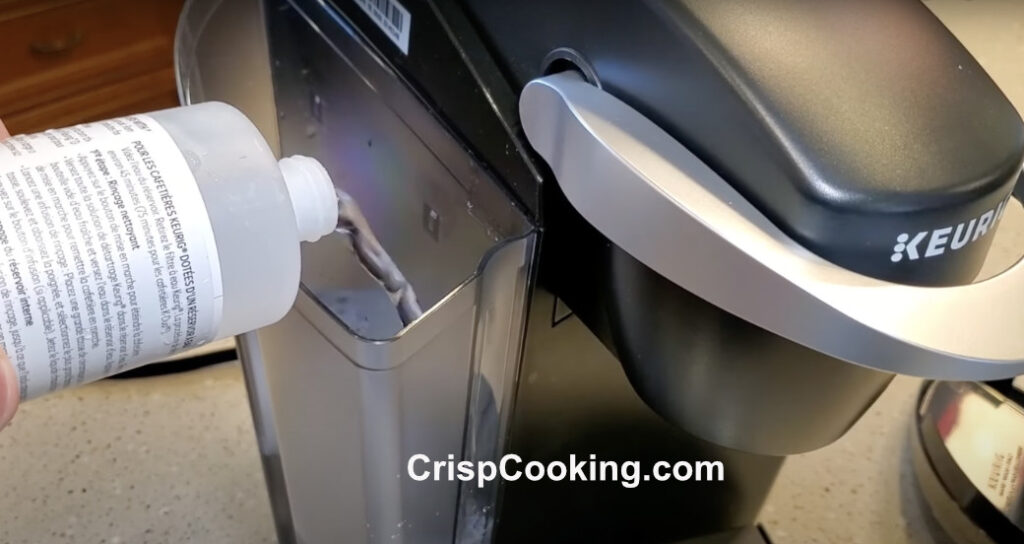
To clean the inside system of the Keurig coffee maker you can use Keurig descaling solution (pictured below) or you can use white vinegar. In this case we are going to use Keurig descaling solution.
Per the instructions in the bottle of Keurig descaling solution, we pour the full bottle into the water reservoir of your coffee machine.
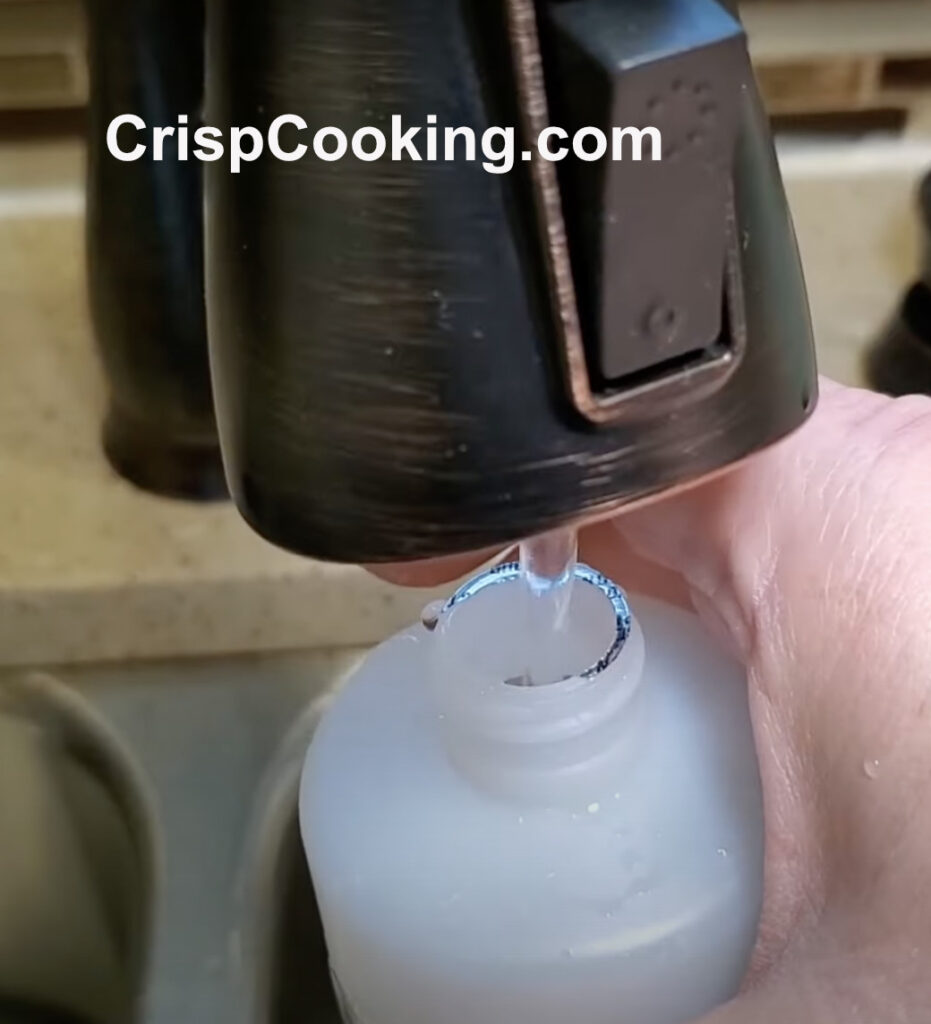
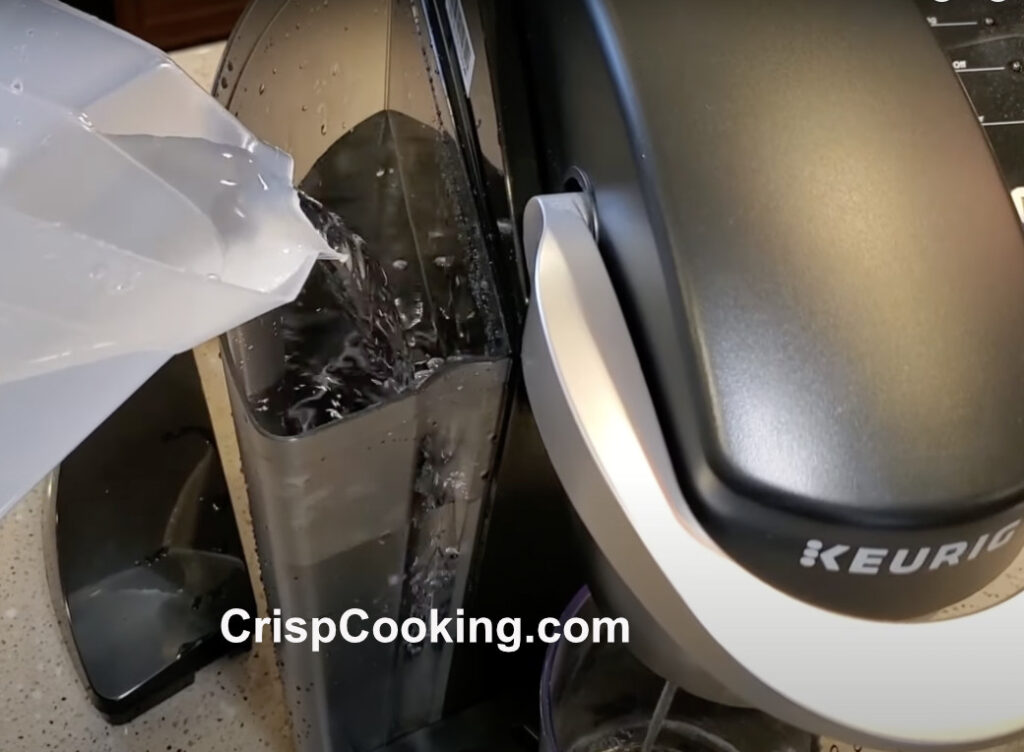
We add the same amount of water so we can use the same bottle of keurig descaling to solution, but this time empty. We fill the empty keurig descaling solution bottle woth water, like in the picture below.
We add the fresh water to the water reservoir of the keurig machine, picture below.
Step 3
We place a clean and empty recipient in the Keurig base (pictue below).
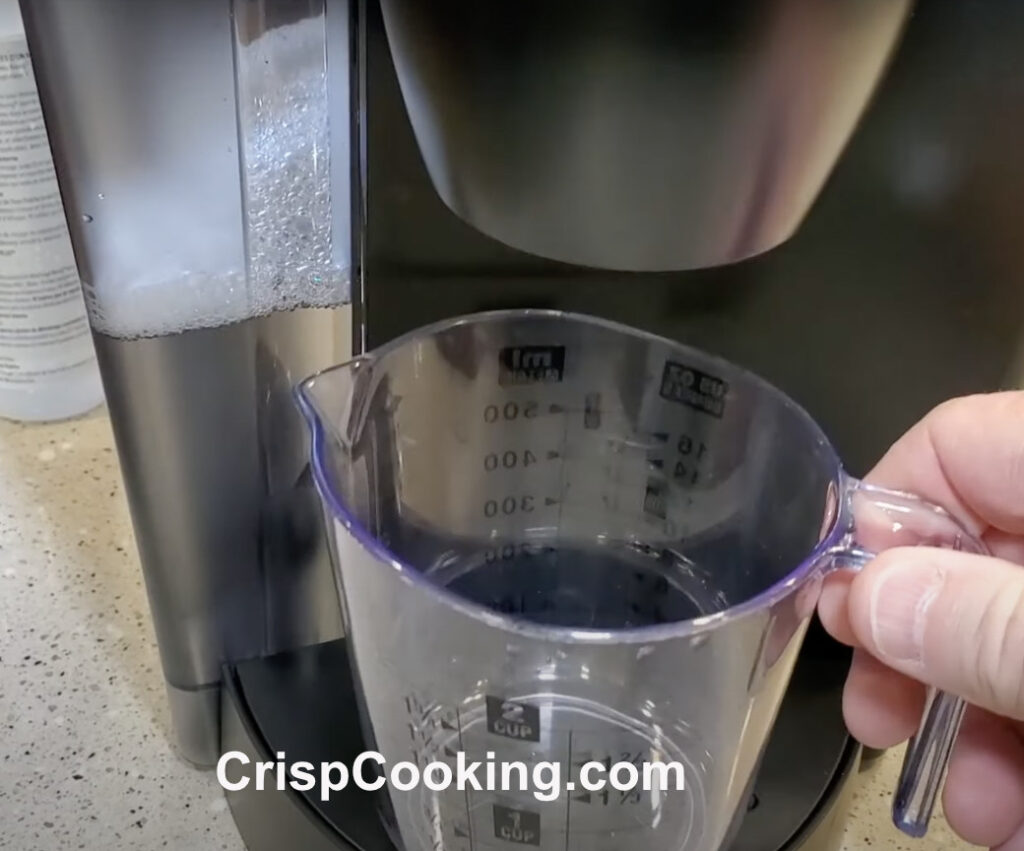
Step 4
We start the cleaning process by pressing the largest cup setting, picture below.

The cleaning process should start and the descaling solution should start flowing into the recipient (picture below).
In the process of cleaning the Heating light will turn (pictured below) and this normal. It normally turns on between brewes.

You should continue the cleaning process until the “Add water” light (Pictured below) turns on.

In this case it took 2 brews for “Add water” light to turn on (pictured below). This means the brewing process is over. You should let it sit for 30 minutes so that the hot descaling solution still in the system does its job of descale.

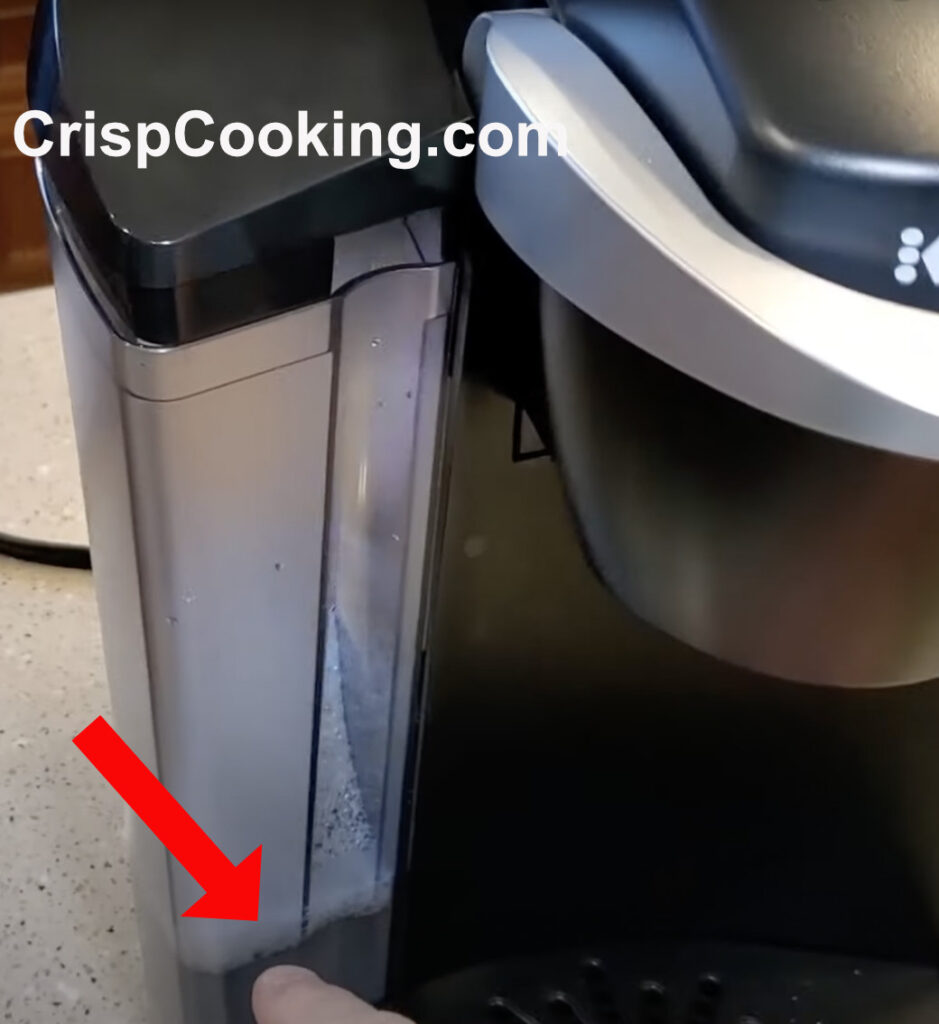
Step 5
Even though there is still descaling solution left in the water reservoir(pictured below) you should not run it throught the system. Just remove the water reservoir and discard the descaling solution that is left. Clean the water reservoir with soap and water to remove any descaling solution remains.
Step 6
Add fresh water to the water reservoir.
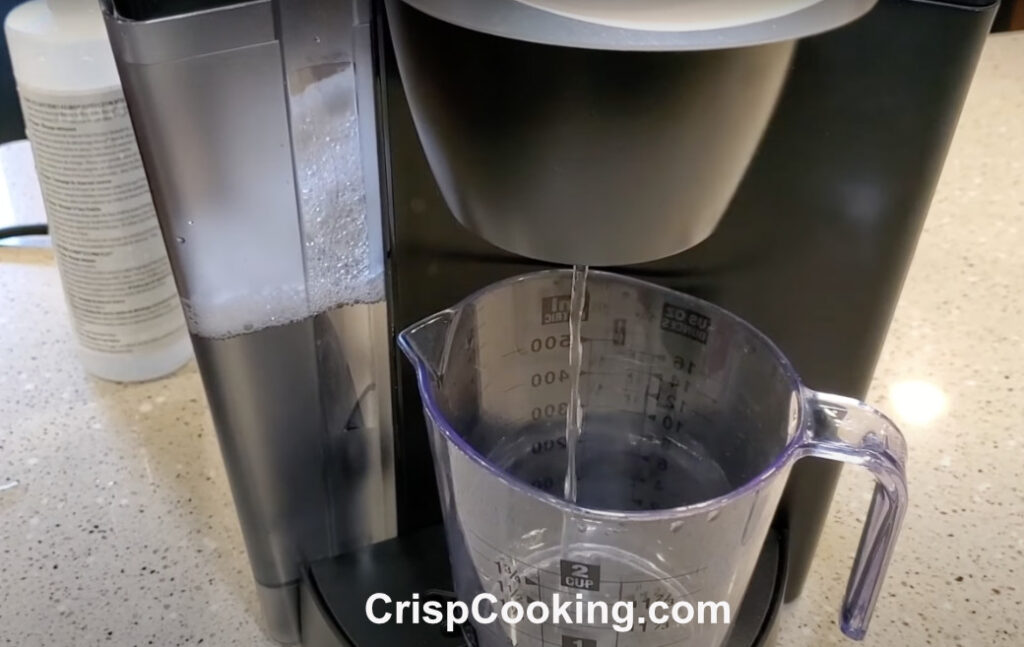
Now it is recommended to brew 12 big cups of fresh water through the system to remove any descaling solution left.

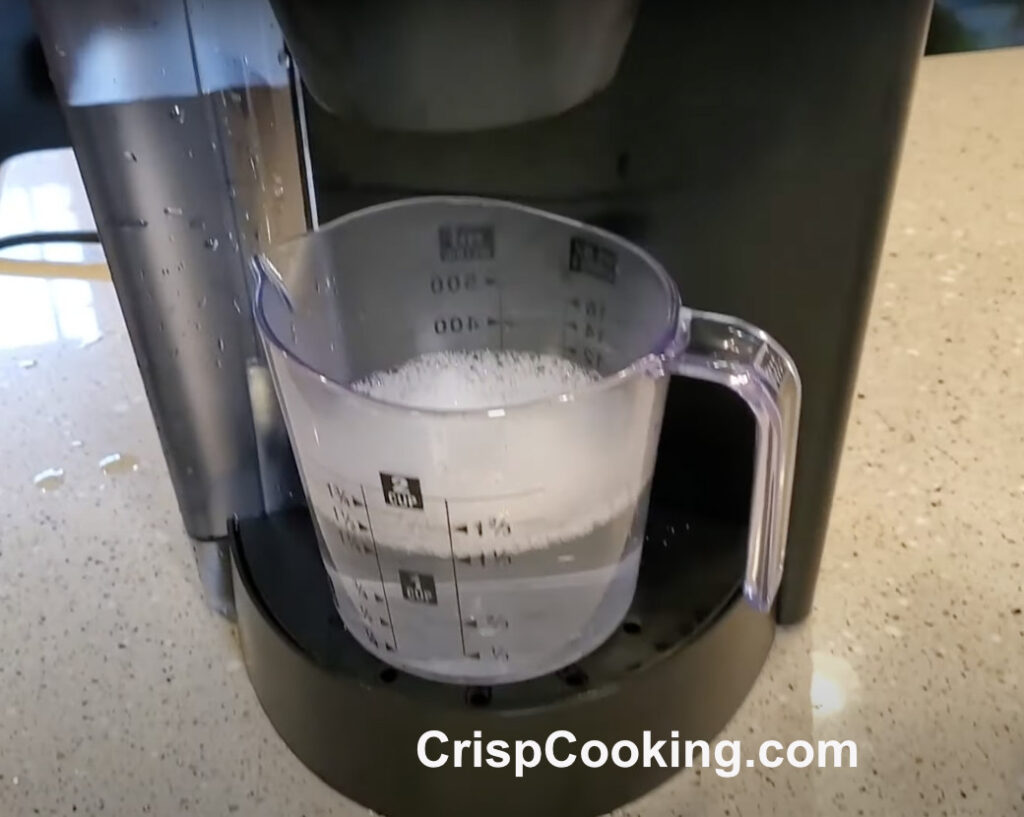
In the following picture you can see the first fresh water brewed, it will normally come out with a good amount of discaling solution.
Keep adding fresh water (pictured below) to the water reservoir until the 12 big cups of fresh water are brewed.
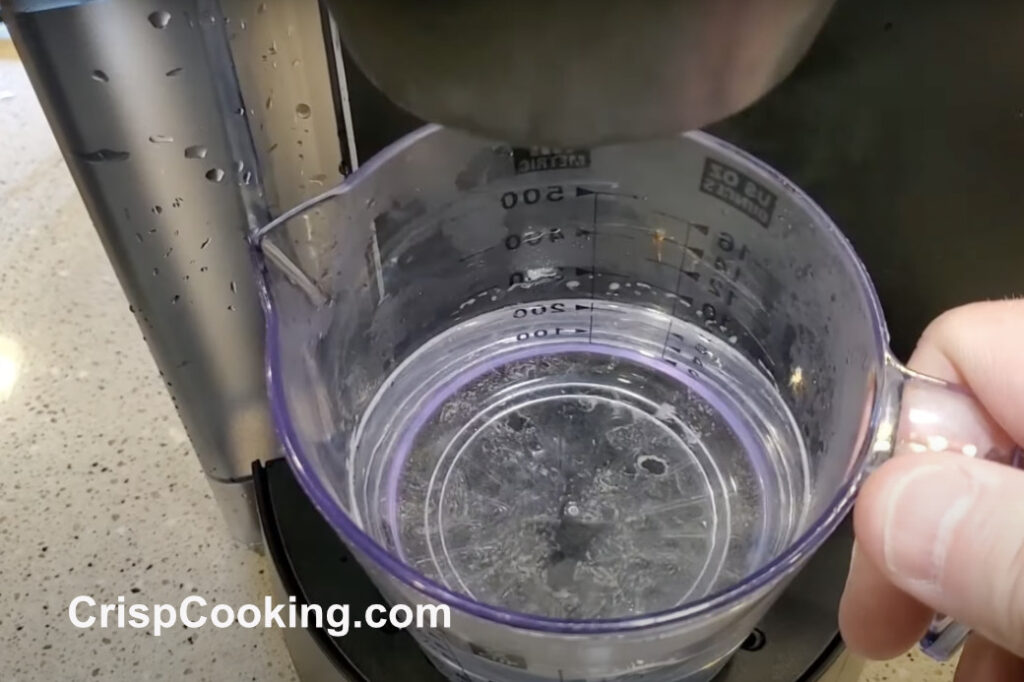
In the picture below you can see there is still some descaling solution after 4 cups have been brewed. That is why it is required to complete 12 cups so that the descaling solution is completely removed form the Keuring system.
After the 12 cups of fresh water have been brewed the cleaning process is complete. You can now test it out.
Keurig Descaling Solution Instructions for other Models
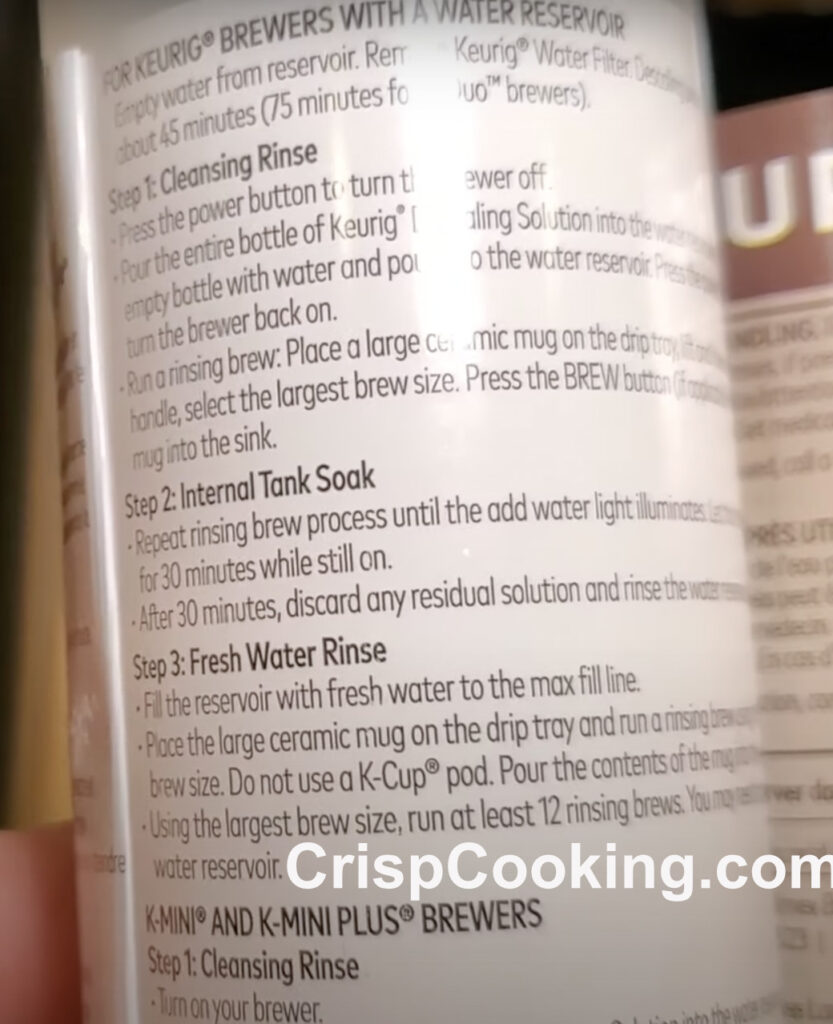
How to Clean a Keurig Coffee Maker with Water Reservoir
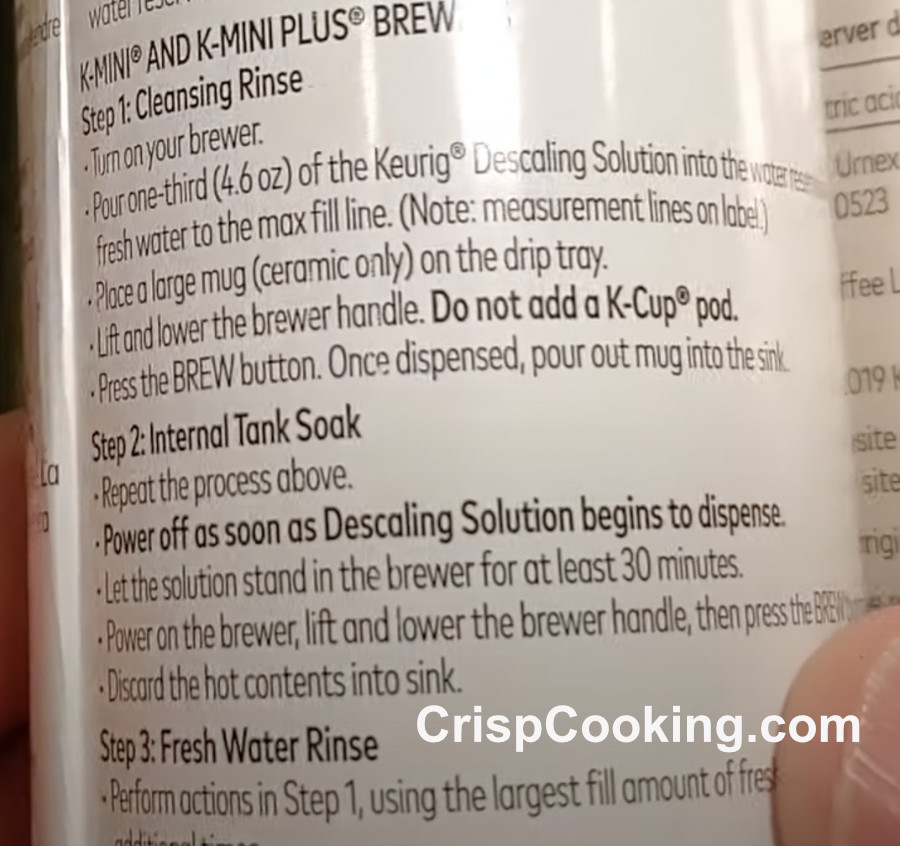
How to Clean a Keurig Coffee maker K-mini and K-mini plus
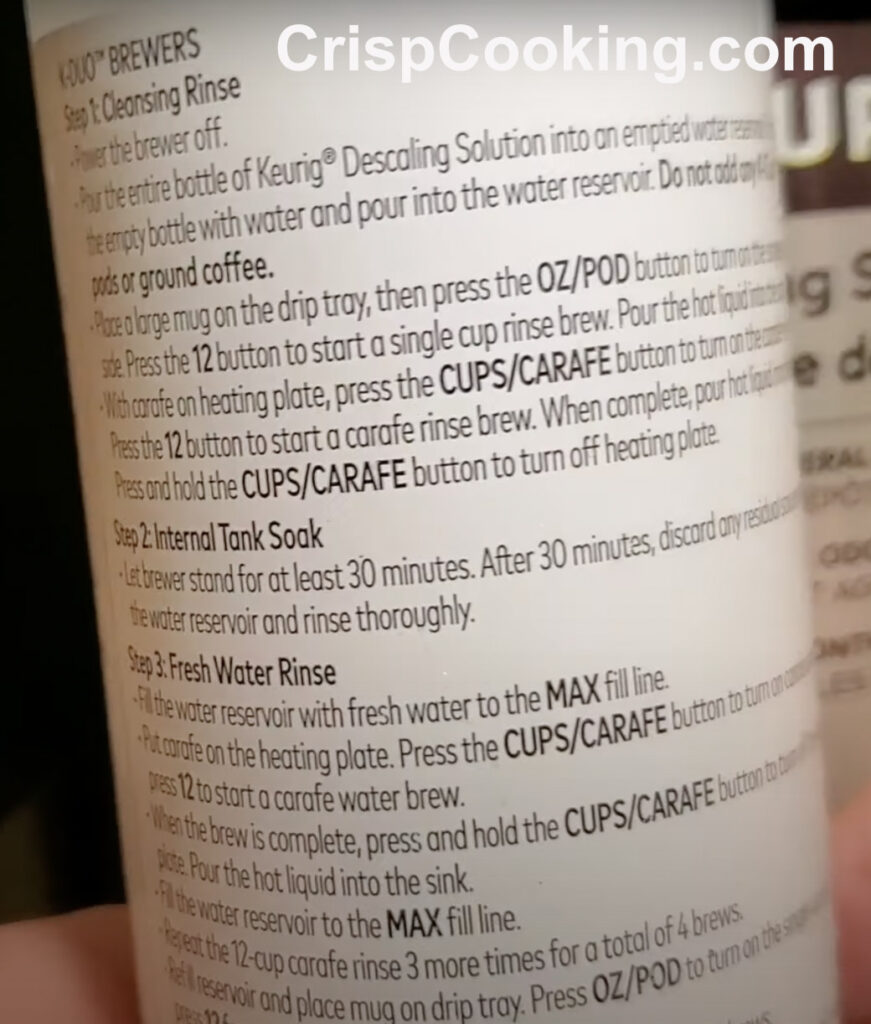
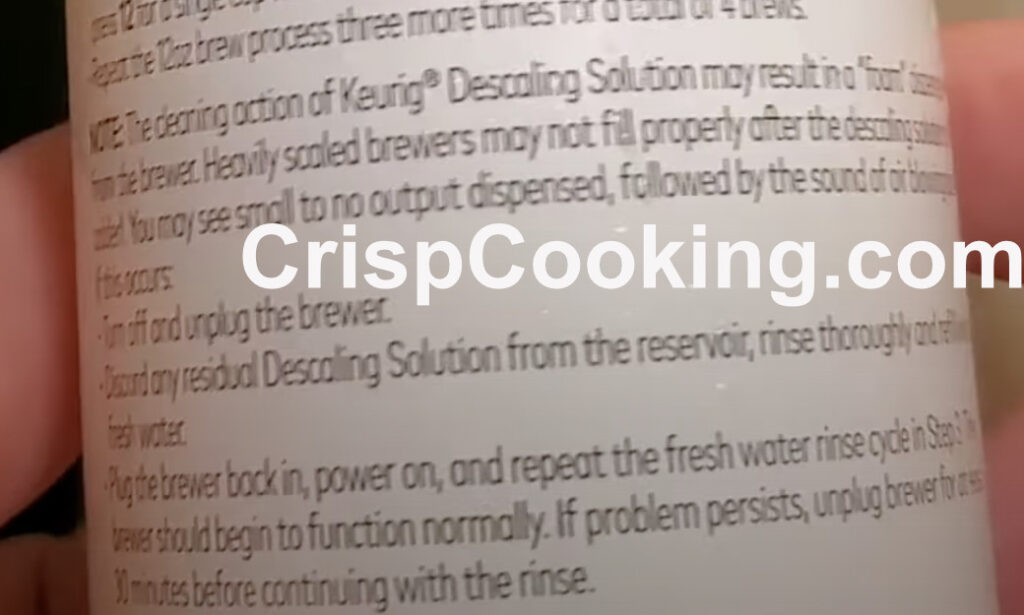
How to Clean a Keurig Coffee Maker K-Duo Brewer
Tips for Regular Keurig Coffee Maker Maintenance
If you have hard water, or your machine requires cleanings more often than it should, consider using filtered water in the reservoir instead of water straight from the tap.
If you’re going on vacation or not planning on using your single-serve coffee maker for an extended period, empty the reservoir and turn off the machine.
If your Keurig coffee maker is working and has all lights on or has all lights flashing please check our guide on how to fix this common problem.
Cleaning a glass coffee pot? Stick to completely all-natural cleansers, such as vinegar and a few tablespoons of salt. The salt will work like a scrub against any burnt-on coffee stains and spots on the interior.
FAQS on How to Clean a Keurig Coffee Maker
How often should I clean my Keurig?
If you use your Keurig coffee maker every day it is recommended to clean or descale it at least once a month. If you’re not using it every day you should at least descale it every 3 months.
The reason is mineral buildup in the inside of your machine pipes can change the flavor of your coffee and even destroy the internal seals and clog your machine. It can ruin it beyond repair.
I live in an area that has hard water. Does that change my cleaning frequency?
In short YES. If the water where you live is hard, mineral buildup will occur faster, so you have to descale more often. You can use filtered water instead to avoid descaling more often.
If you don’t want to use fitlered water you should descale your Keurig coffee maker every week to avoid mineral buildup.
Is it okay to use water in my tank that’s been sitting around a while?
No, it is best to use fresh water each time. Water that has been sitting for some time can grow mold.
How do I clean my Keurig with white vinegar?
If you don’t have the Keurig descaling solution we used in our guide, you can use instead white vinegar. Use it in the same proportion, 1 part white vinegar and 1 part fresh water. The rest of the step by step process in our article is the same.
Is vinegar enough to clean a Keurig?
Yes, you can use Keurig descaling solution or just white vinegar to clean the internal system of your Keurig coffee maker. Vinegar is used to remove mineral build up that occurs over time when using your machine.
Final Thoughts
A Keurig coffee maker is one of the best machines you can get for getting great tasting coffee every day. It is essential to take your time to clean it regularly, using our guide and tips, so that it keeps producing your daily cups of coffee with no interruptions.
By following our simple guide on how to clean a Keurig coffee maker, you will extend the life of your machine and the output quality of your coffee will be more constant and fresh every day.

Hello, I am Cristy. I love cooking but what I love most is keeping my kitchen tools and appliances top notch. I enjoy writing about everything I have learned around the kitchen. I believe that keeping your kitchen tools well cleaned and maintained produces the best dishes and drinks. Besides writing and cooking I enjoy traveling, camping, hiking and music.