Juicing is a healthy and refreshing way to get your daily dose of vitamins and nutrients. But if you’re a proud owner of a Kuvings juicer, you know that cleaning it can be a daunting task. Luckily, with the right technique, cleaning your Kuvings juicer can be a quick and easy process.
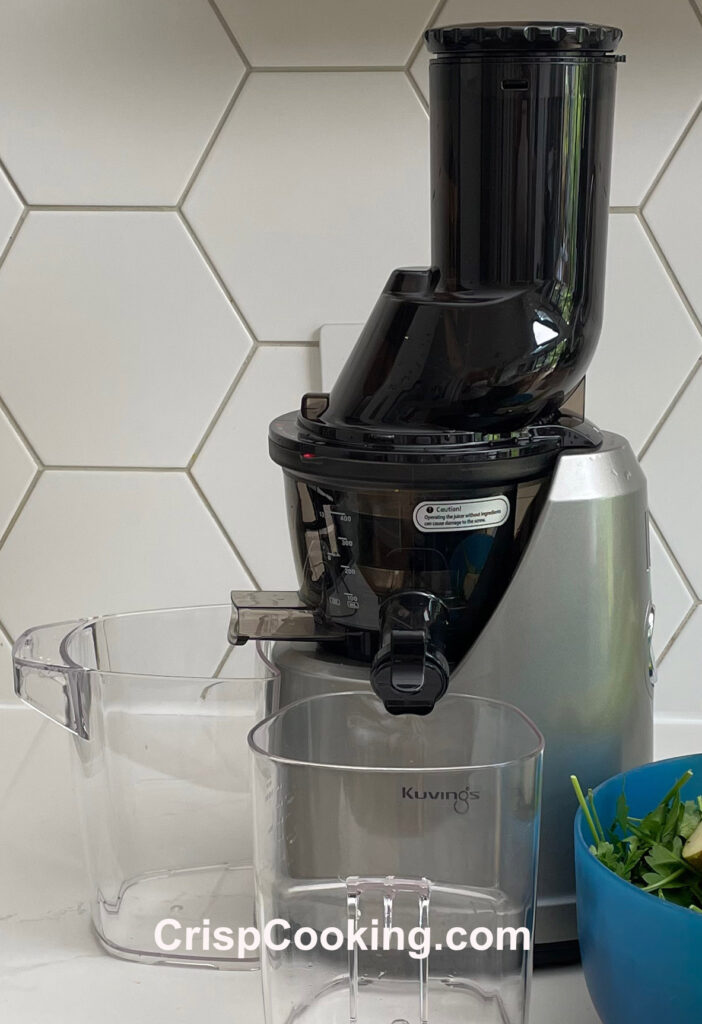
In this article, we’ll guide you through the step-by-step process on how to clean a Kuvings juicer, so you can enjoy fresh juice without any hassle. Whether you’re a seasoned juicer or a newbie, our tips and tricks will help you keep your Kuvings juicer in top shape.
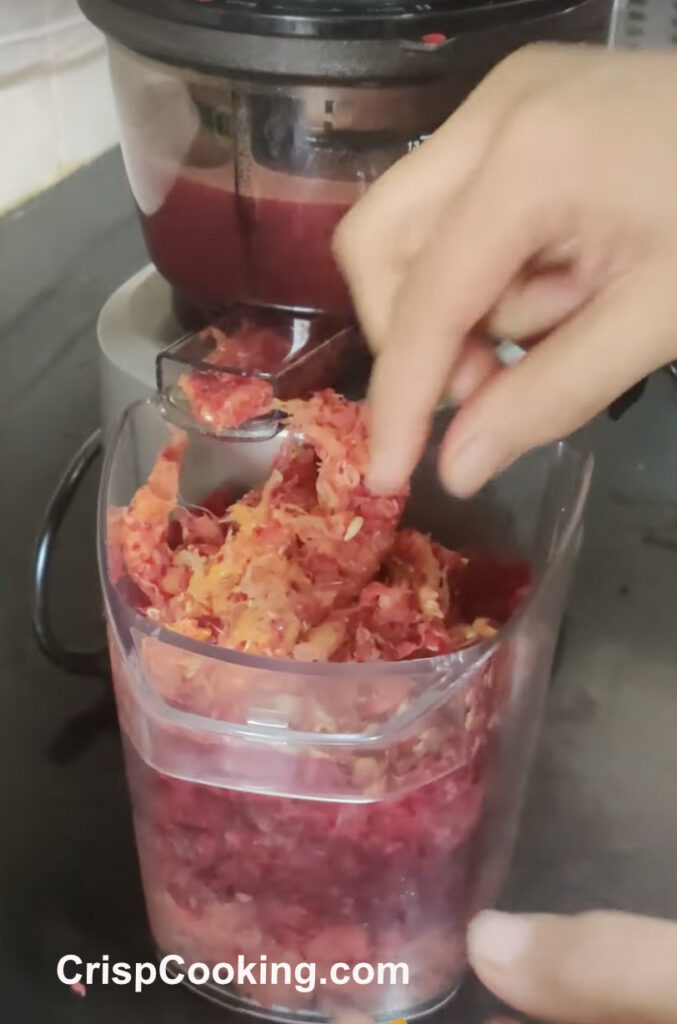
We are going the be cleaning a Kuvings B1700 that one of our friends own. We have just used it and can see how it turned out in the following picture. There is a lot of residue in the pulp container. It looks nasty but we’ll show you how easy it is clean a Kuvings juicer.
So let’s get started and learn how to clean your Kuvings juicer like a pro!
How to Clean a Kuvings Juicer – Step by Step
Tools Needed
To clean a Kuvings juicer, you will need a few tools:
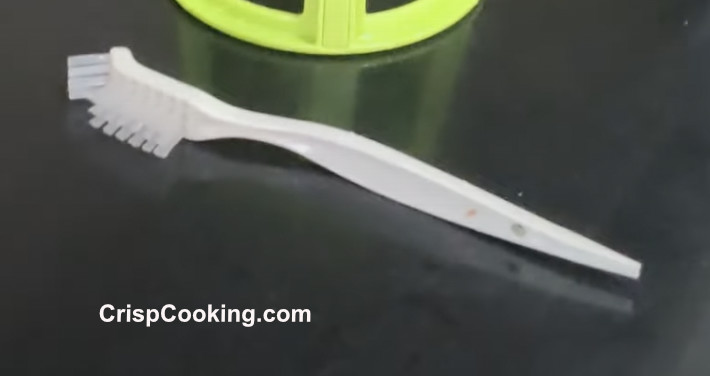
- Cleaning brush: The Kuvings B1700 juicer comes with a specialized cleaning brush that is designed to remove pulp and other residue from hard-to-reach areas (picture above).
- Rotator Brush: The Kuvings B1700 also includes a rotating brush specifically made to clean the juicing screen fast and efficiently.
- Water: You will need access to running water to rinse off the removable parts of the juicer.
- Soft sponge or cloth: Use a soft sponge or cloth to wipe down the motor base of the juicer.
By having these tools on hand, you’ll be able to clean your Kuvings B1700 juicer thoroughly and efficiently.
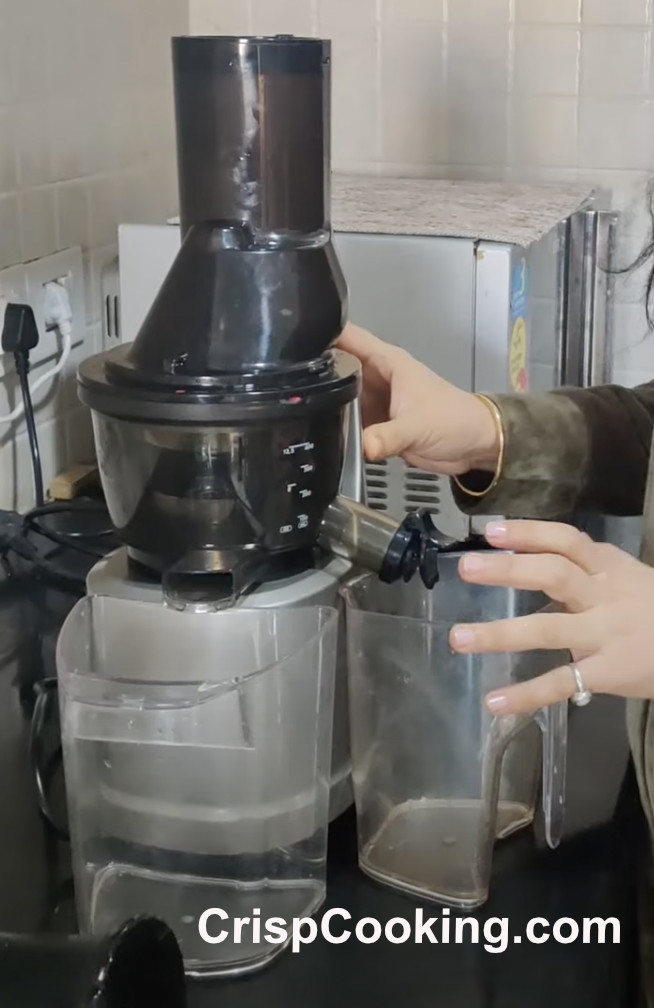
Cleaning a Kuvings juicer is a simple process that involves a few basic steps. Here are the steps you can follow to clean your Kuvings juicer:
5 Minutes
-
Clean the Pulp Container
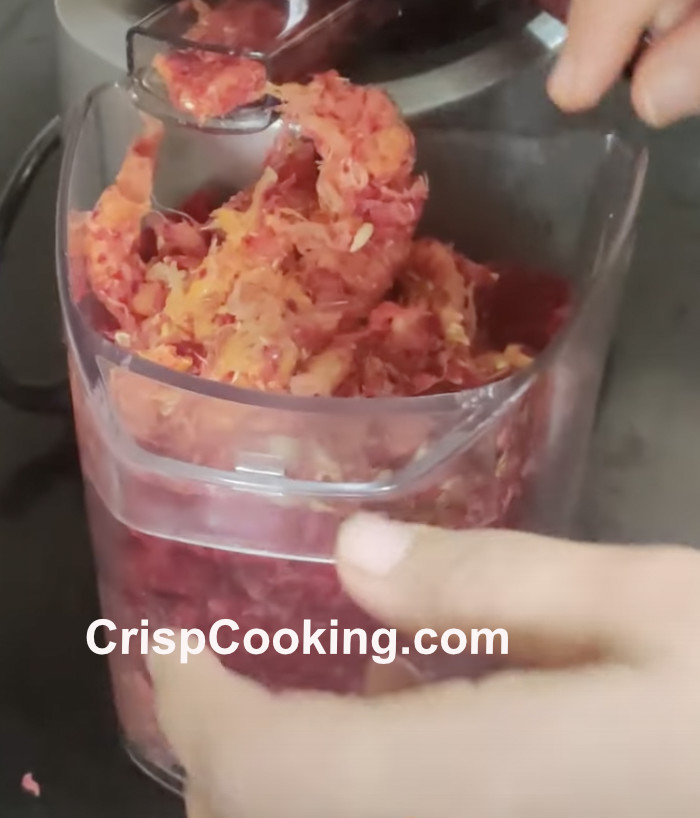
Discard the residue in the pulp container. Rinse it thoroughly in the kitchen sink and let it to air dry.
-
Disassemble the Feed Tube
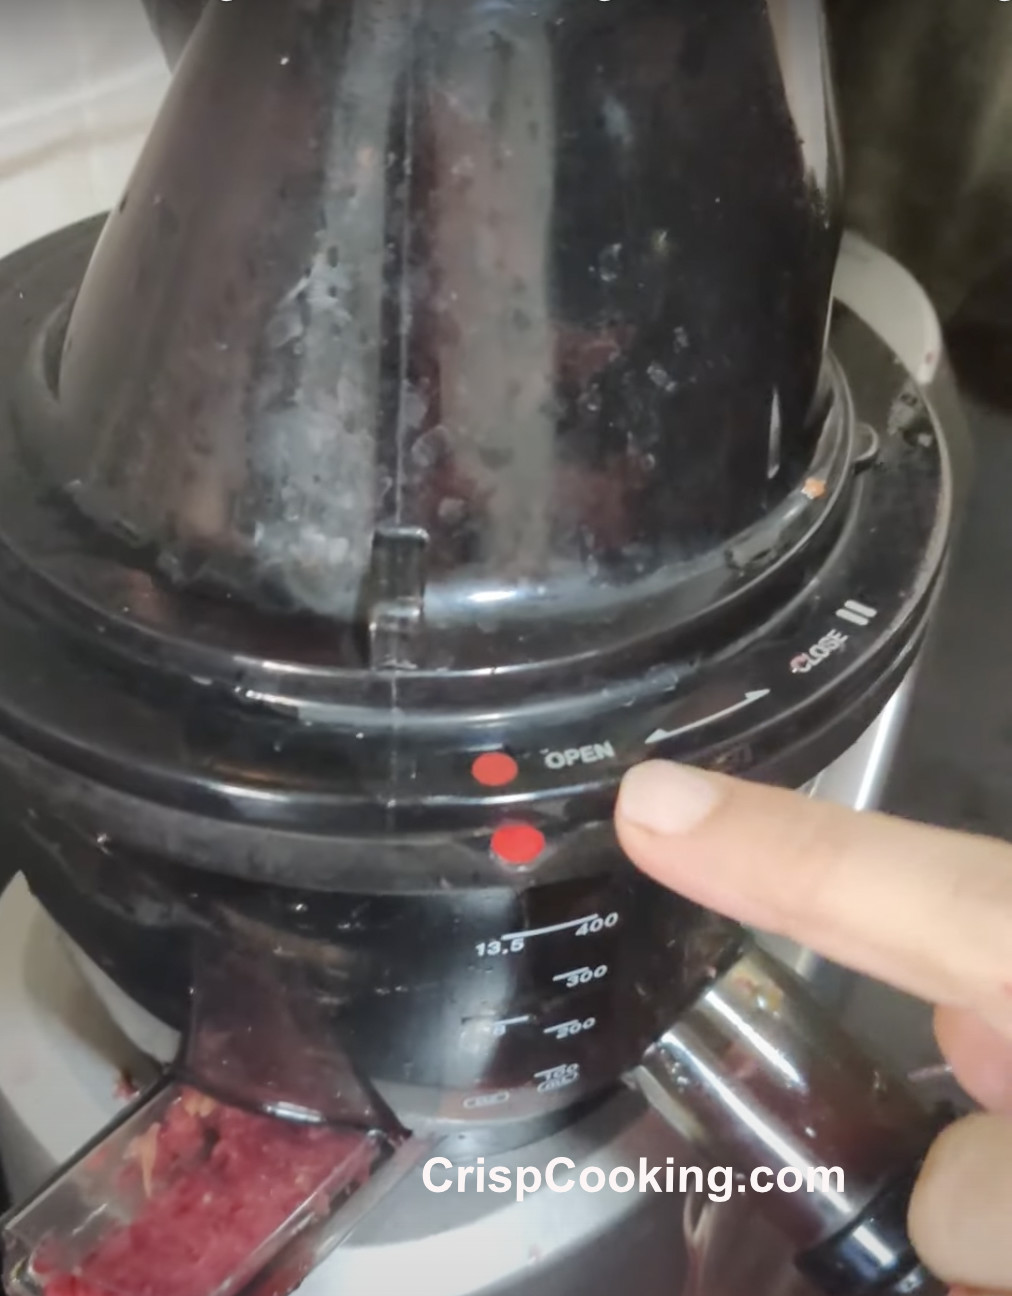
Align the red dots so that you can remove the feed tube.
-
Rinse the Feed Tube
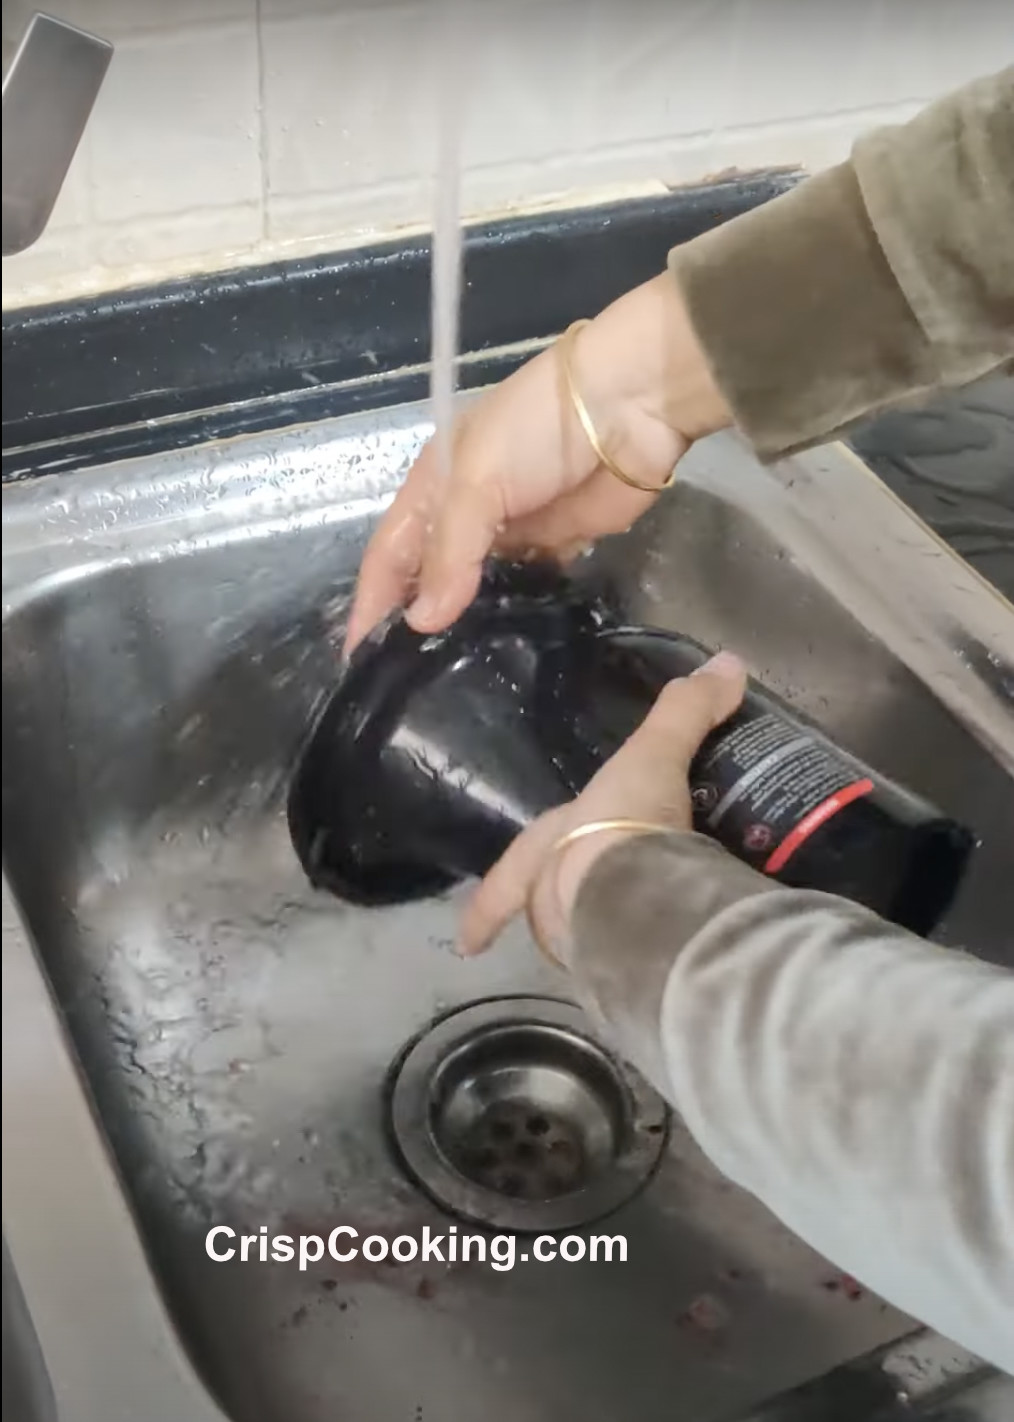
Rinse the feed tube thoroughly.
-
Remove the Juicing Screw
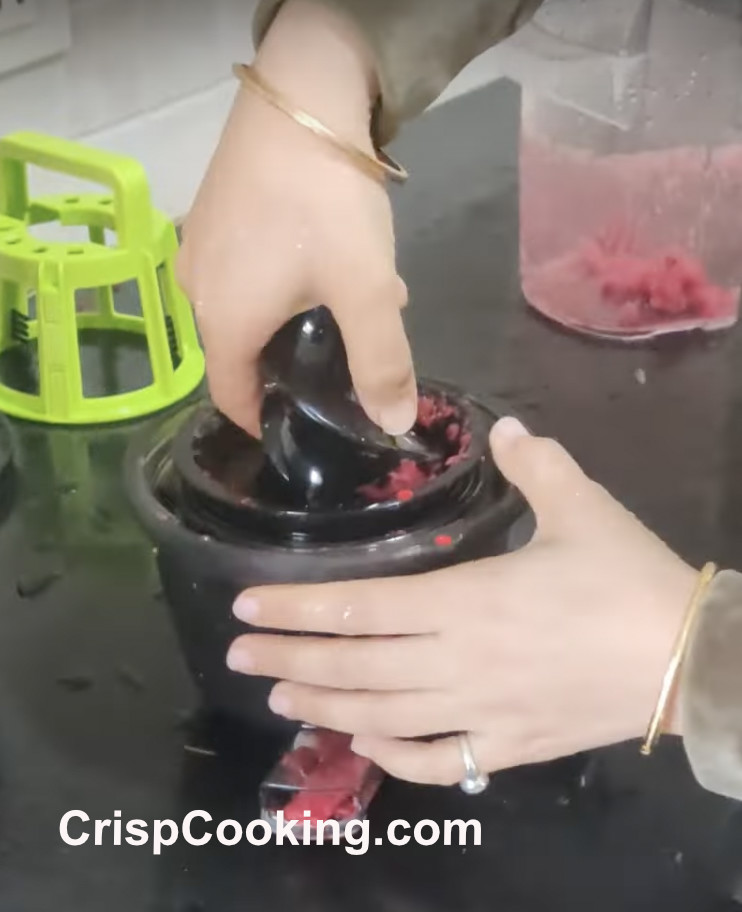
Remove the juicing screw from the jucing bowl.
-
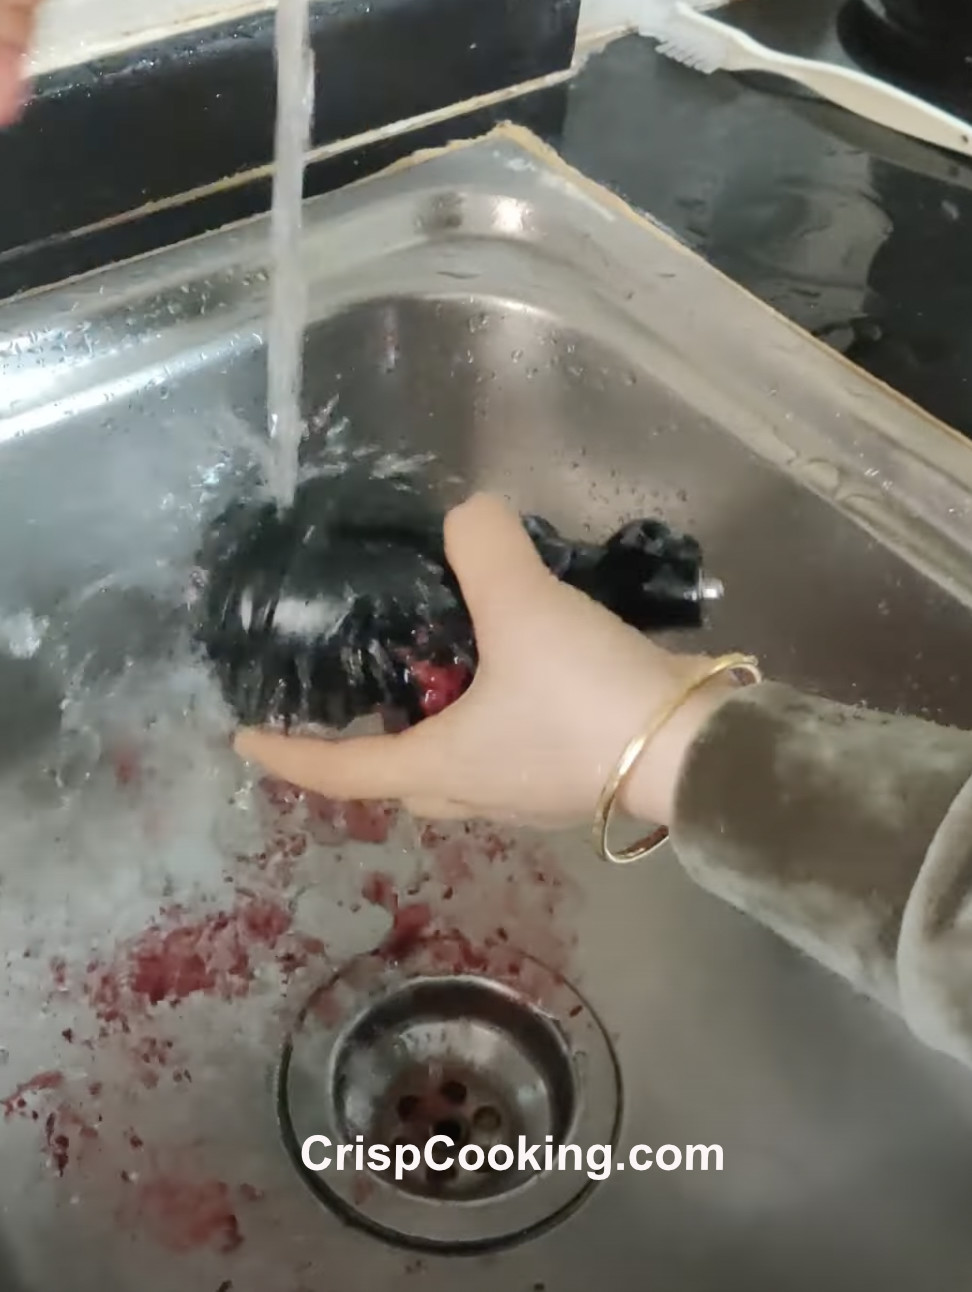
Rinse the juicing screw (auger) thoroughly. Use the tip of the cleaning brush to push out any food residue in the crevices at the bottom of the juicing screw.
-
Remove the Juicing Screen
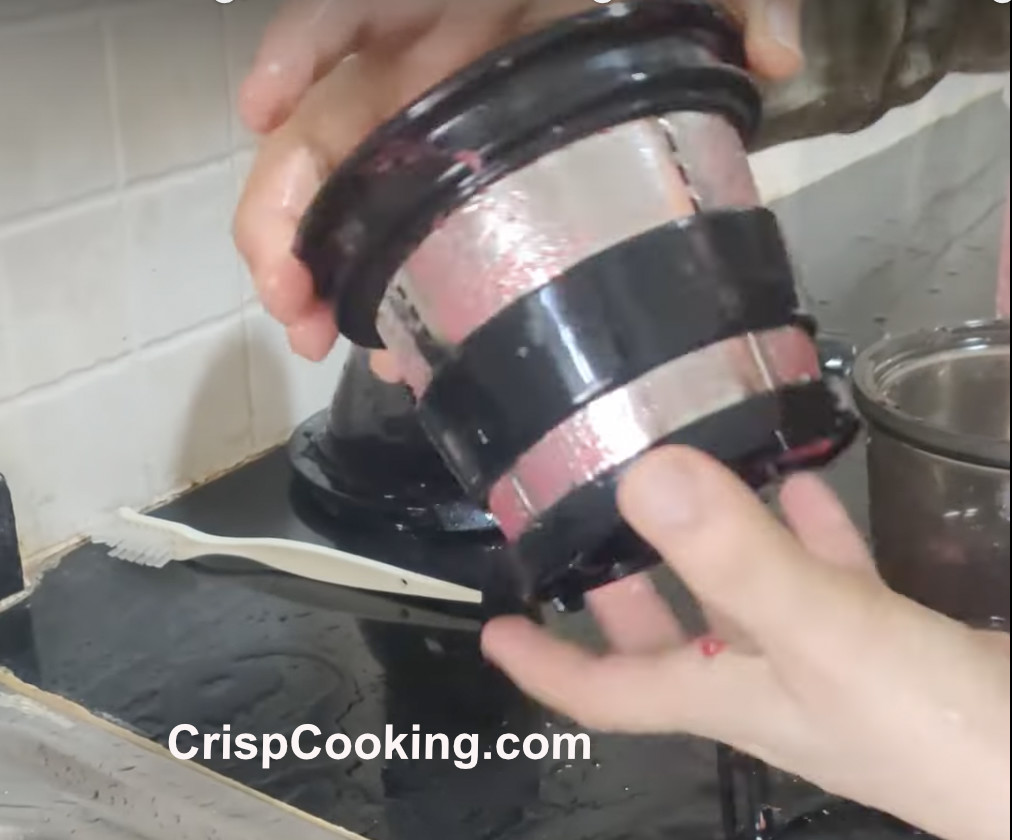
Remove the juicing screen.
-
Rinse Juicing Screen
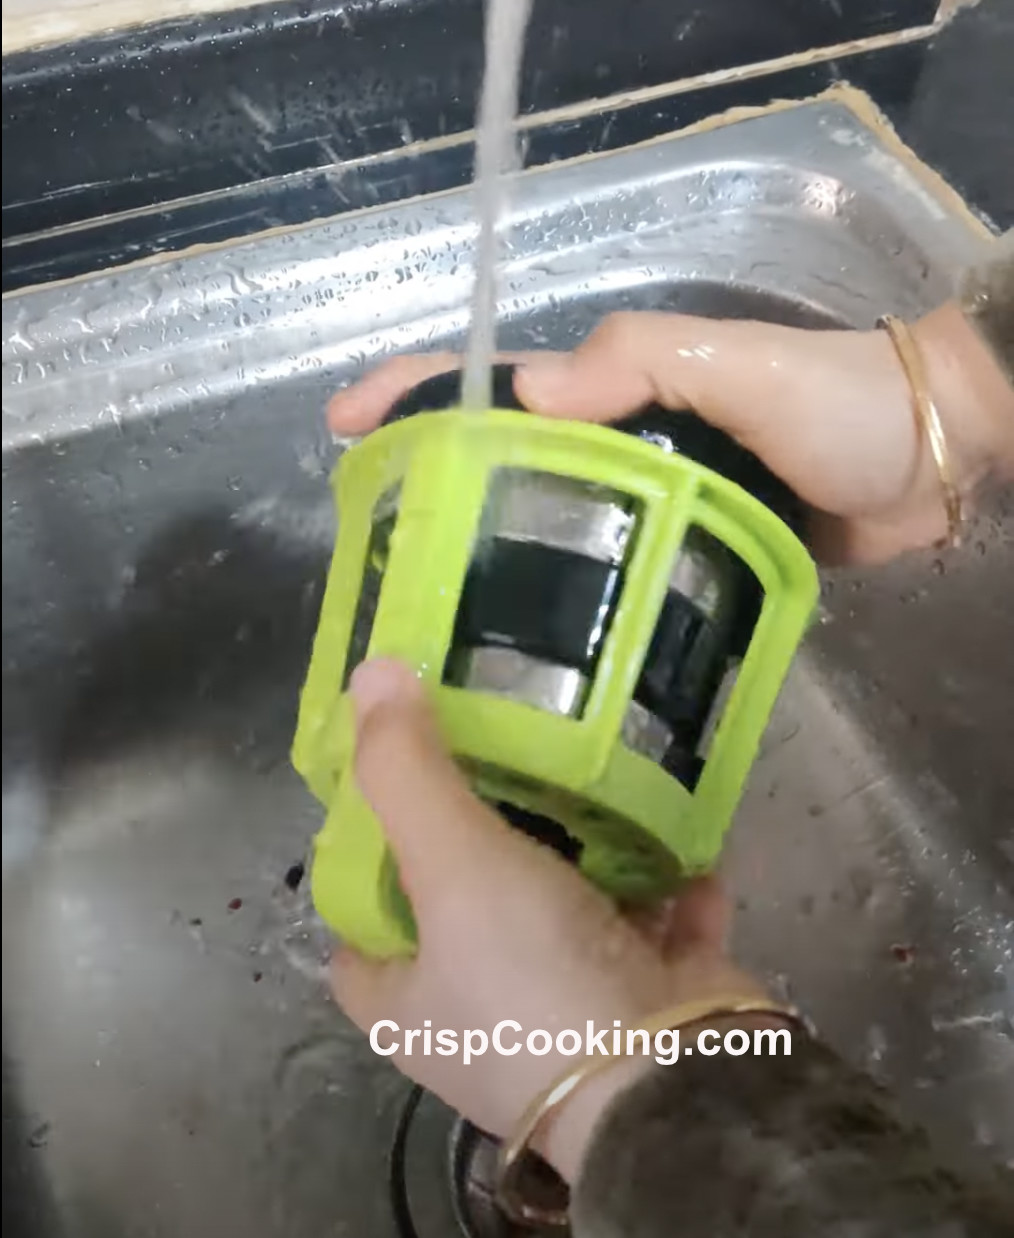
Place the juicing screen inside the rotating brush. Under running water rotate the cleaning brush and juicing screen in opposite directions to clean. Rinse thoroughly the inside and outside of the juicing screen.
-
Rinse the Juicer Bowl
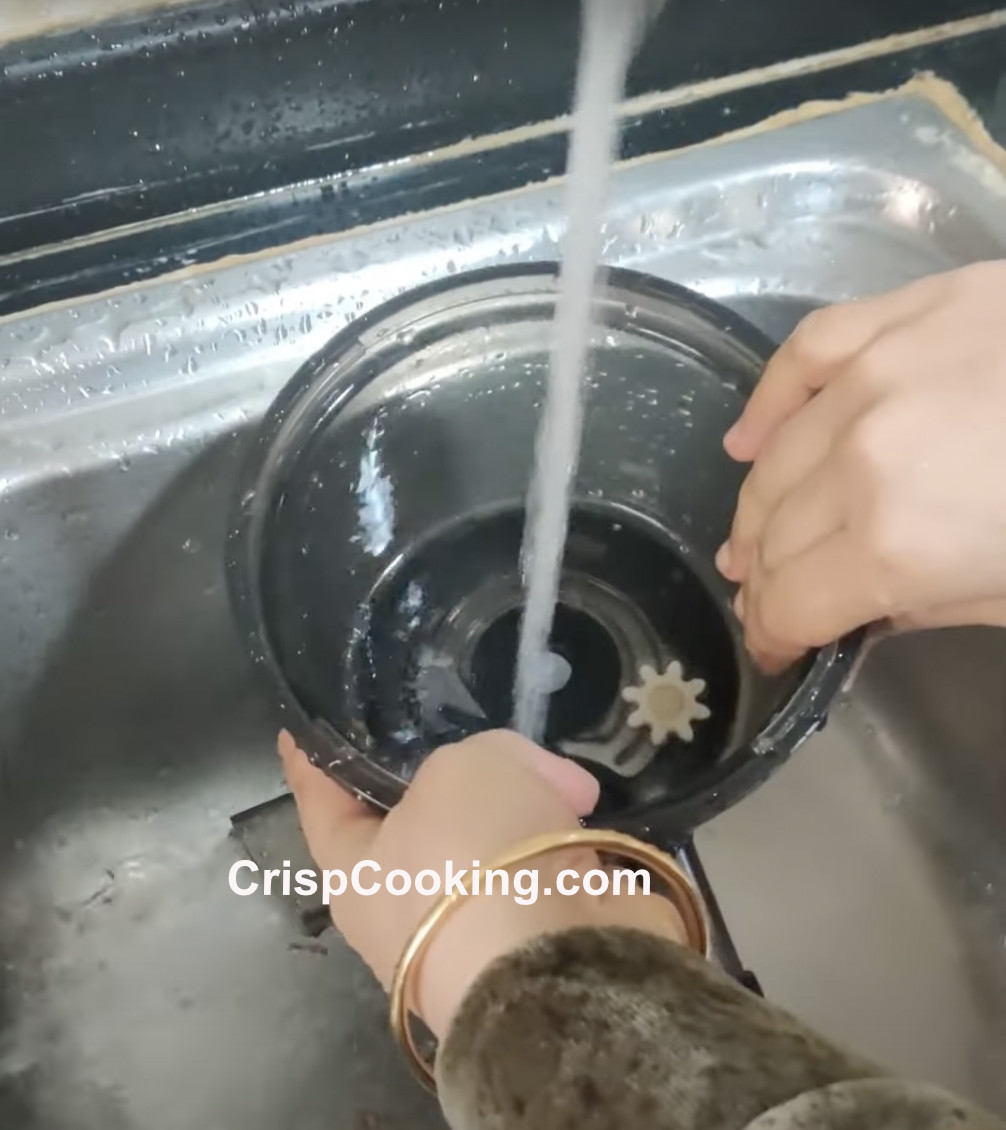
Rinse the juicer bowl thorougly. If any food is tuck you can use the brush to loosen and remove.
-
Clean the Rotation Wiper
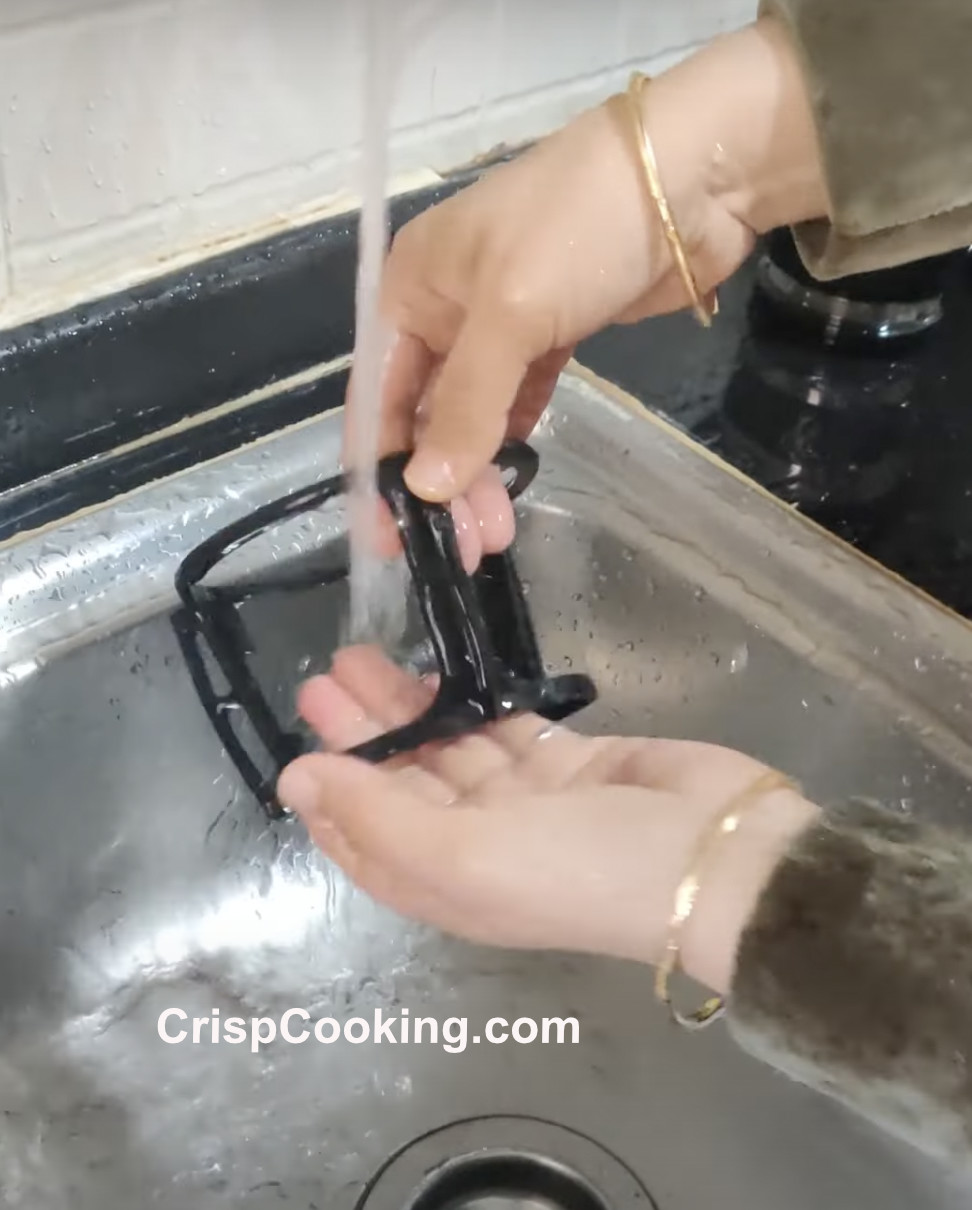
Clean the rotation wiper by rinsing it thoroughly under running water.
-
Air Dry
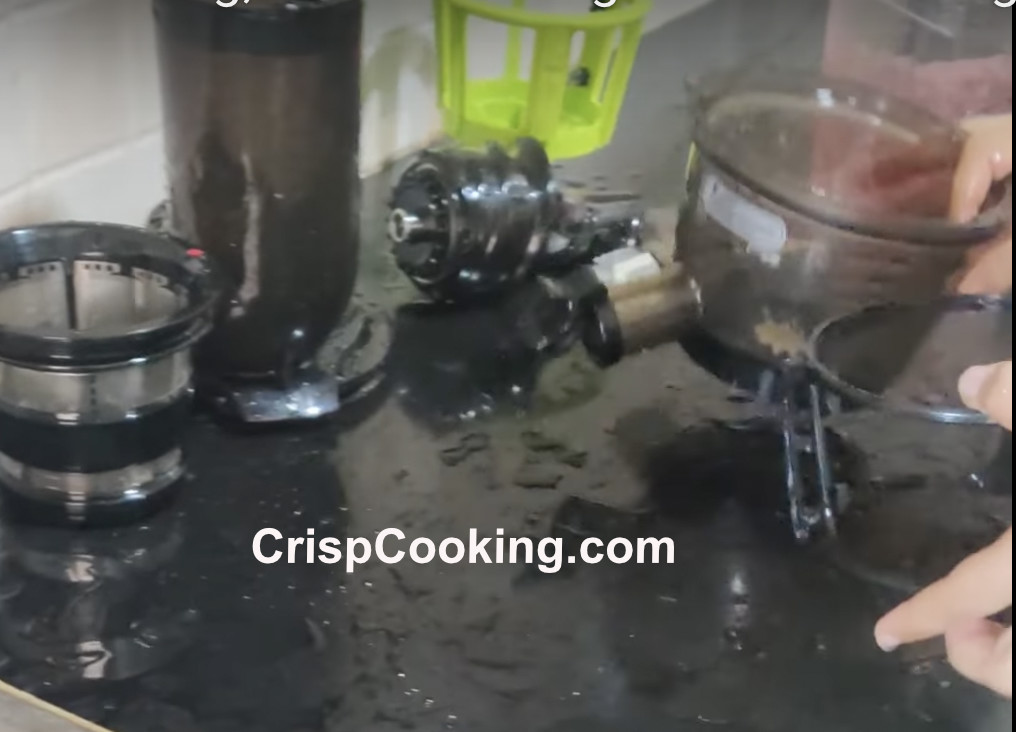
Let all the removable parts air dry.
While air drying go ahead and clean the motor base. Use a damp cloth to wipe down the exterior of the juicer, removing any juice or pulp that may have splattered.
-
Reassemble the Kuvings Juicer
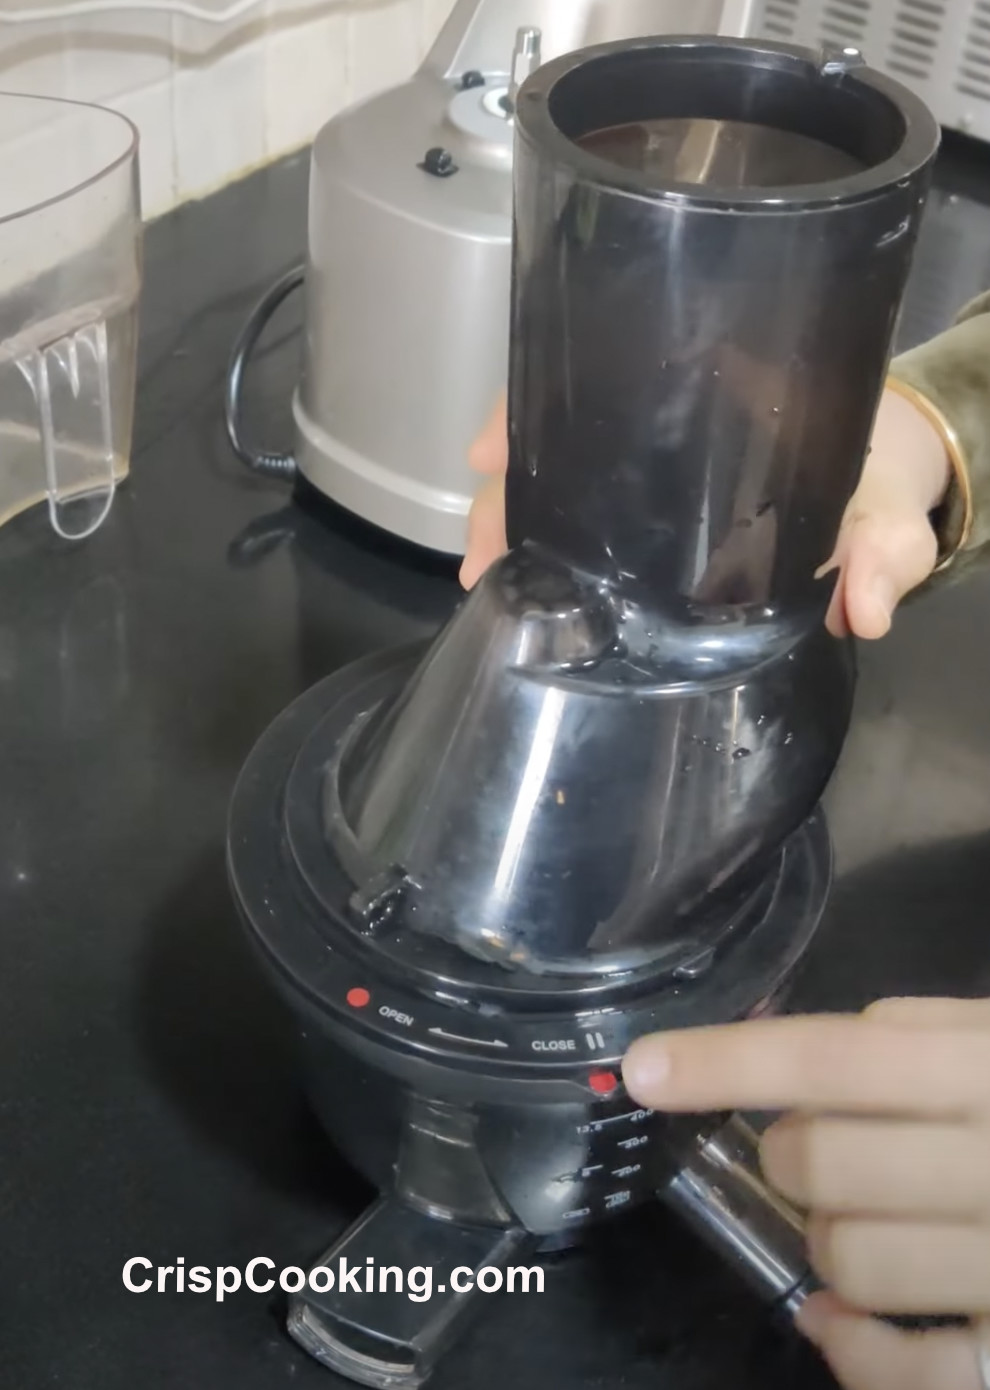
Once the parts are dried you can go ahead and reassemble the Kuvings juicer. To reassemble the feeding tube, match the red dots and then turn clockwise until the “Close ||” mark matches the red dot.
-
Continue Reassembling
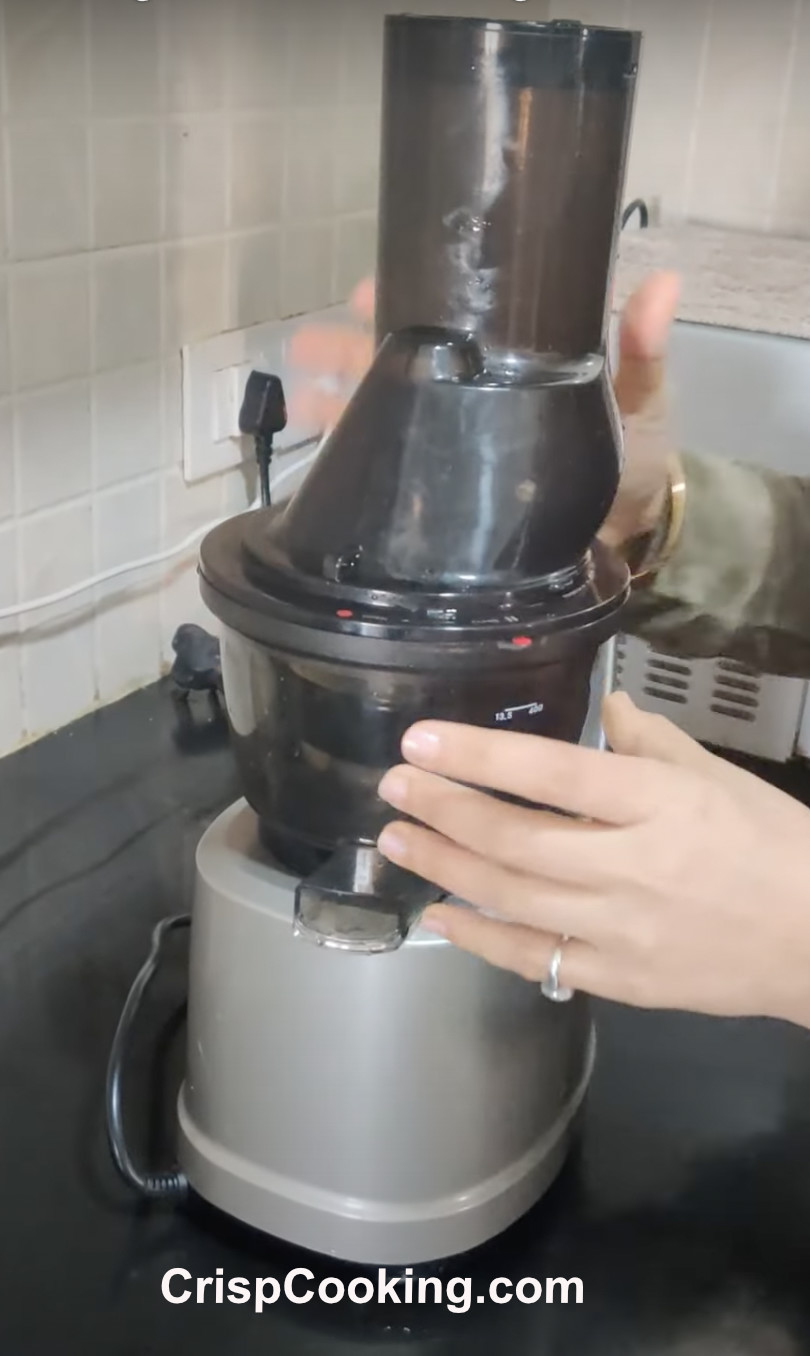
Continue reassembling until you have replaced all detachable parts back in place and secure them tightly.
This completes the cleaning process and by following these steps, you can ensure your Kuvings juicer is clean and ready to use for your next juicing session.
Tips and Tricks
- Never submerge the Kuvings Juicer main unit in water or any other liquid. This is to avoid the risk of electrical injury.
- Always unplug the Kuvings Juicer before cleaning, disassebling and reassembling.
- Use a dry towel to clean the power cord if it is dirty or wet.
- Don’t store the Juicer near a heating appliance.
- Don’t use harsh or strong chemiclas to clean the juicer.
- Don’t operate the Kuvings Juicer for more than 30 minutes continously. Let it rest for 10 minutes, then continue juicing.
- Immeditately clean the juicer after each use. This will make the cleaning process a lot faster and easier.
FAQs on How to Clean a Kuvings Juicer
How often should I clean my Kuvings juicer?
You should clean your juicer after every use to prevent any residue or pulp from drying and becoming difficult to remove later on.
What parts of the Kuvings juicer should I clean?
You should clean the juicing bowl, the jucing screen, the juice screw, the juice and pulp containers, and the food pusher.
Can I clean the Kuvings juicer in the dishwasher?
Only the juice and pulp containers are dishwasher safe. The other parts should be washed by hand using warm soapy water and the provided cleaning brush. The high temperatures used in the dishwasher may harm the plastic in the Kuvings removable parts.
What should I do if there is residue stuck in hard-to-reach areas?
Use the cleaning brush to gently scrub away any residue. If that doesn’t work, soak the parts in warm soapy water for a few minutes before scrubbing again. After scrubbing rinse thoroughly to finish cleaning.
Can I use abrasive cleaners or scrubbers on my Kuvings juicer?
No, abrasive cleaners or scrubbers can damage the juicing bowl and mesh strainer. Use only the provided cleaning brush or a soft sponge to clean the juicer.
How do I clean the motor base of the Kuvings juicer?
Wipe the motor base with a damp cloth, being careful not to get any water in the motor. Do not immerse the motor base in water or any other liquid.
How do I store my Kuvings juicer?
After cleaning, make sure all parts are completely dry before reassembling and storing. Store the juicer in a cool, dry place, away from direct sunlight. Don’t place any objets in top of the juicer.
Final Thoughts
Now that you know how to clean a Kuvings juicer, you can enjoy fresh and healthy juice without worrying about the cleanup process. Remember, cleaning your juicer after every use is essential to keep it running smoothly and to prevent any residue buildup that could affect the quality of your juice.
With the right tools and techniques, cleaning your juicer can be a quick and easy process. By taking good care of your Kuvings B1700 juicer, you can ensure that it will continue to serve you well for years to come.
If the juicer you own is not from Kuvings you can follow our specific guide on how to clean the following brands:
Happy juicing!

Hello, I am Cristy. I love cooking but what I love most is keeping my kitchen tools and appliances top notch. I enjoy writing about everything I have learned around the kitchen. I believe that keeping your kitchen tools well cleaned and maintained produces the best dishes and drinks. Besides writing and cooking I enjoy traveling, camping, hiking and music.
