How to Clean a Black and Decker Coffee Maker – Easy Step by Step Guide with over 50 Pictures
You wake up one morning and the only thing you can think of is drinking a hot cup of coffee to start your day on the right foot. You go to the kitchen and you see your coffee maker all dirty after many months or even years of use without cleaning.
It is not a nice sight. You will always think that today is the day I will clean my coffee maker. That day never comes.
In the following picture you can see the before and after of a Black and Decker Coffee pot so you can see what is achievable.
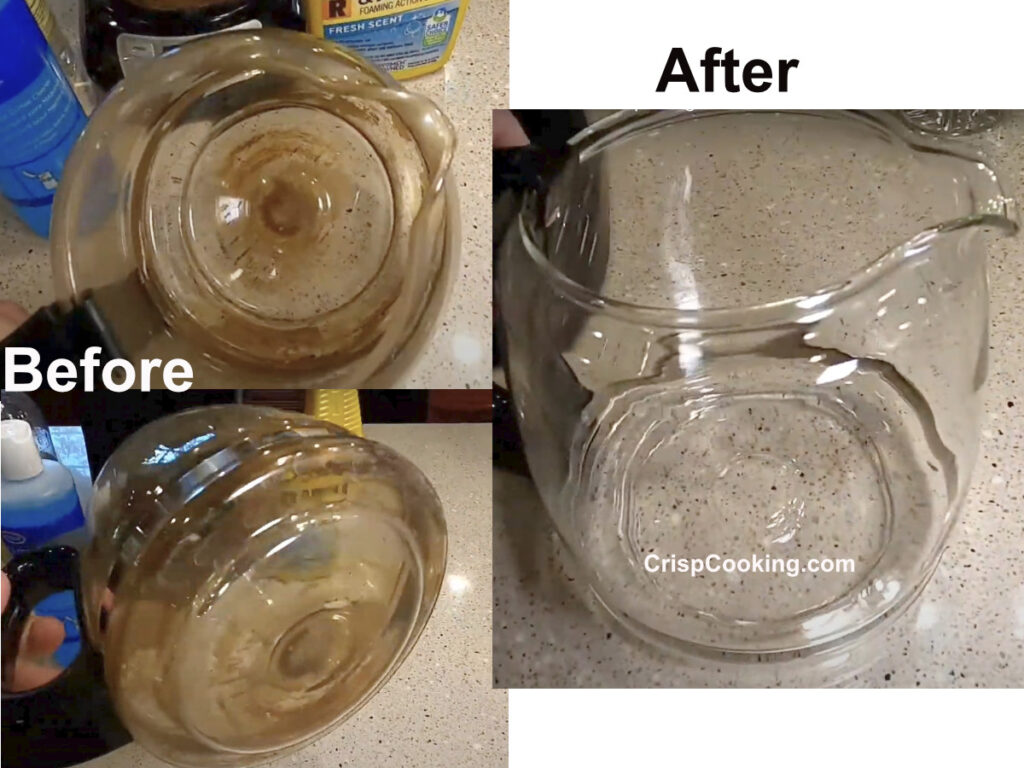
On this post I will show a step by step guide on how to clean a Black and Decker Coffee maker. If you have a similar coffee maker from the same brand or another brand this same guide applies.
Note: For a guide on How to Clean a Mr Coffee coffee maker please follow this link, a OXO coffee maker follow this link, a Breville coffee maker follow this link, a Bunn coffee maker follow this link, a Ninja coffee maker follow this link, a Cuisinart coffee maker follow this link, a Hamilton Beach coffee maker follow this link, a Keurig coffee maker follow this link or a Braun coffee maker follow this link. If you just are interested in cleaning your glass coffee pot of any brand follow this link.
Step by Step Guide on How to Clean a Black and Decker Coffee Maker
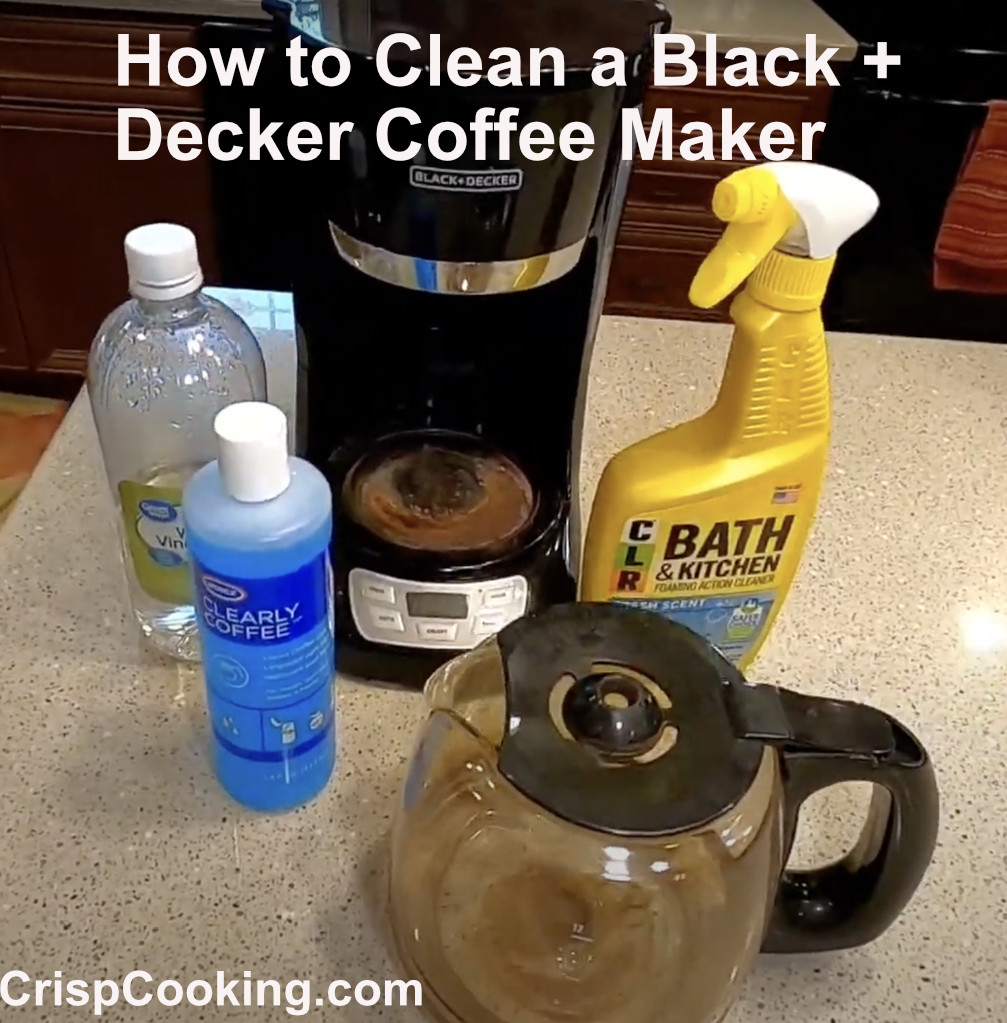
List of Products to Clean a Black and Decker Coffee Maker
- Clearly Coffee Pot Liquid Cleaner
- White Vinegar
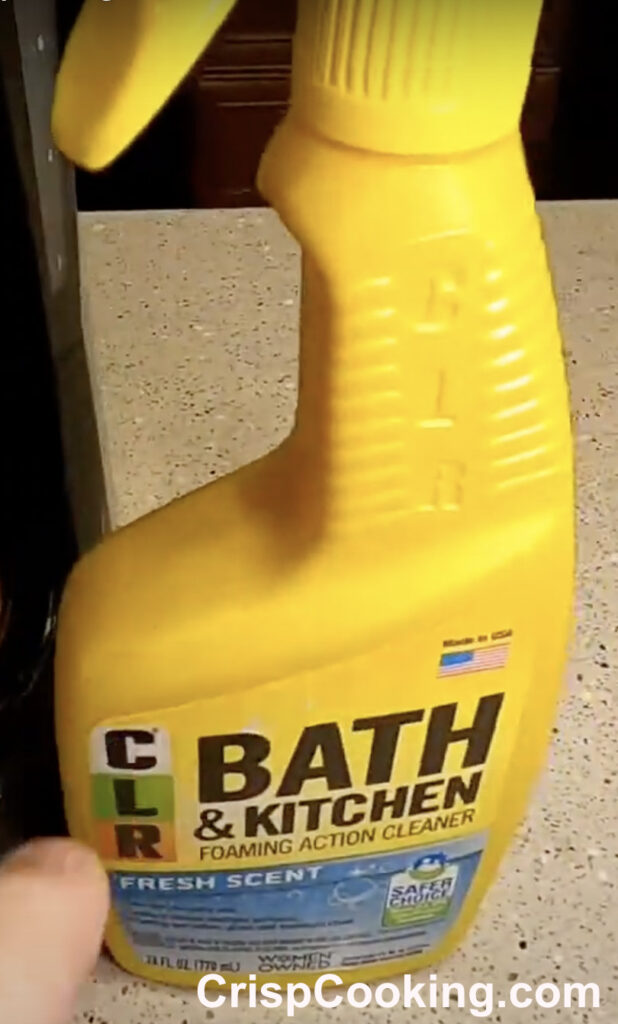
- CLR Foaming Action Cleaner
- Brush
- Bucket
- Sponge
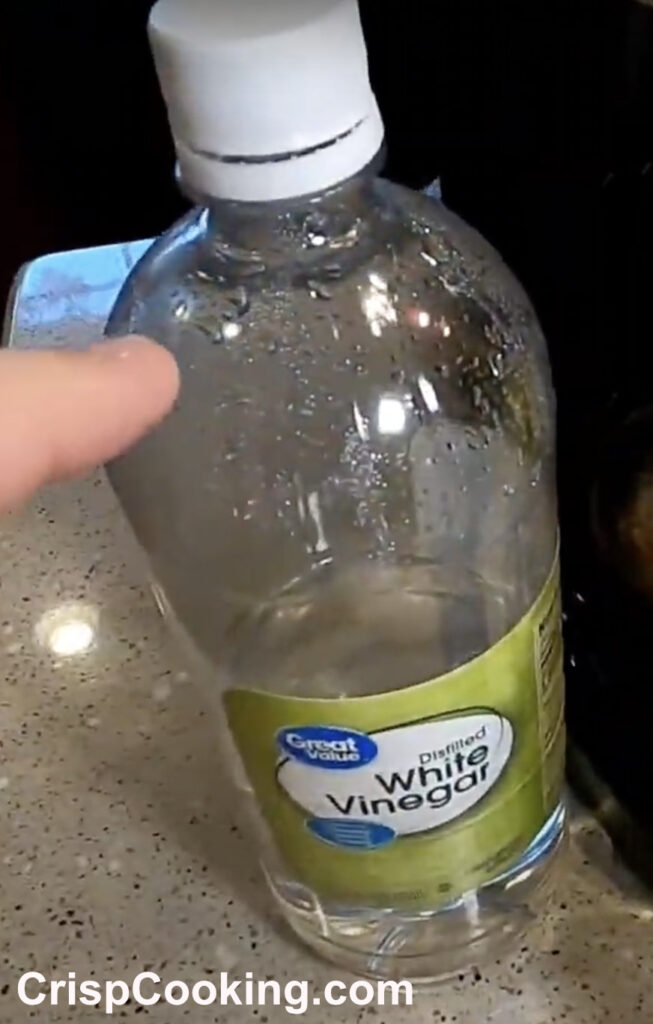
Here is the white vinegar I am using. You can use any white vinegar from any brand.
Following is a pic of the CLR I am using.
Clean the Black and Decker Coffee Pot
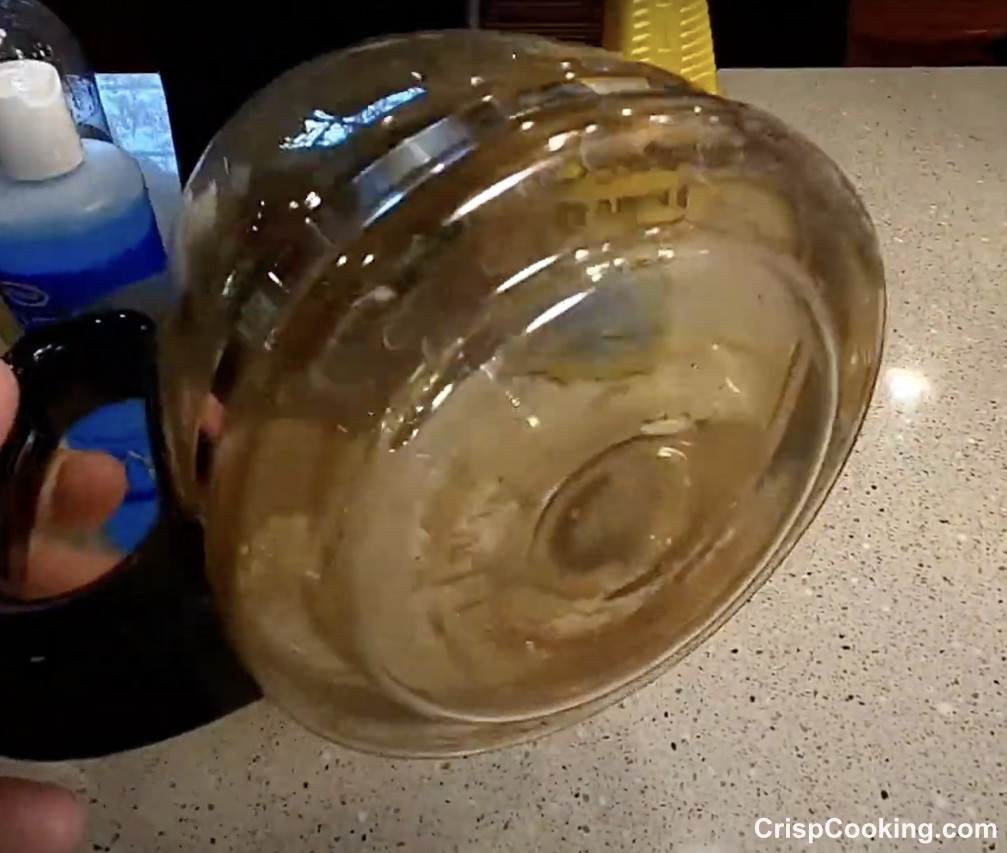
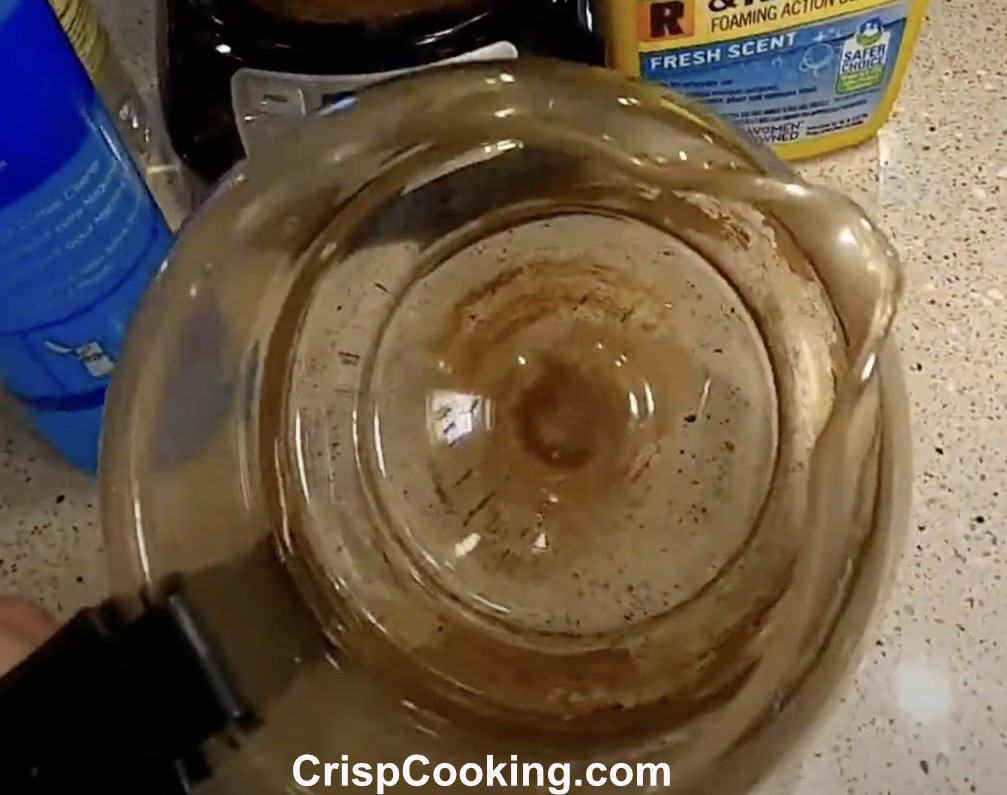
Following are pictures of the Black and Decker Coffee Pot before any cleaning. You can see there are many stains on the coffee pot.
We are going to use the Clearly Coffee Pot Liquid Cleaner.
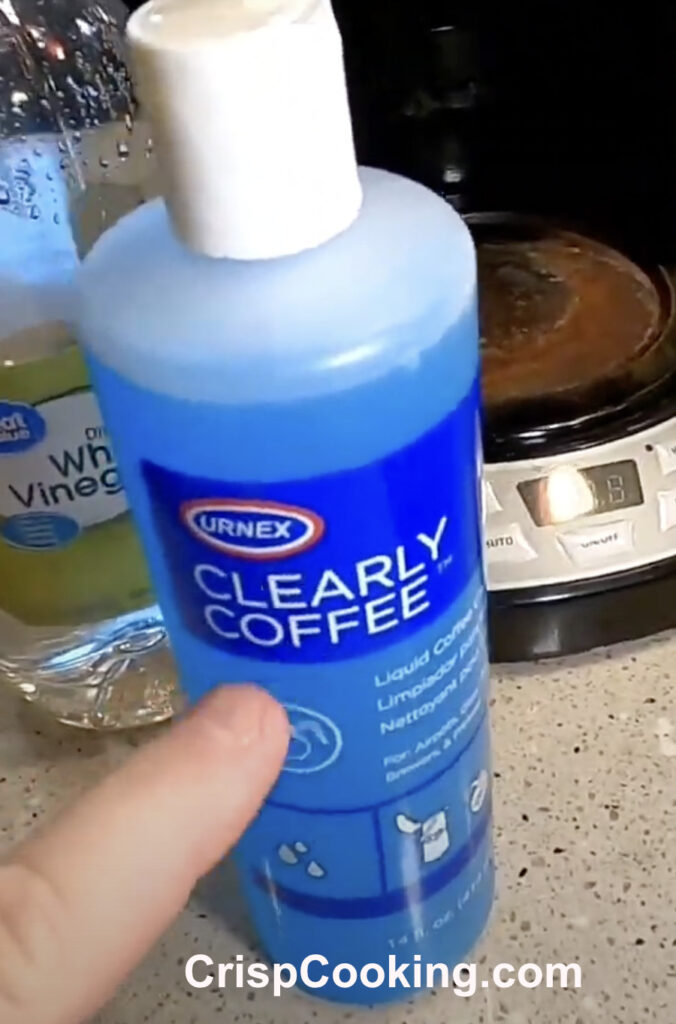
This cleaner is specifically made for burnt coffee on coffee pots. You can find it on amazon for only aroun five bucks. You don’t need to apply a whole lot.
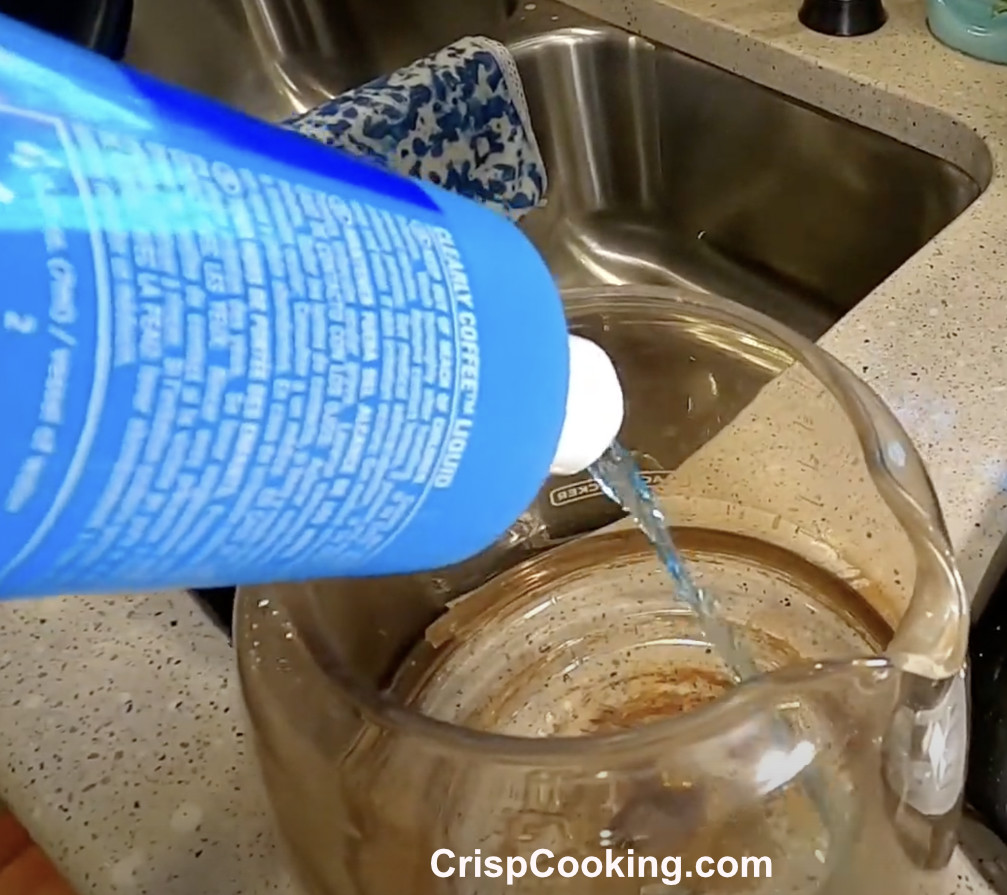
In the following picture you can see how much to apply. It is just a bit at the bottom of the coffee pot.
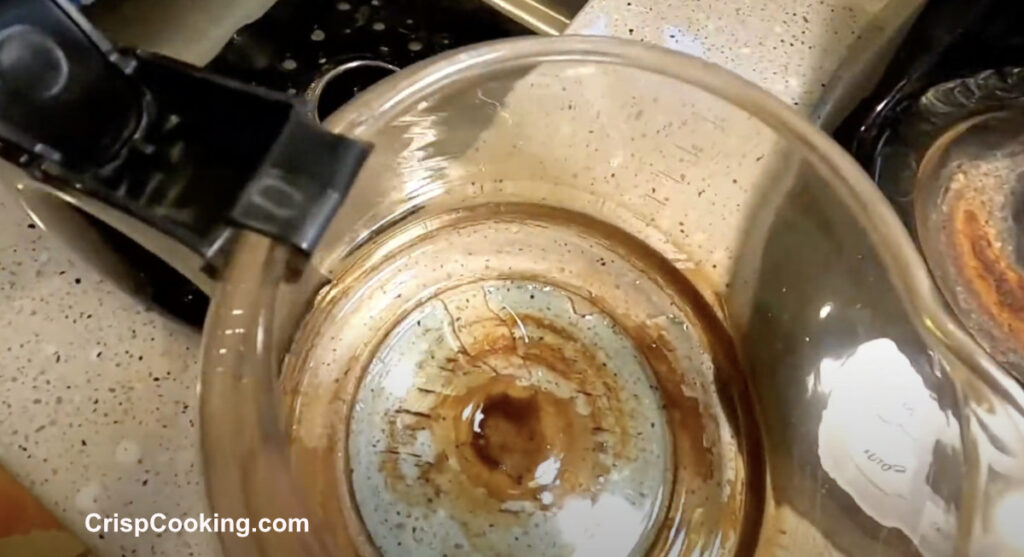
You have to do a little scrubing so that the cleaner reaches the sides of the inside of the coffee pot. You can use a brush like the one in the following picture. When you start scrubing all the inside of the coffee pot you start seeing how the stains start to peel off.
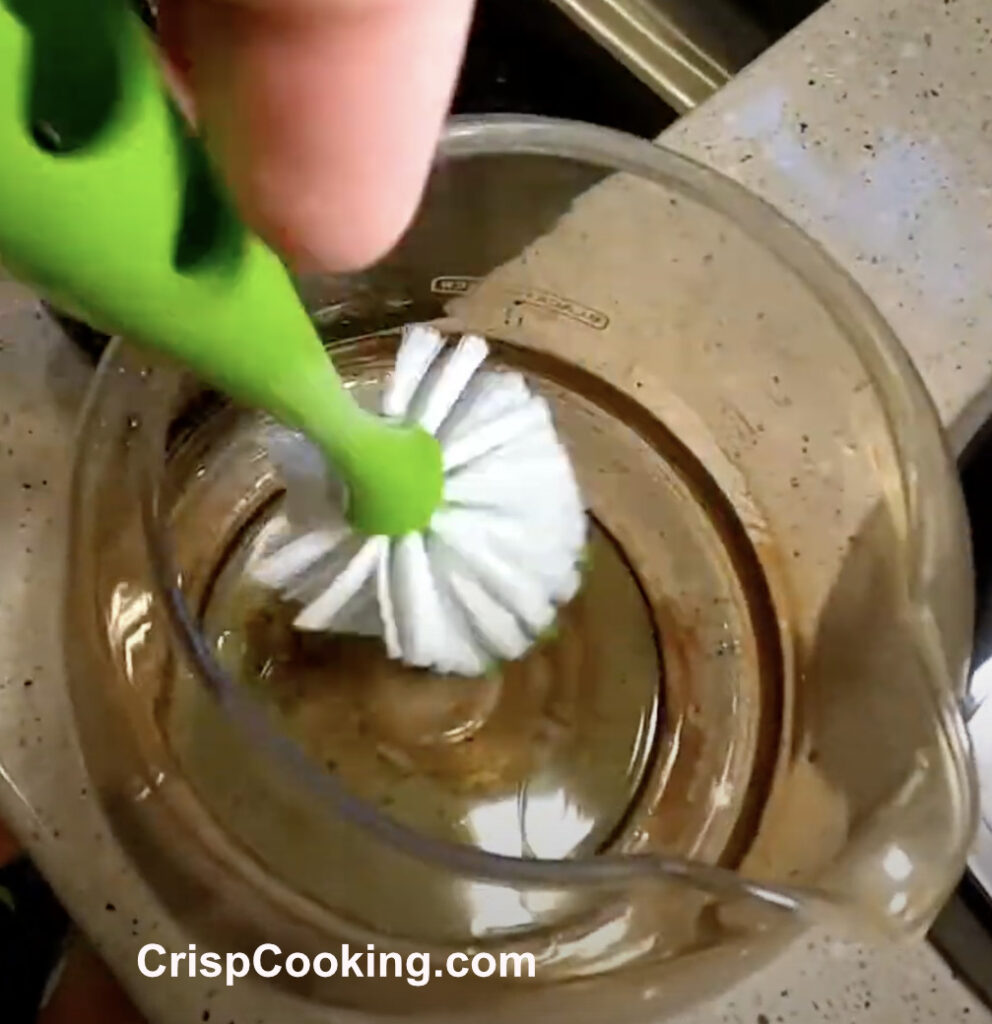
After a little scrubbing your brush starts to get a little dirty from all the stains that are coming out.
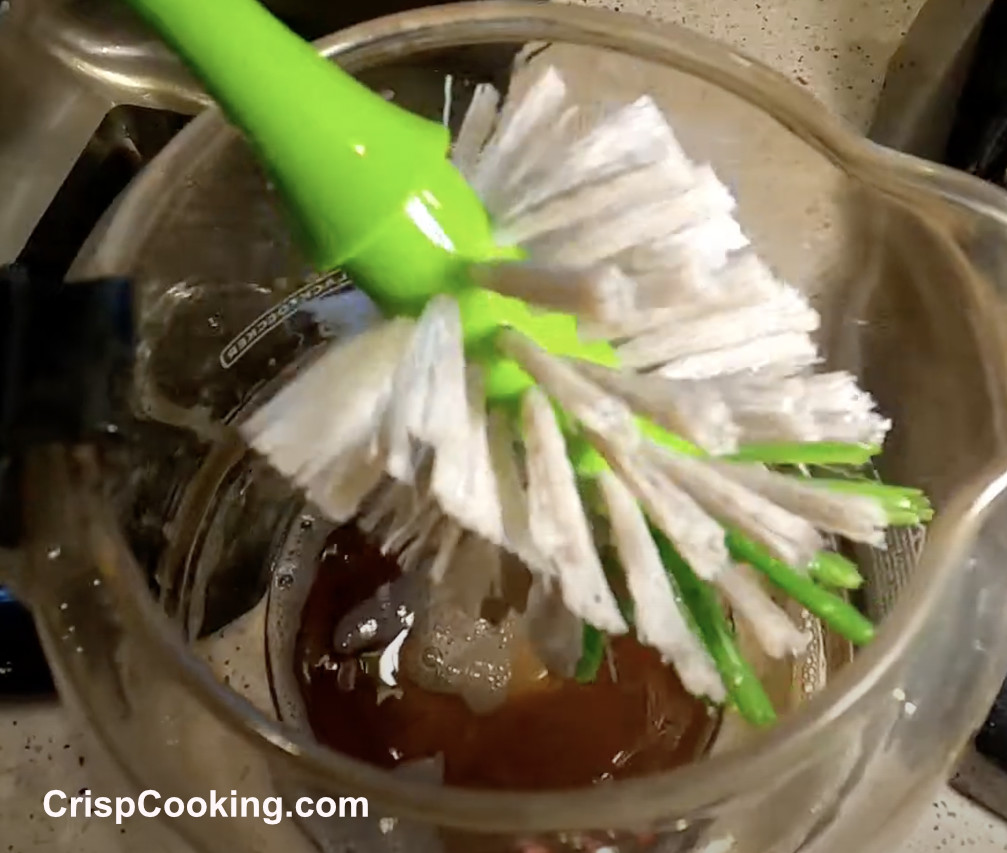
The cleaning solution starts to get like black water too from all the stains coming out of the glass.
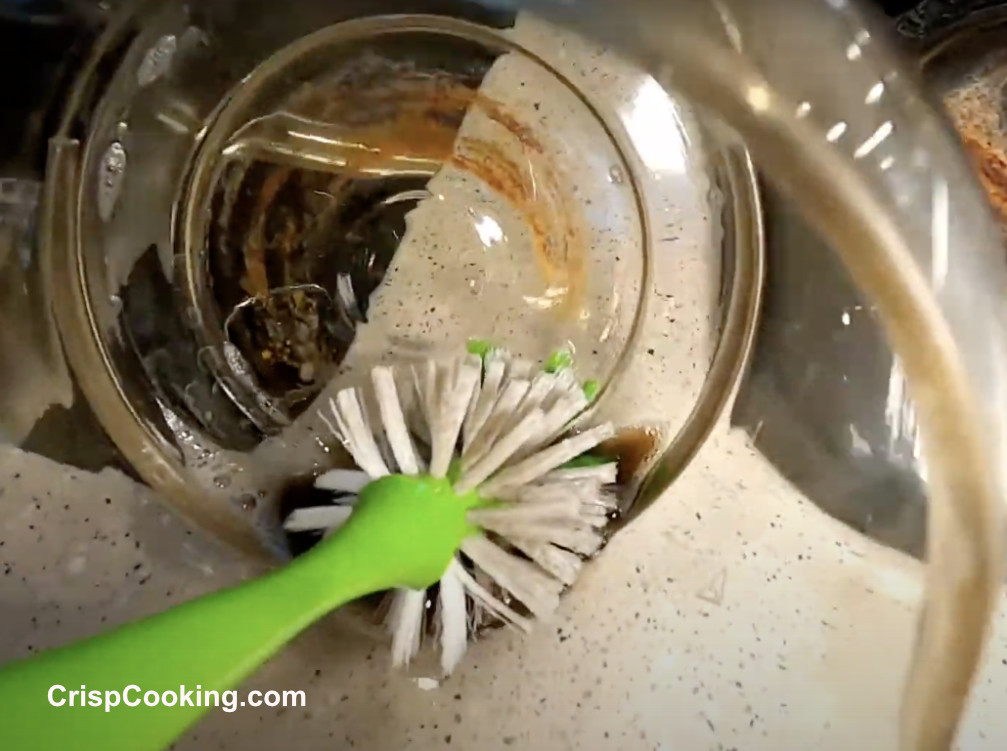
You can add some water in the coffee to mix with the cleaning solution. You can continue to scrub with the added water.
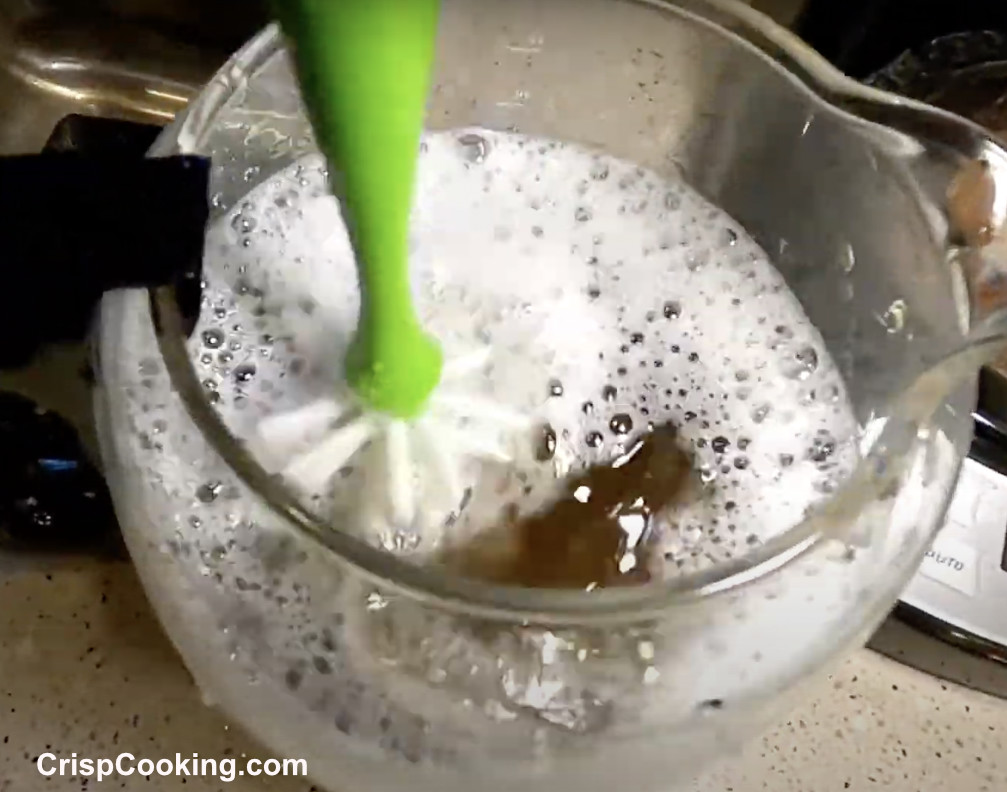
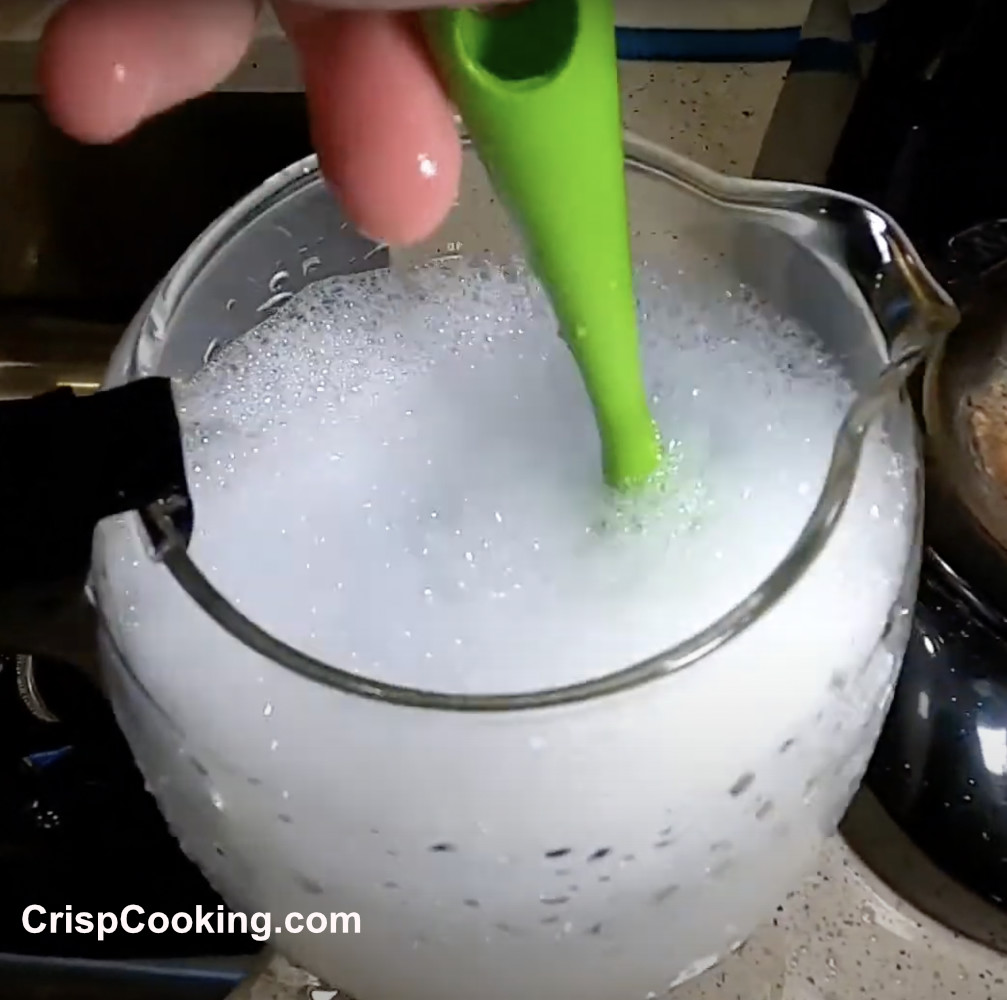
You throw that black water form the coffee pot and add some clean water and dish soap inside to rinse the inside of the coffee pot. You can do this a couple of times to completely remove the clearly cleaning solution.
After cleaning the inside of the coffee pot we go to the outside. You can see on my coffee pot there are some stains in the bottom part. Some are coffee stains and some might be rust stains that come from the hot plate.
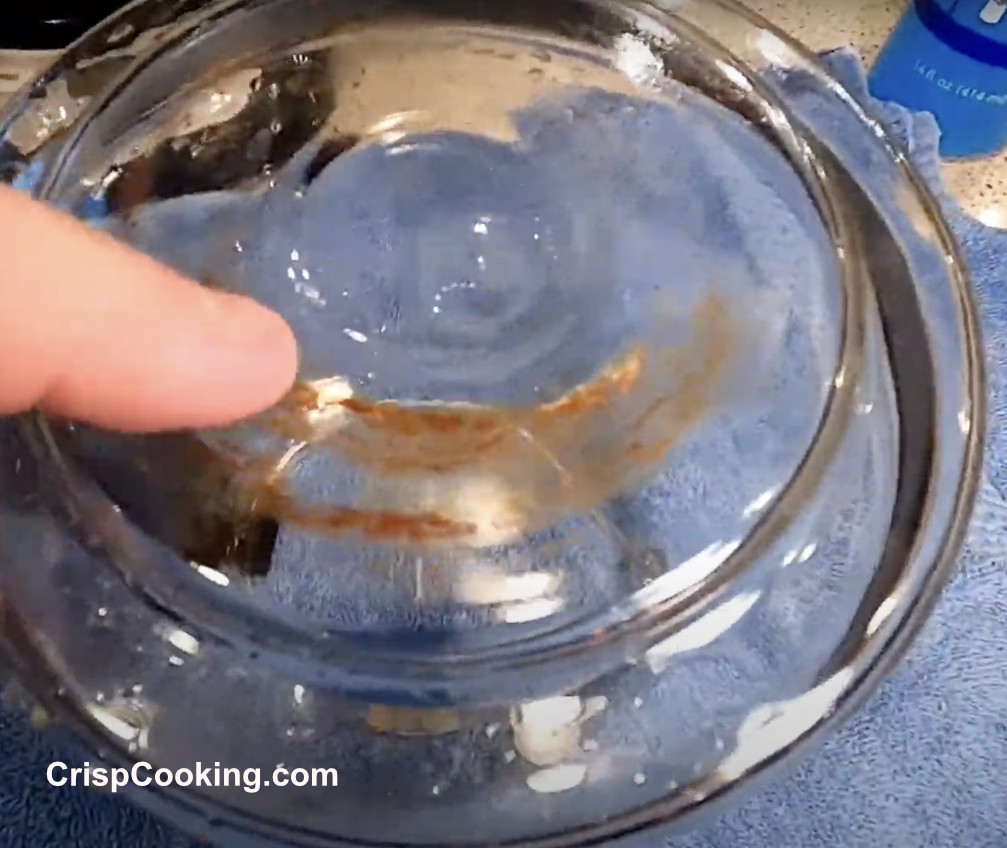
What we do here is add some of the same clearly coffee pot cleaner. Just enough so that it does not fall from the edges.
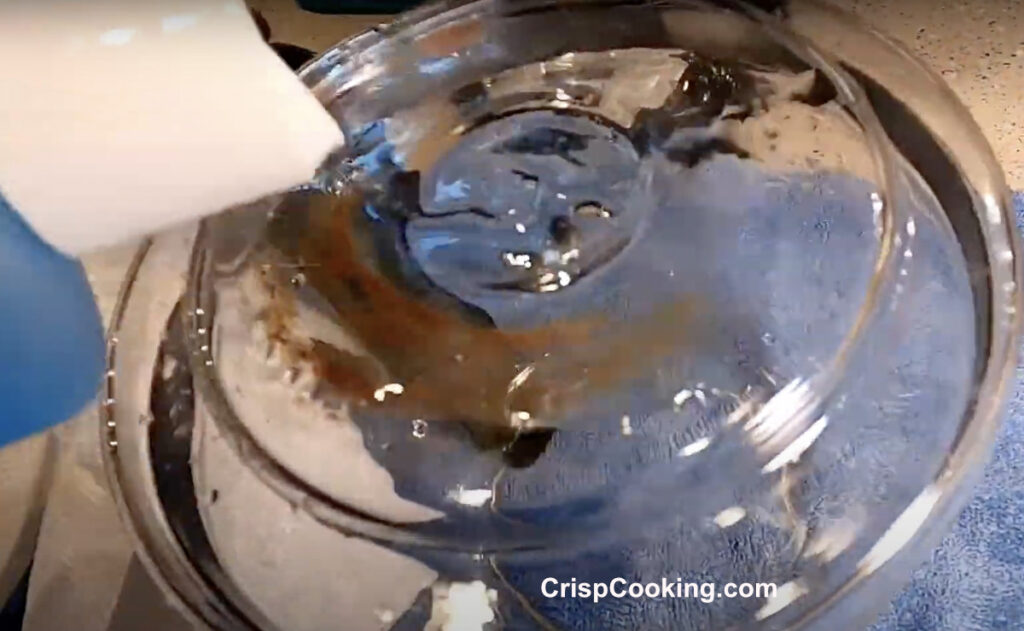
Normally the stains in the bottom of the black and decker coffee pot are more difficult to remove.
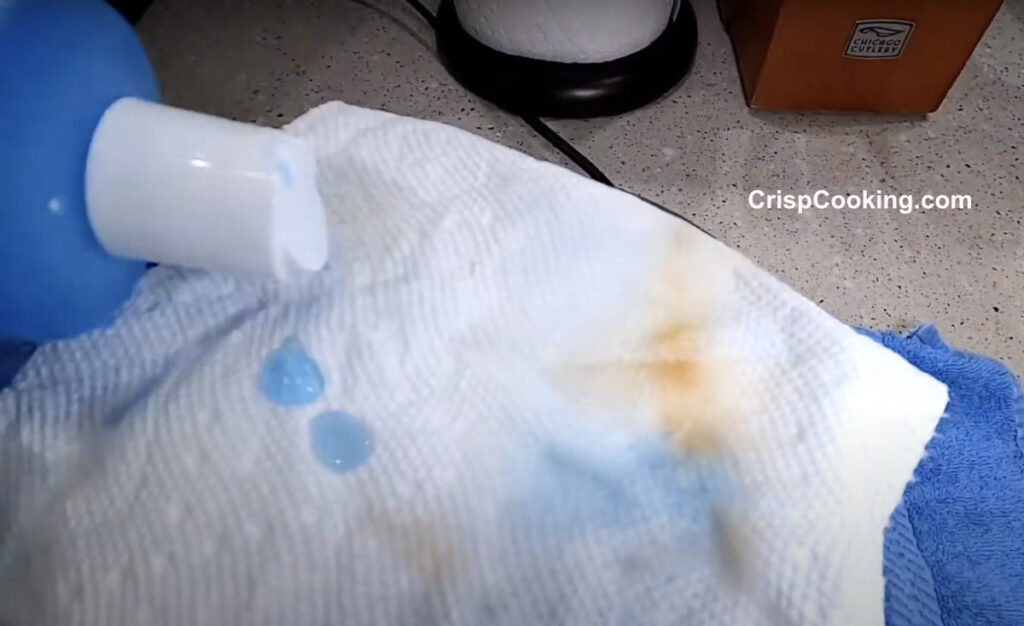
One trick that has worked for me is to apply some of the same liquid cleaner on a paper towel and leave it soaked over the coffee pot, which you should leave upside down.
You can leave it like that for 5 or more minutes.
How to Clean the Removable Parts of a Black and Decker Coffee Maker
In the meantime, we can go ahead and clean the removable parts of the Black and Decker Coffee Maker.
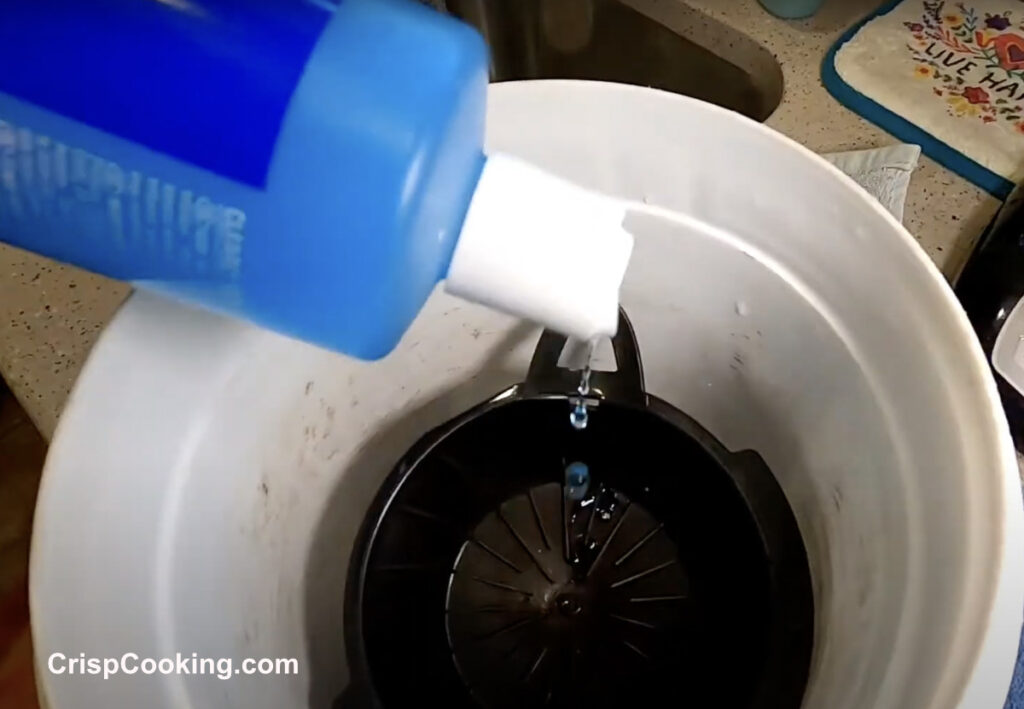
You can use a bucket or similar to place the coffee basket like in the following pic.
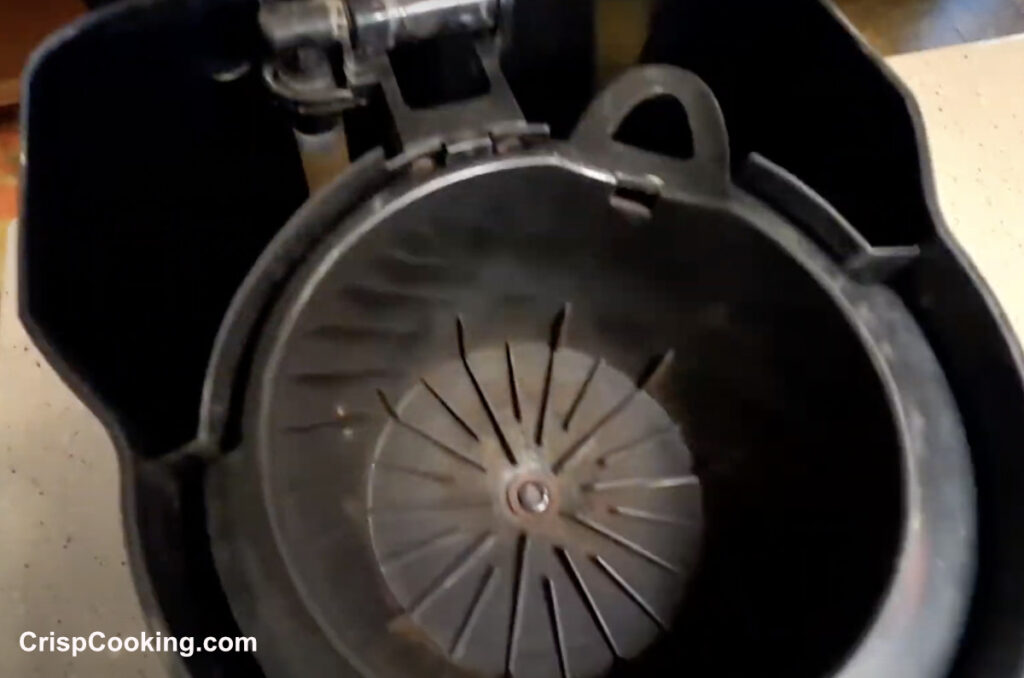
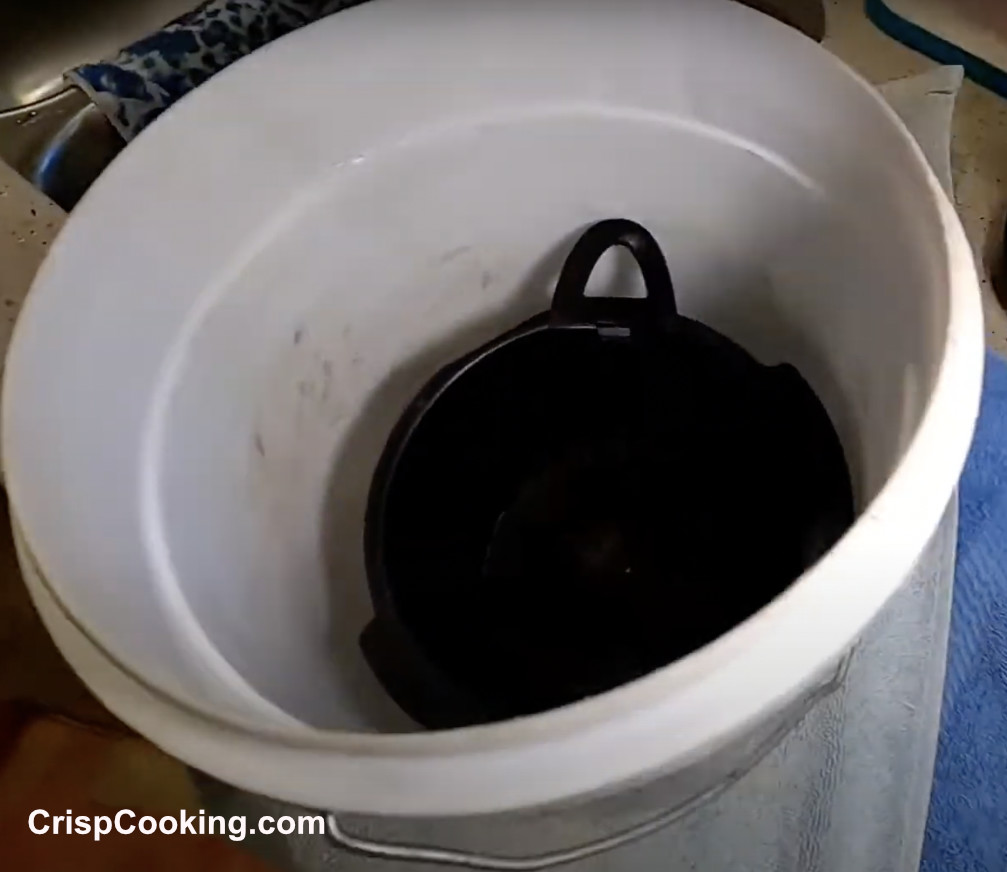
When you have the removable parts in the bucket go ahead and apply some of the Clearly Liquid Cleaner to the parts.
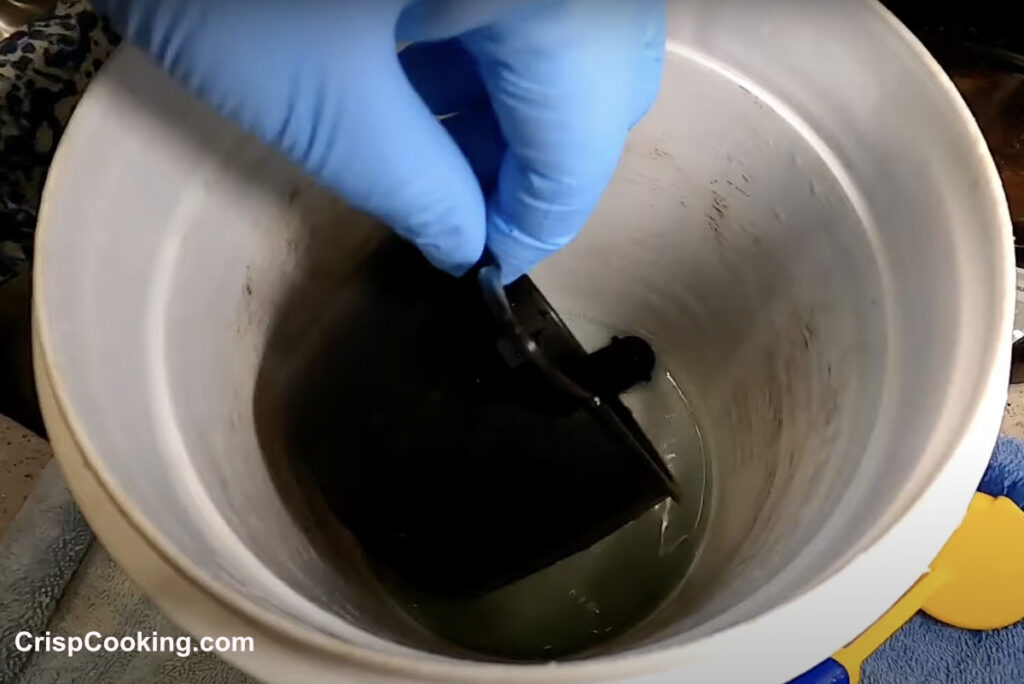
With your hand move the parts in the bucket so that all parts get soaked with the liquid cleaner.
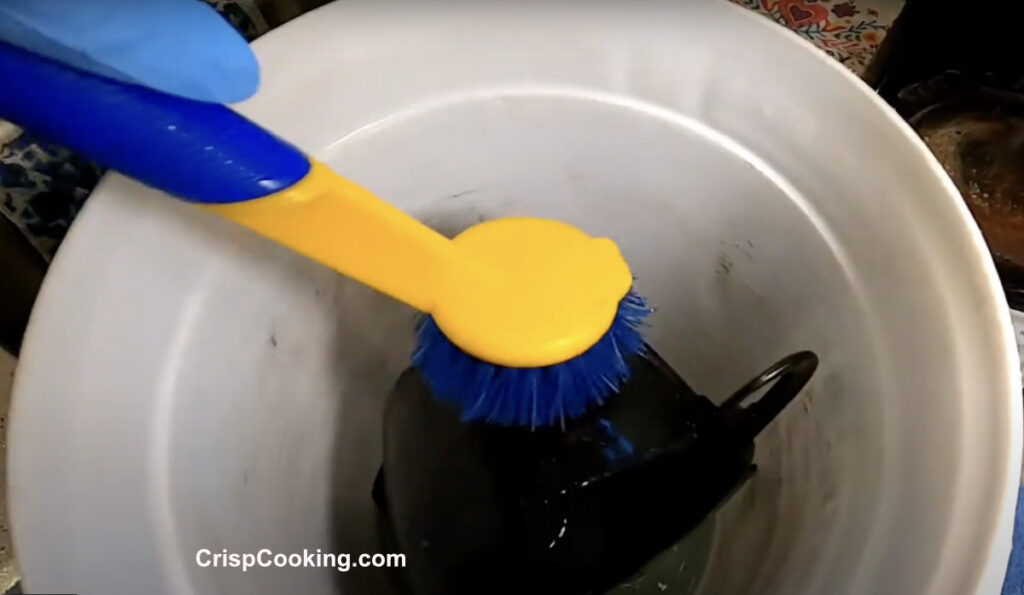
Use a brush to scrub the parts so that the liquid cleaner does its job through all the parts.
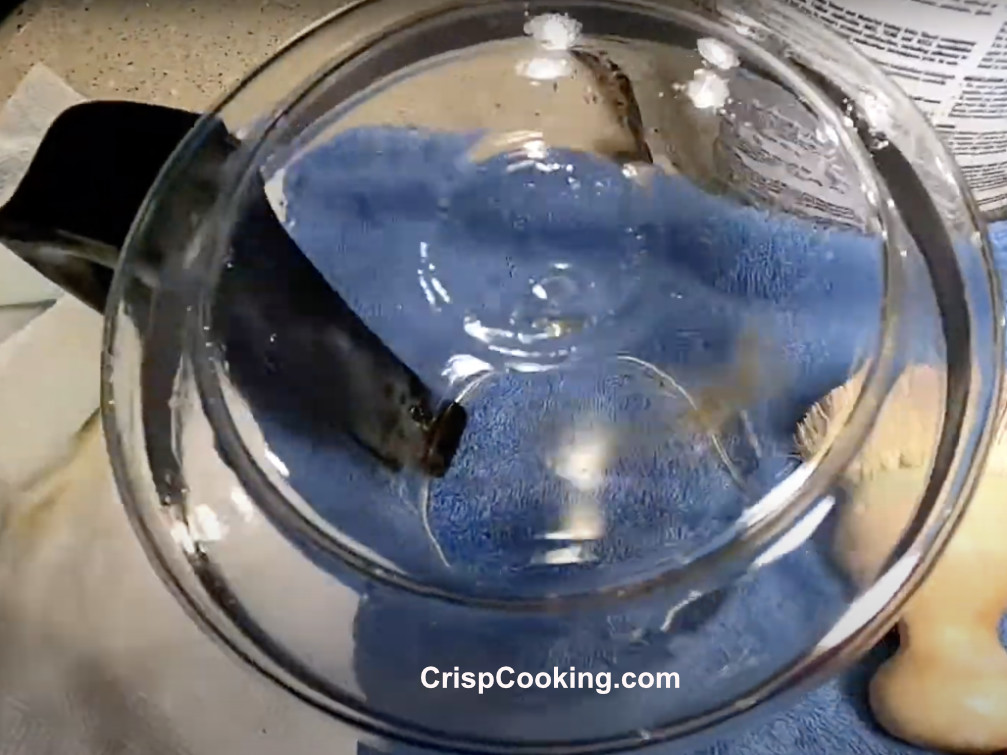
After you finish scrubing the coffee basket now you can comeback to the coffee pot. Remove the paper towel you left on top. Use a sponge to wipe clean the bottom of the coffee pot.
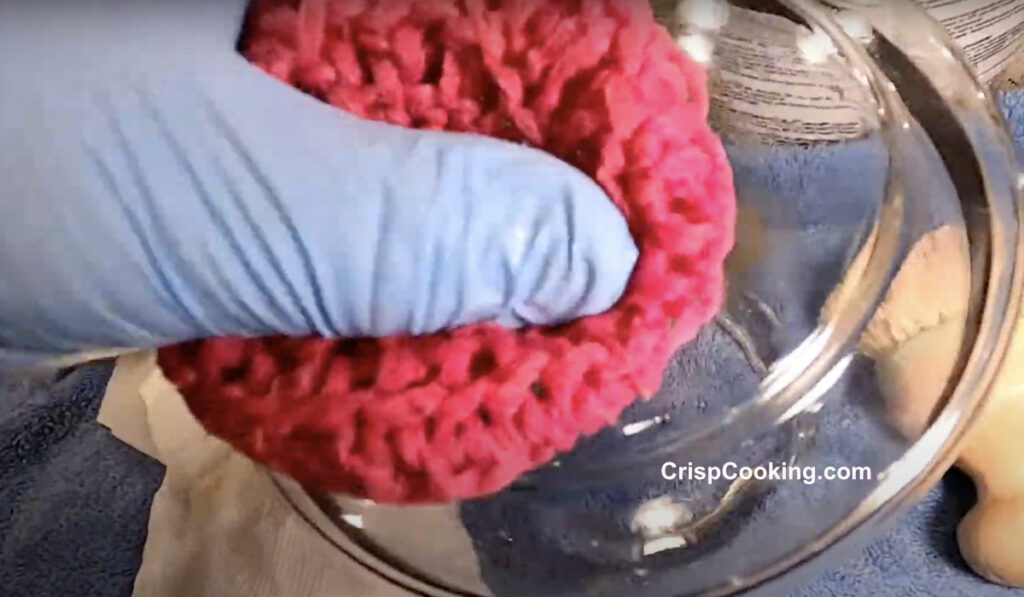
In the next picture you can see my final result. Only a small stain was left in the bottom, it might be a rust stain. Other than that it looks brand new.
How to Clean the Hot Plate of a Black and Decker Coffee Maker
The following picture shows the before image of my hot plate. It looks pretty stained. Some of it might be rust stains which are more difficult if not impossible to remove. Lets start cleaning it.
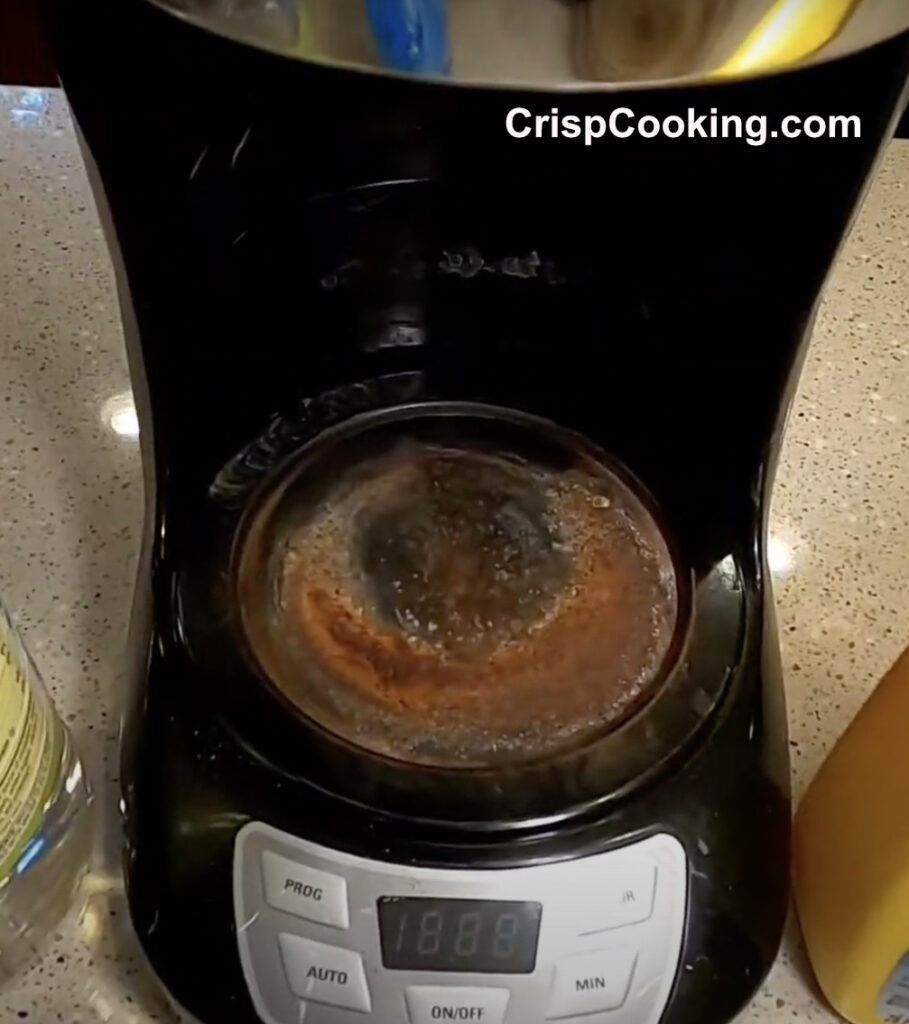
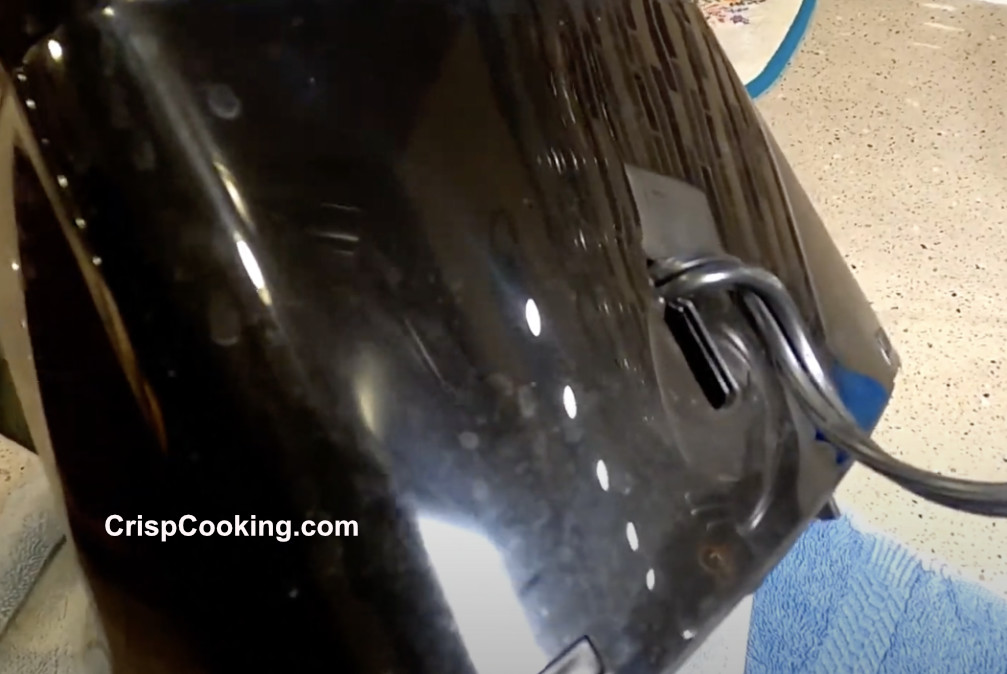
Before you start make sure it is unplugged from the wall outlet to avoid any accidents.
Here is a closeup pic of the stains in my Black and Decker Coffe maker Hot Plate.
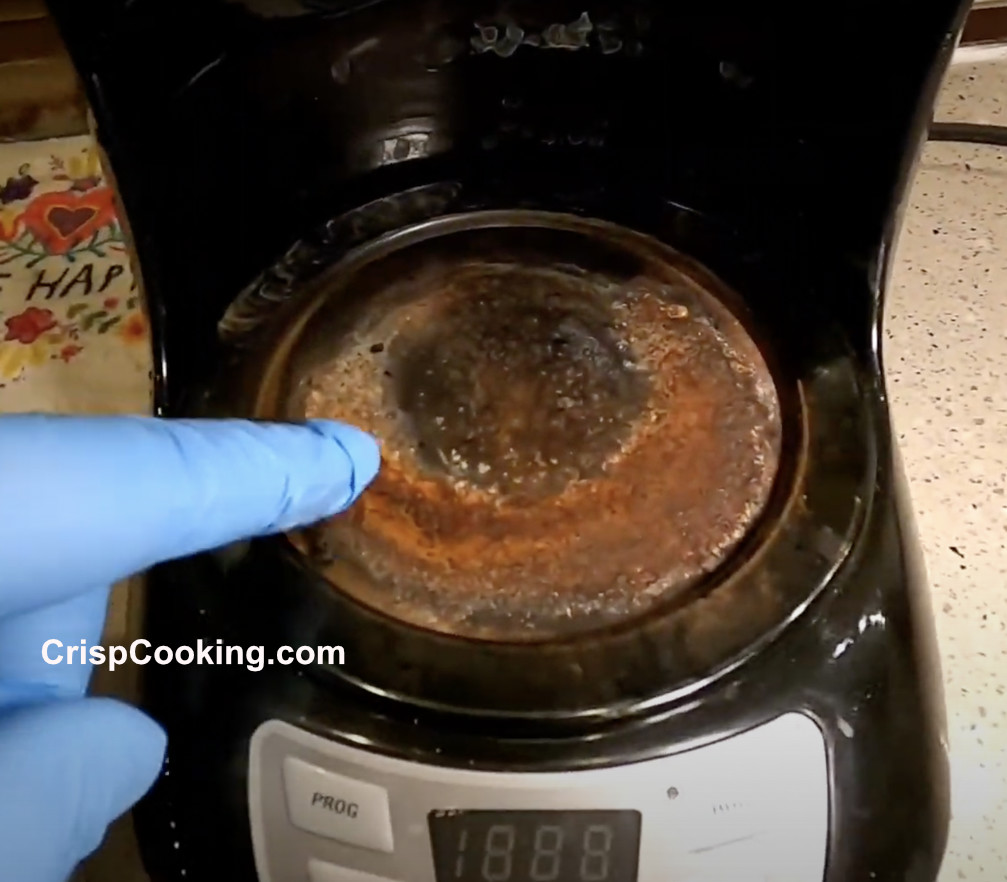
Apply some Clearly Liquid cleaner directly on to the hot plate.
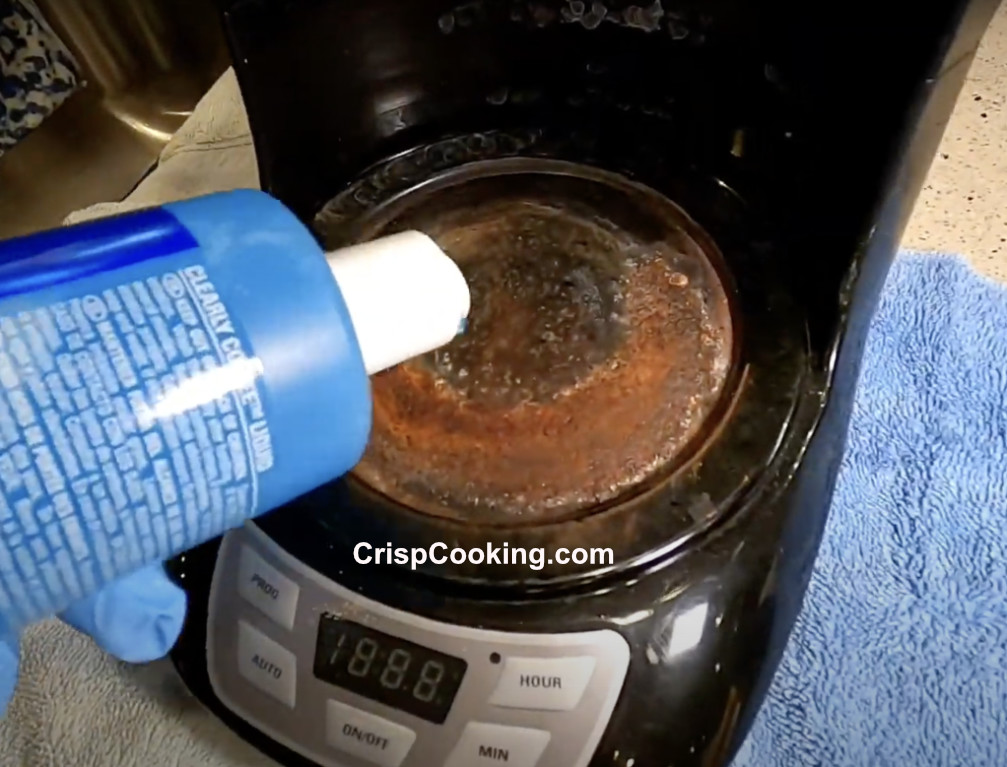
After a minute, start scrubbing with a brush.
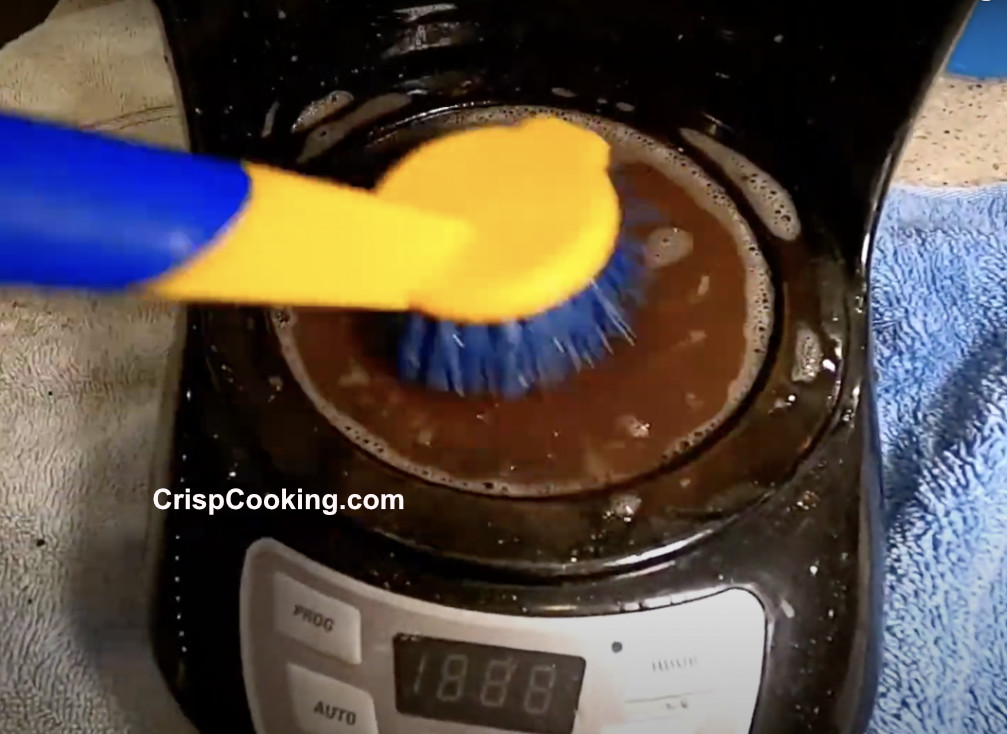
Following is the final result after scrubing the hot plate. If you get a similar result now is the time to apply some CLR to the hot plate.
Apply just a bit of CLR on the hot plate with some old rags. This should remove some of the most stubborn stains.
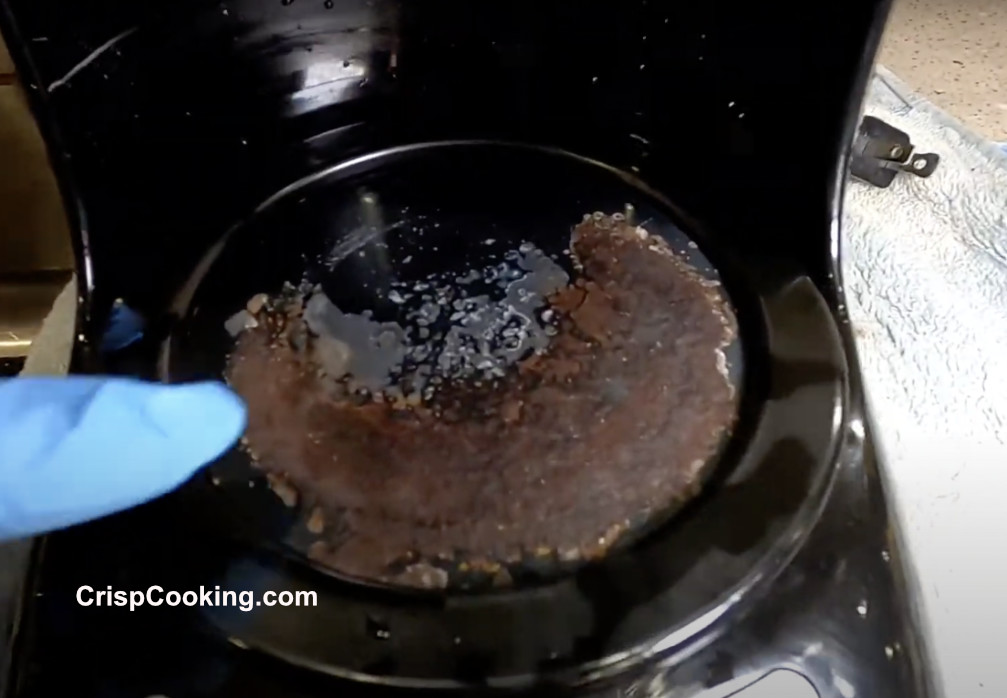
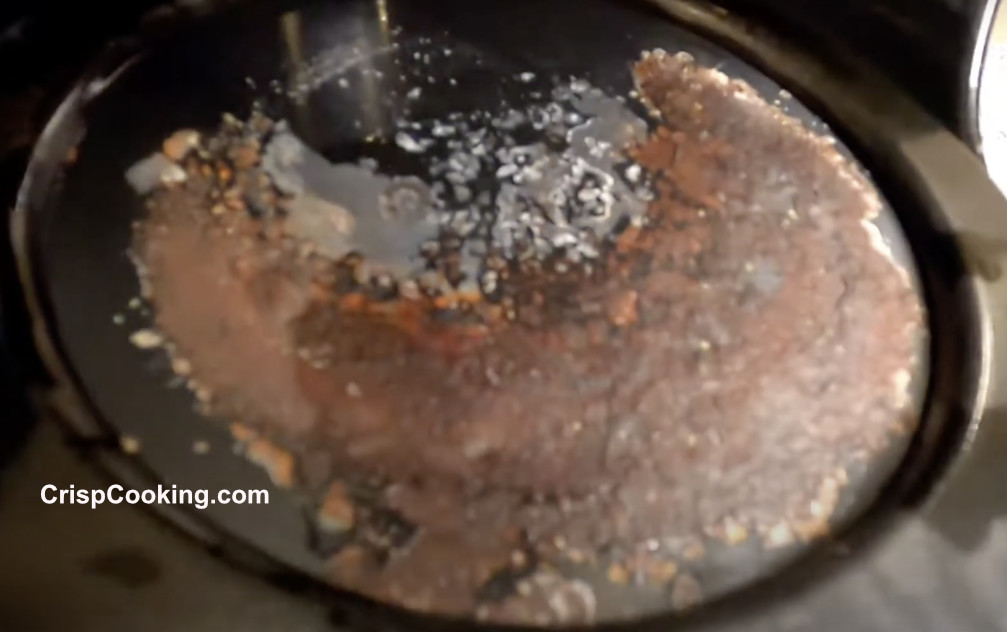
Following is a closeup if the final result. The stains that remained are rust stains. This will not come out. Don’t worry if after you clean your Coffee Maker you also still have similar rust stains. The Black and Decker Coffee Maker should work normally even with the rust stains.
How to Clean the Inside of the Black and Decker Coffee Maker
Following is a pic of how my coffee maker was before cleaning.
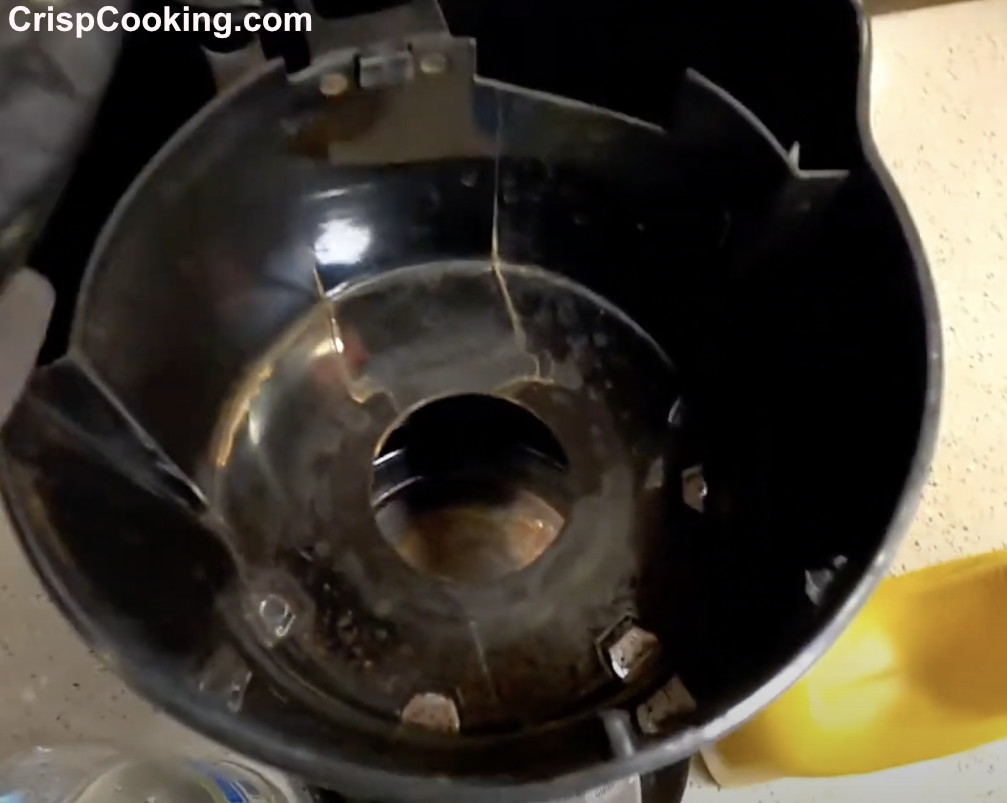
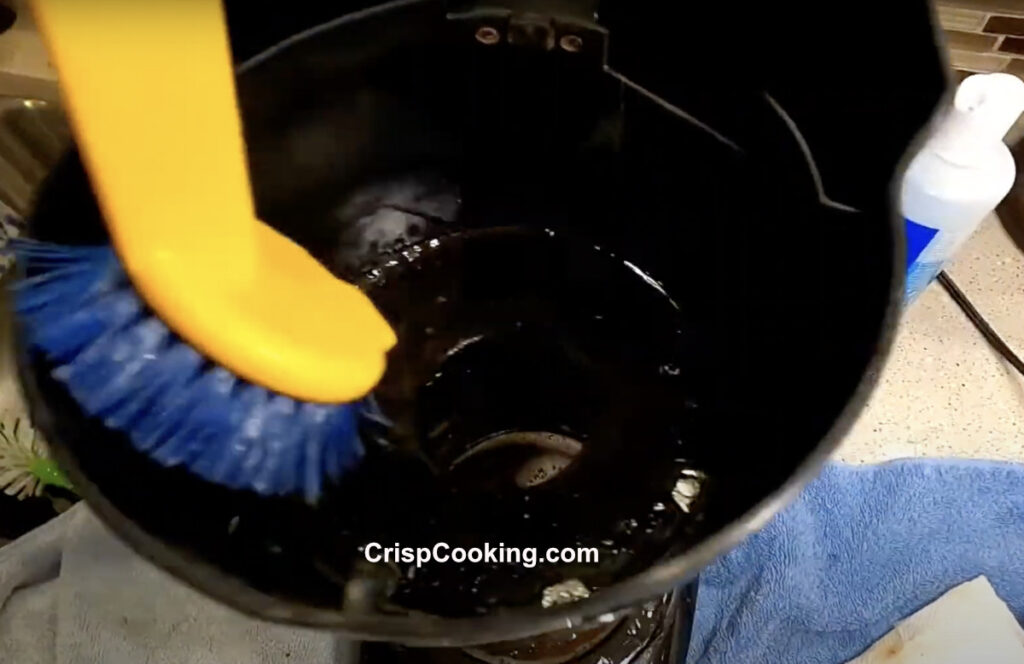
Apply some Clearly Cleaning solution and start scrubbing in the bottom and at the sides.
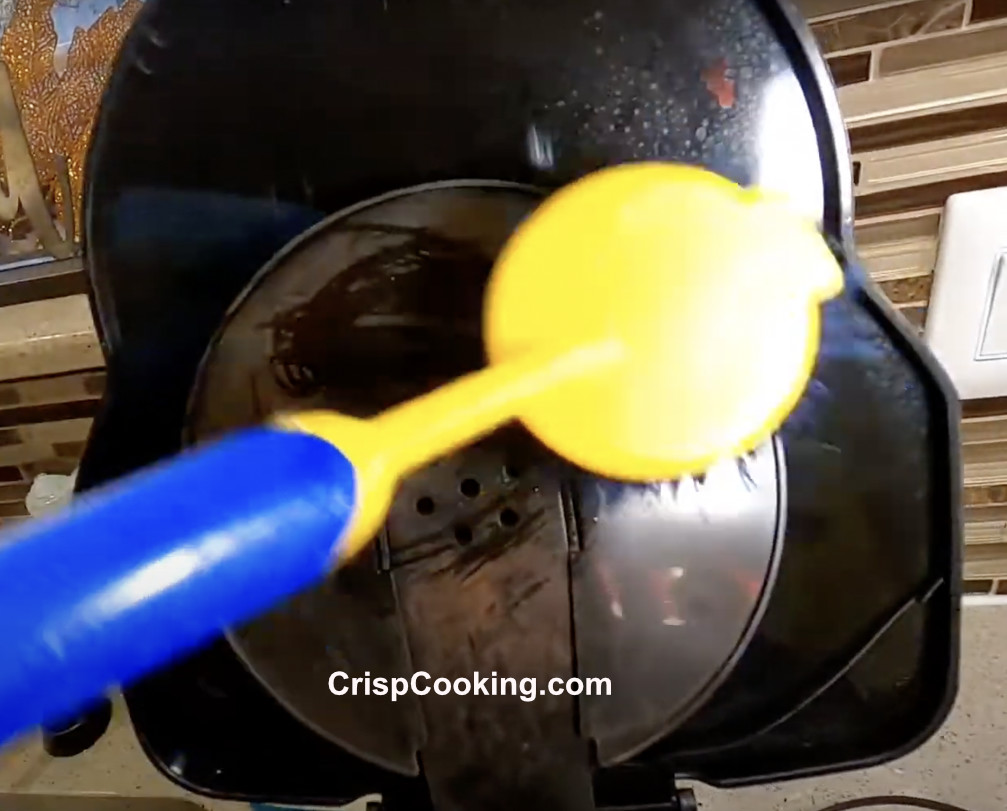
You should also scrub the lid from the inside.
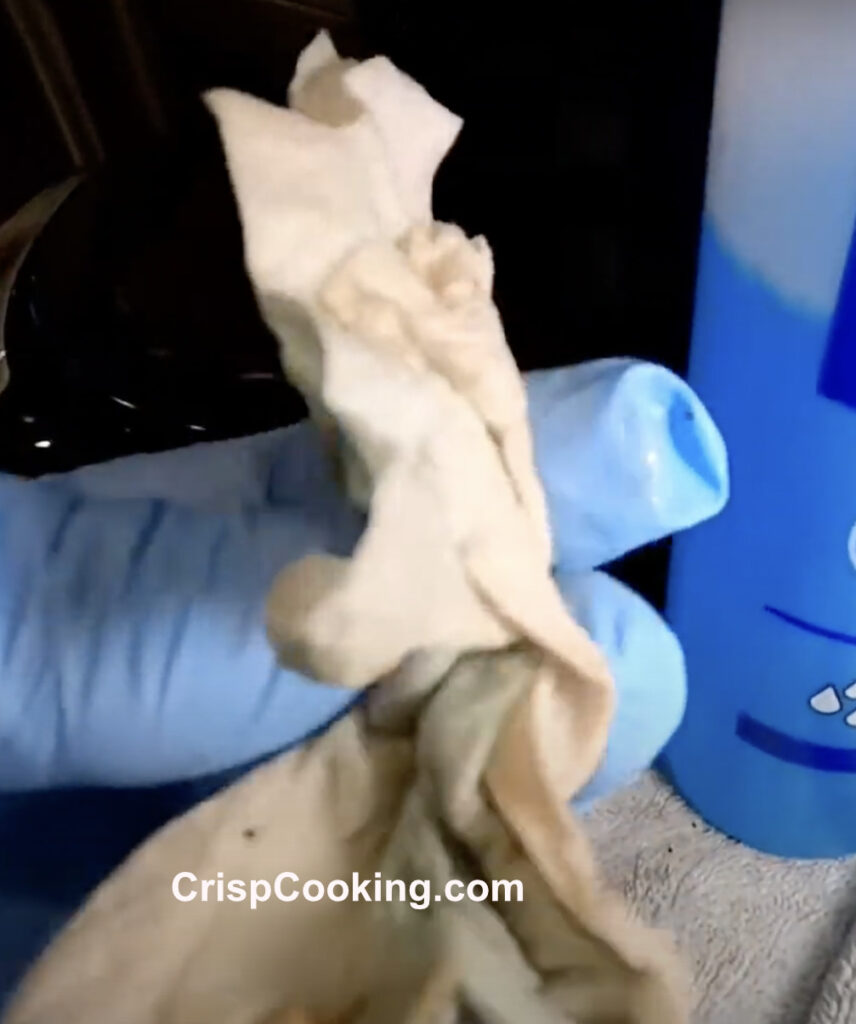
How to Clean the Outer Body of a Black and Decker Coffee Maker
You can use a paper towel soaked with Clearly Cleaning solution to clean all the outside body of the Black and Decker Coffee Maker.
Result of the Cleaned Parts
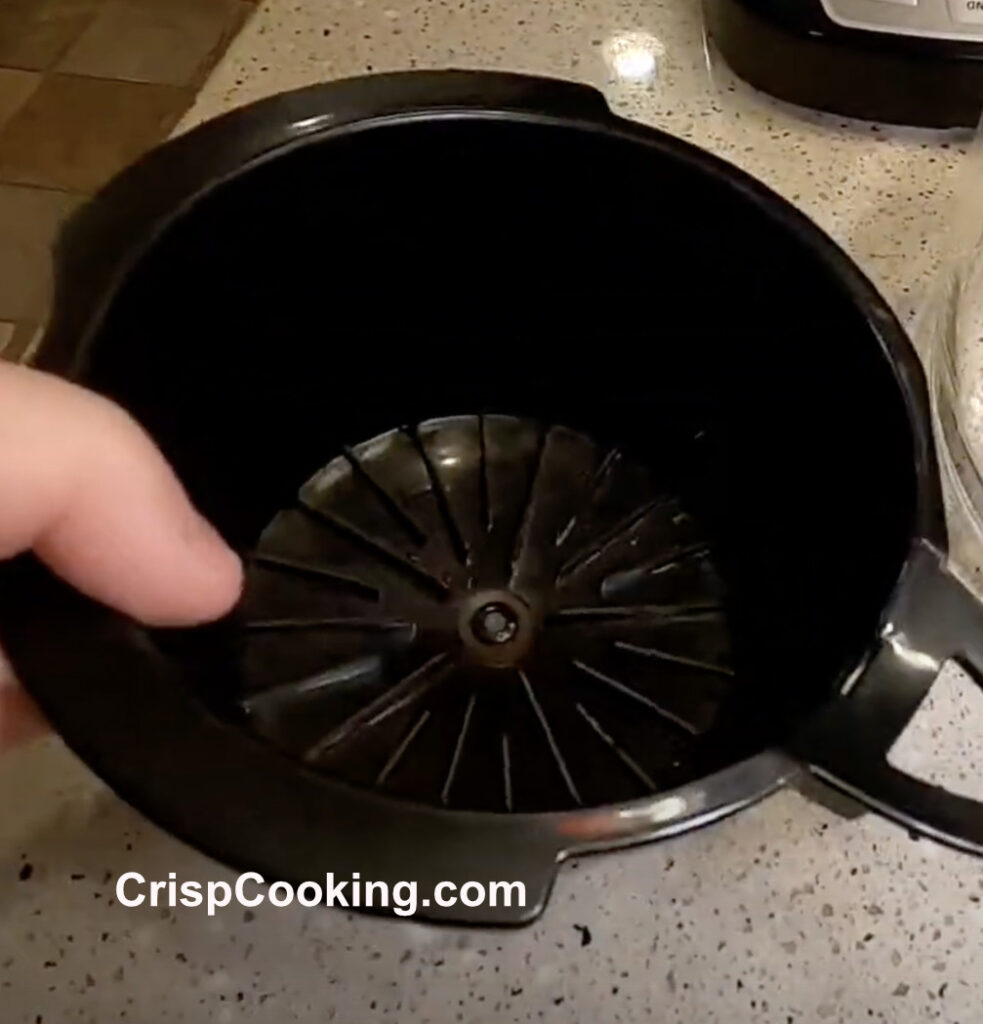
Following is a pic of the cleaned Basket from the inside.
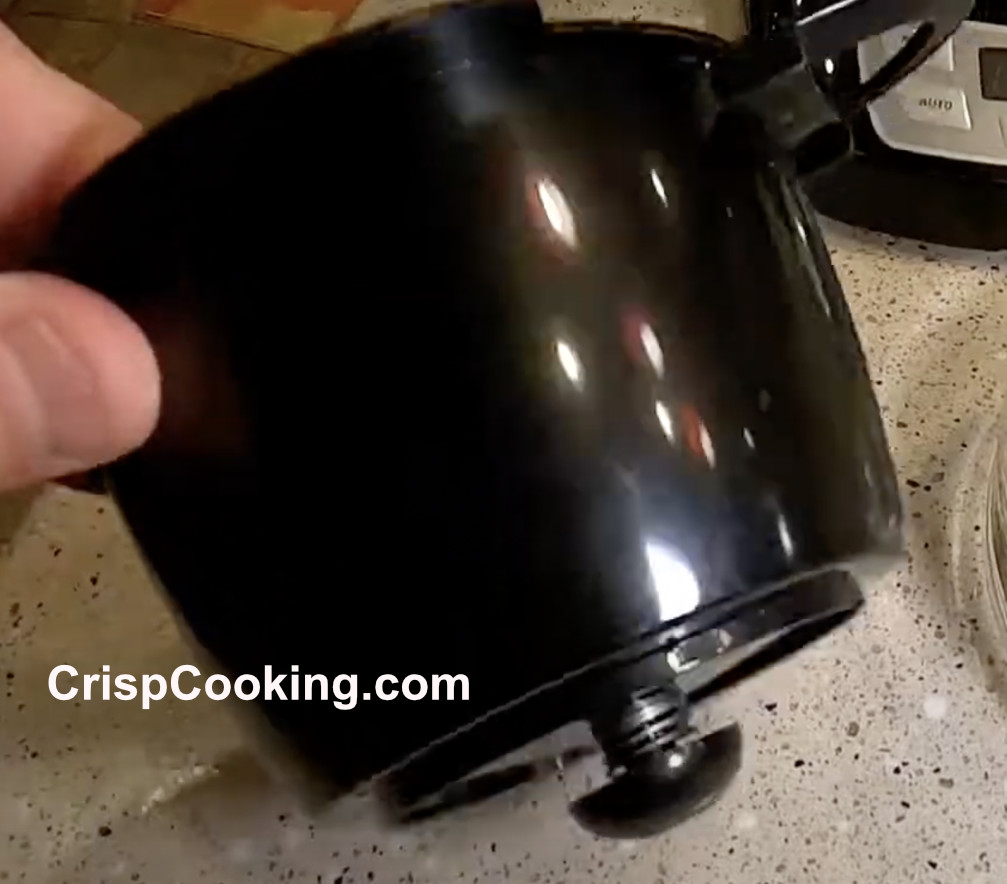
The following pic shows the external side of the basket. Looks brand new!
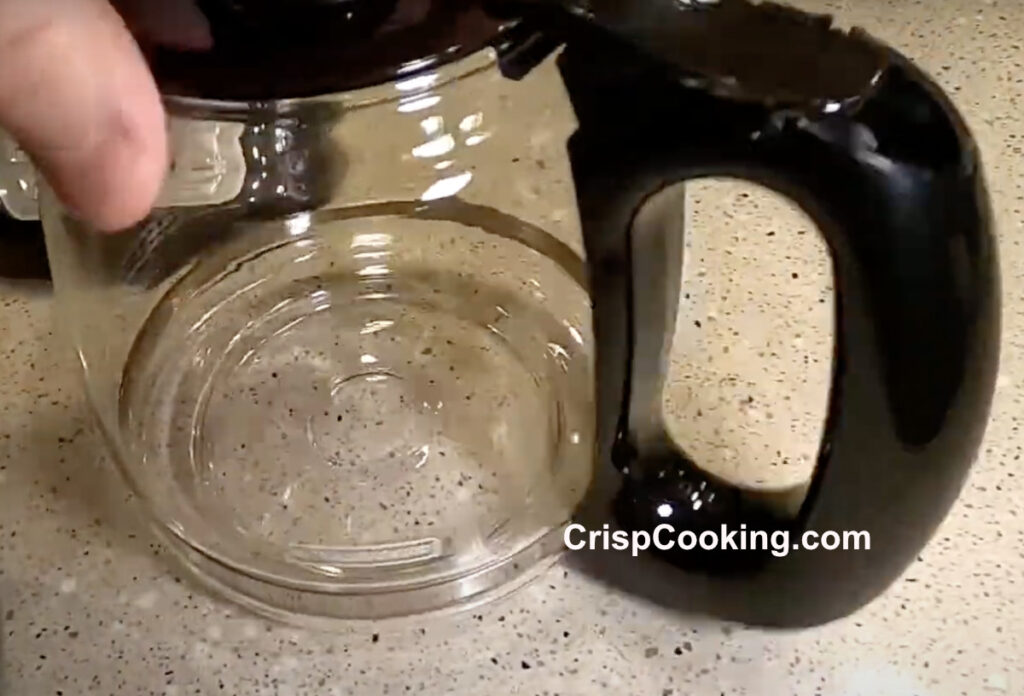
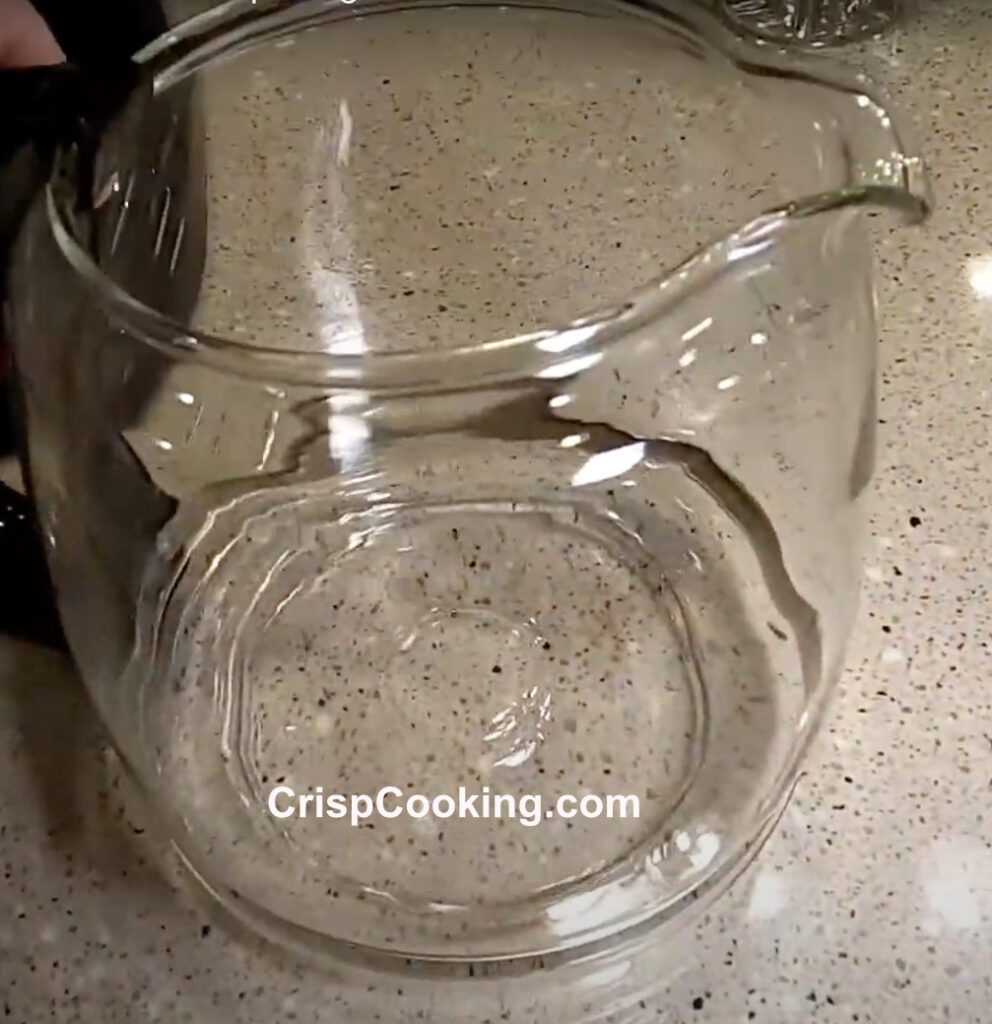
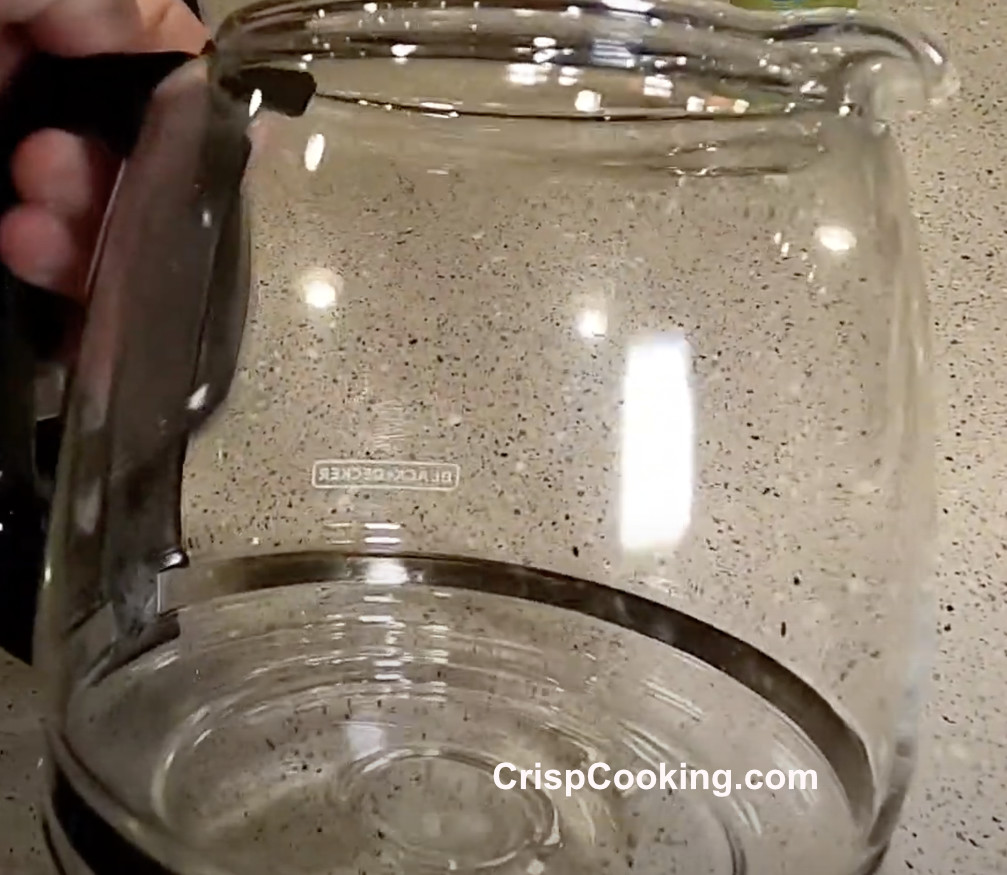
Now look at the coffee pot, it looks as if it was never used before.
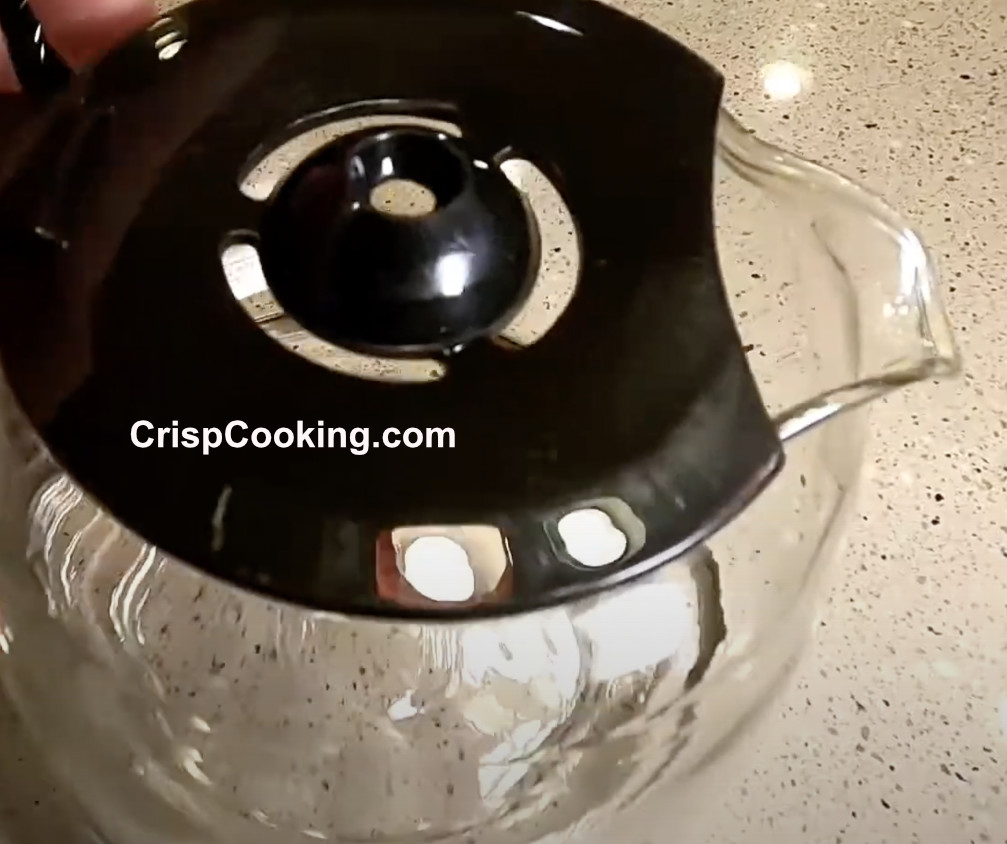
Another angle of the coffee pot.
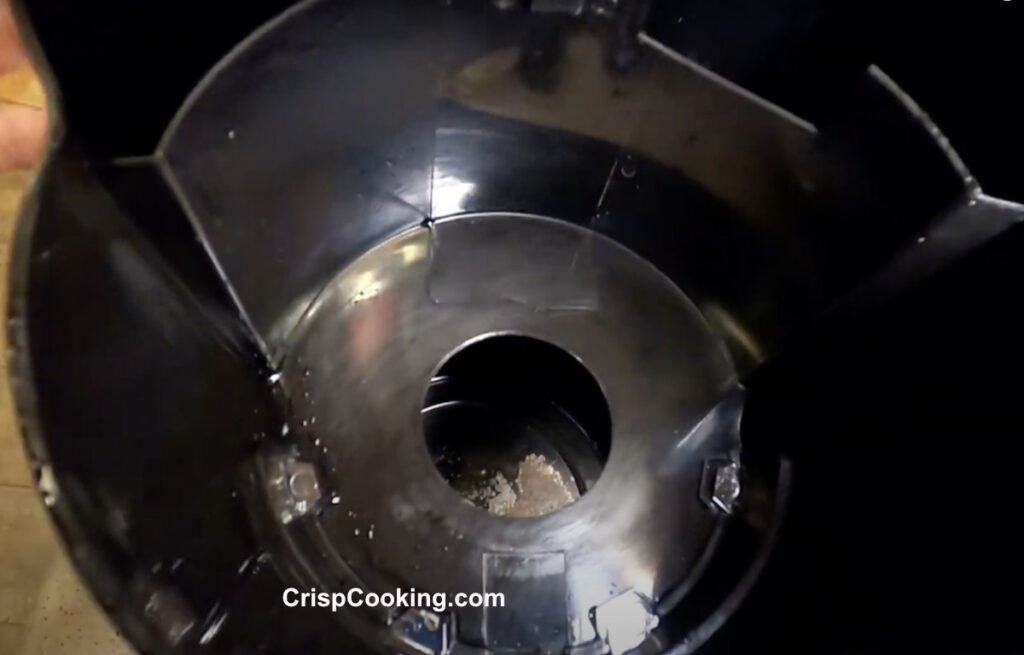
Here is the inside of the Black and Decker Coffee Maker, where the basket goes. It also looks ver clean.
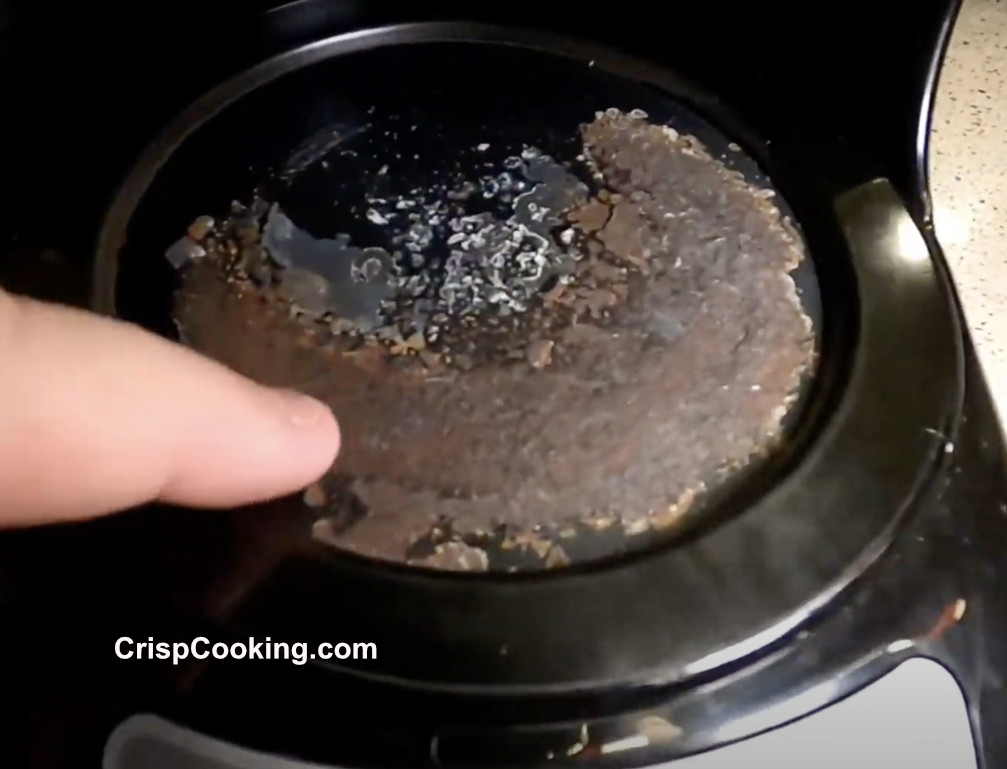
The hot plate is the only part that looks used because it got those rust stains.
Clean the System of a Black and Decker Coffee Maker
After we got all the parts of the Black and Decker Coffee Maker cleaned, the final step is to clean the system. We do this with the help of Vinegar.
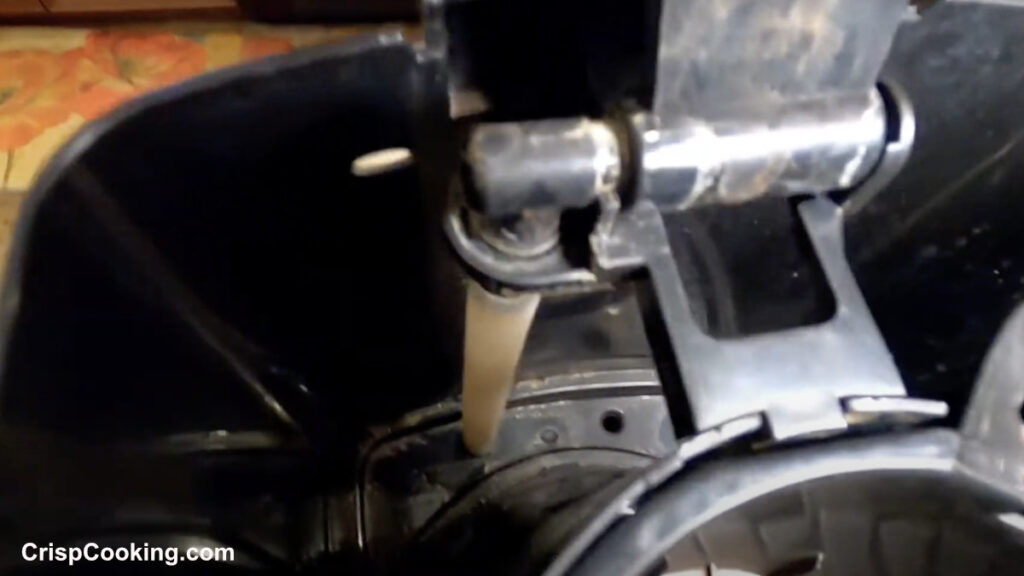
Following is the white vinegar I used but you can use any brand.

You go ahead and apply 6 cups of white vinager.
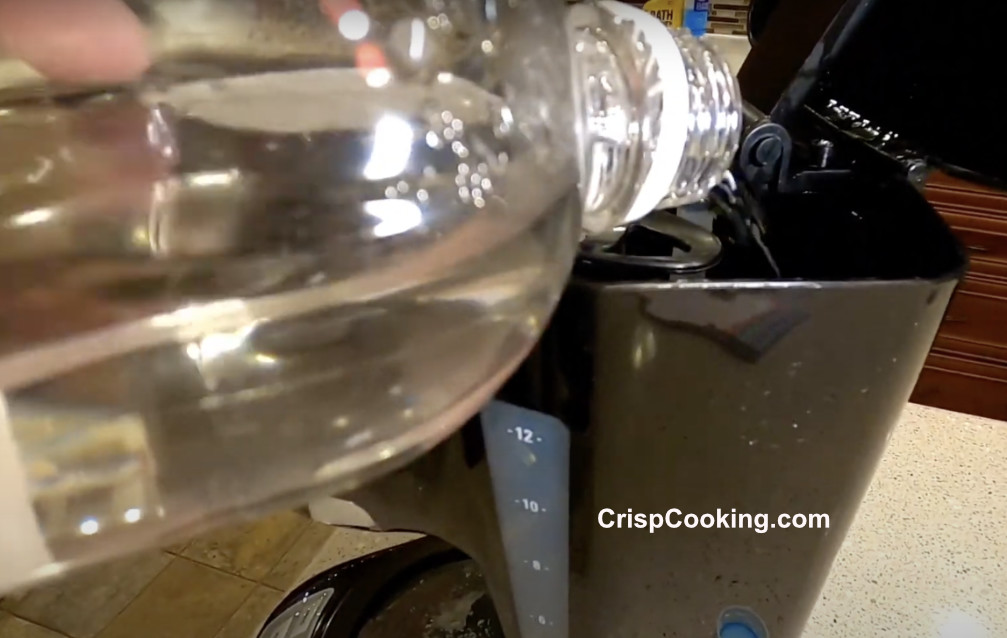
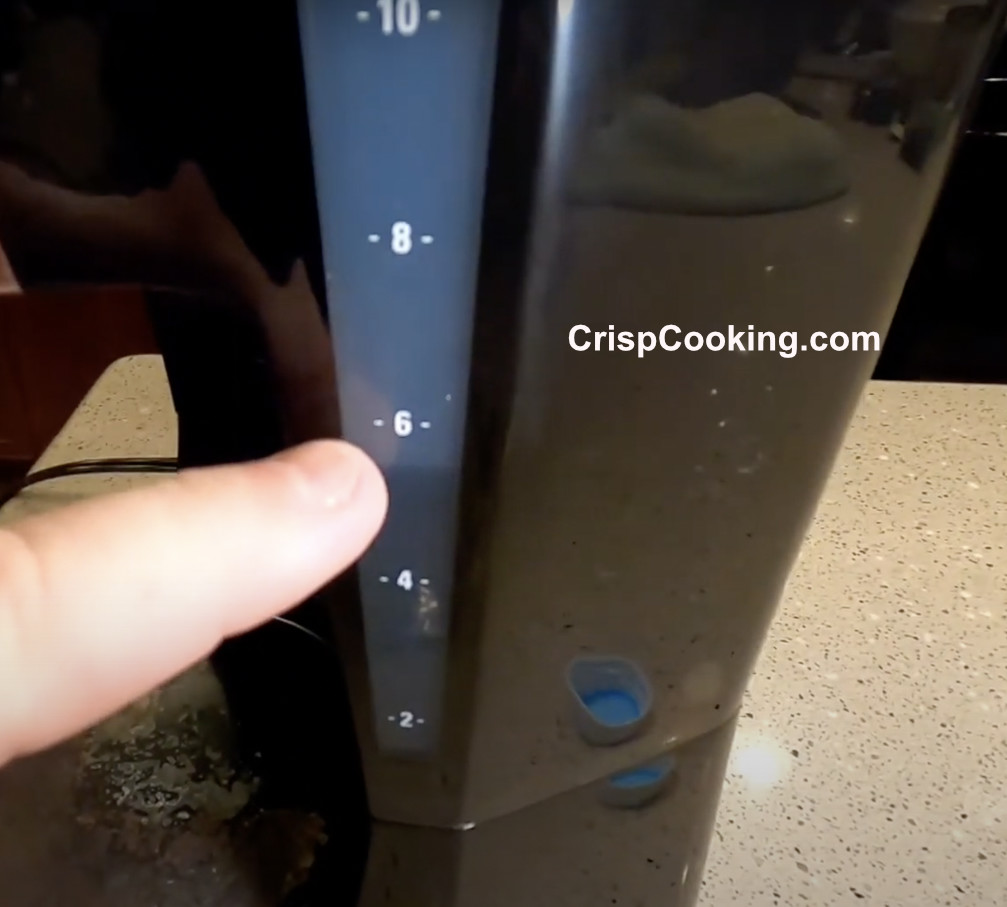
Make sure you don’t get past the 6 cup line in your Black and Decker Coffee Machine.
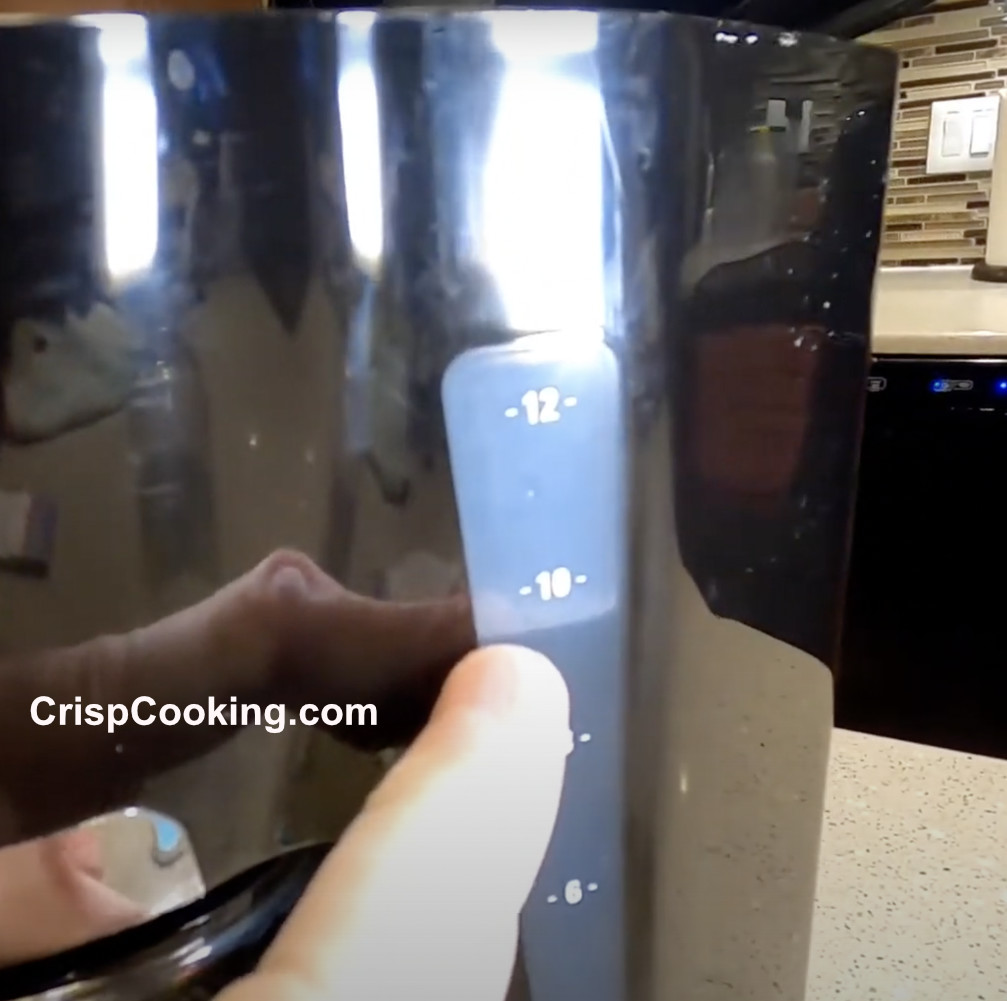
Next add some water and fill it to the 10 cup line.
Place the basket and a paper filter.
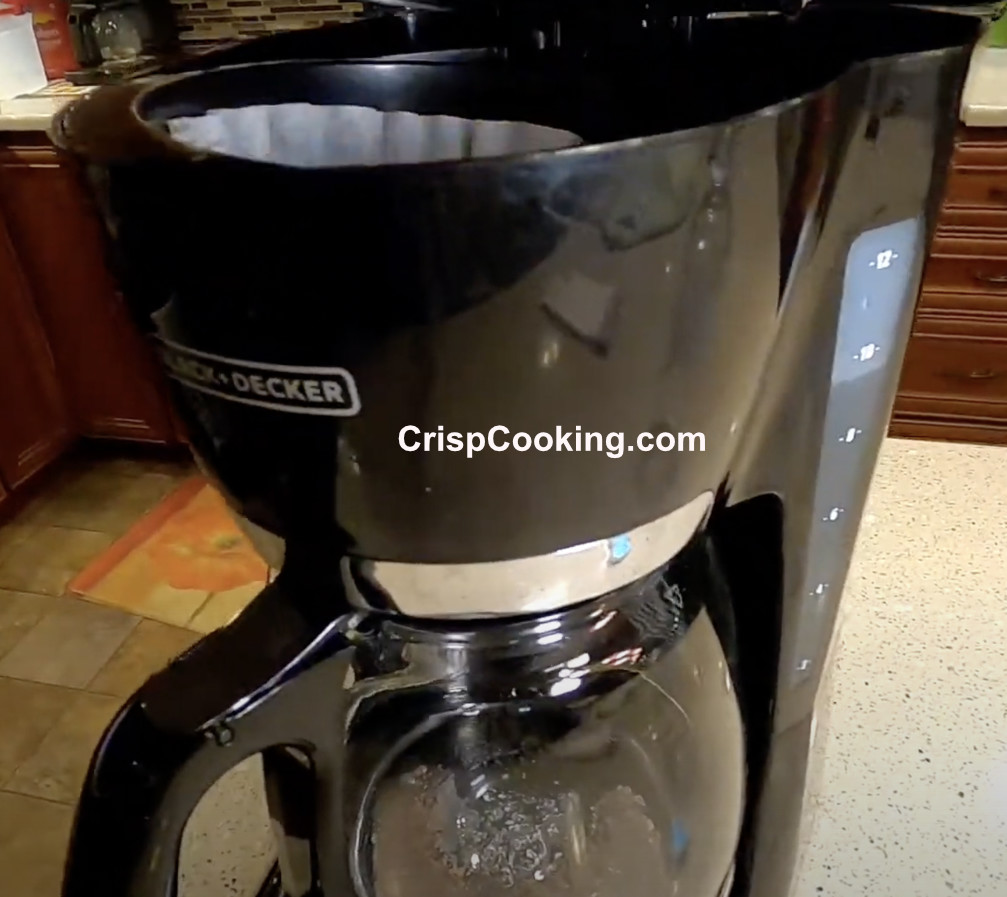
Start brewing.
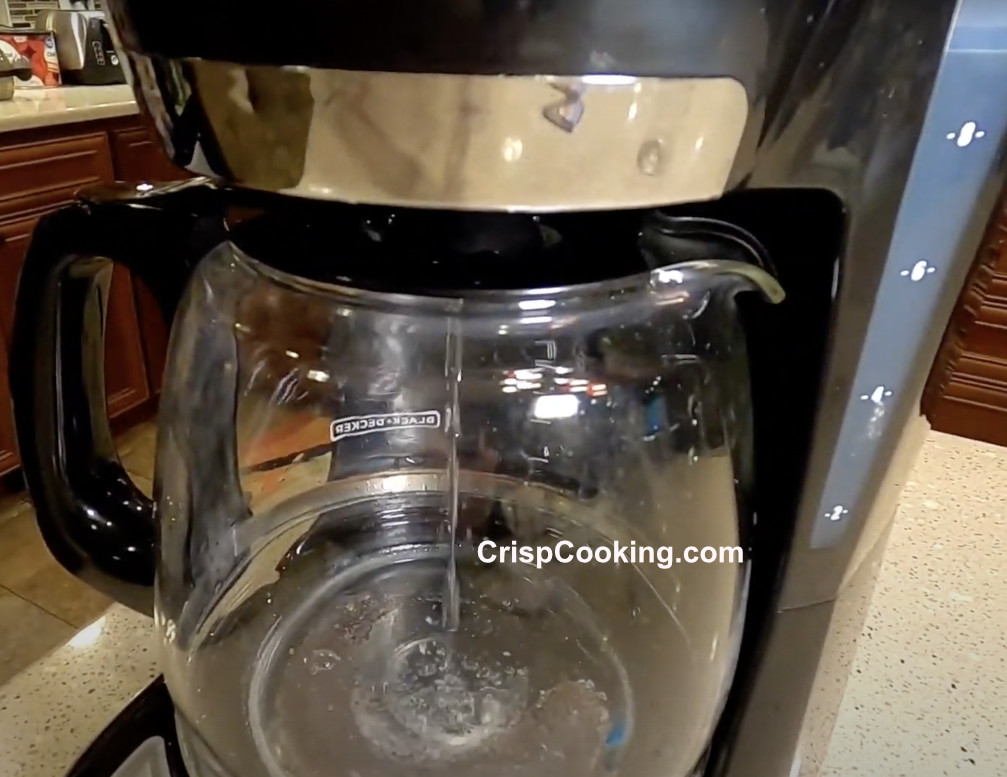
Continue checking while it brews the vinegar until it hits the 5 cup line.
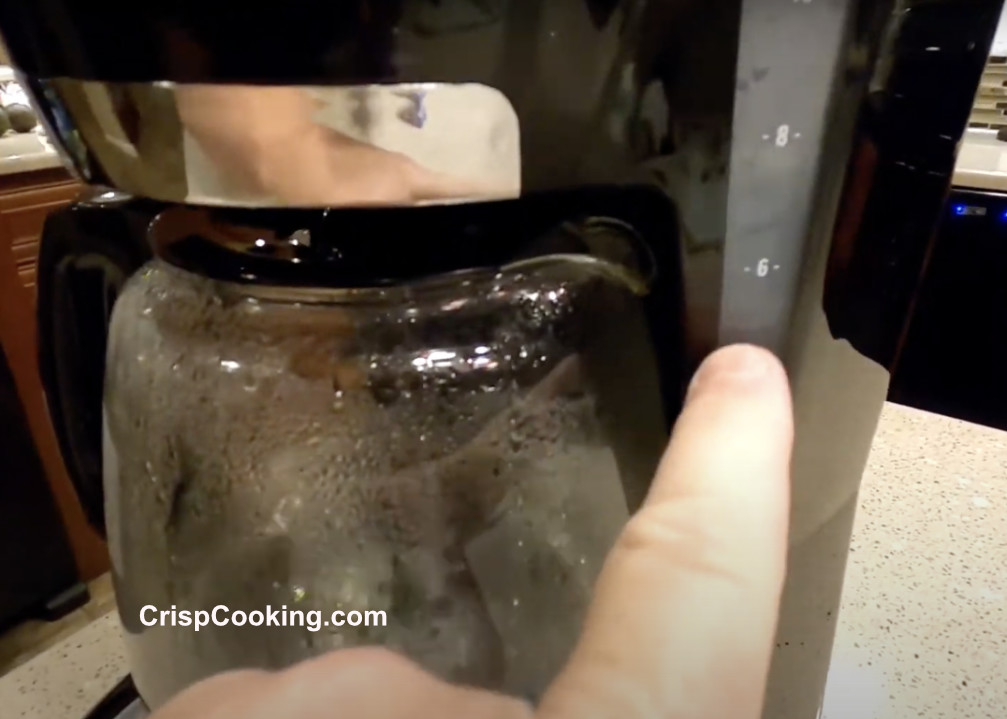
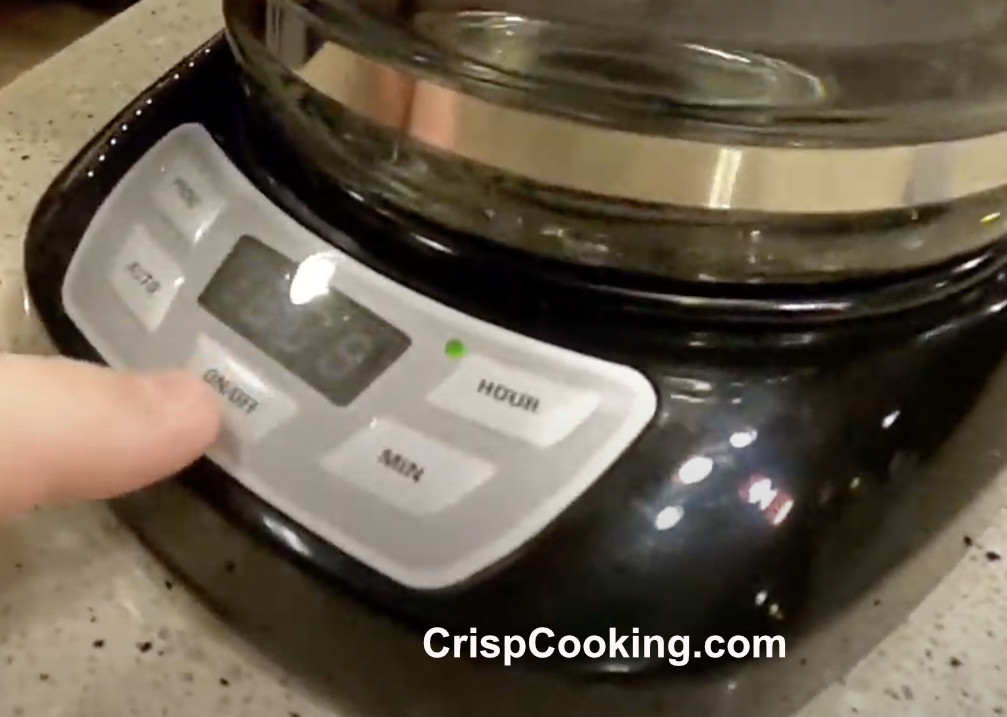
Once it hits the 5 cup line you gonna push the stop brewing button and let it sit for 15 minutes. After the 15 minutes pass turn it on again and let it brew the rest of the way.
Remove the paper filter and check for stains. Mine had some stains as you can see in the following picture.
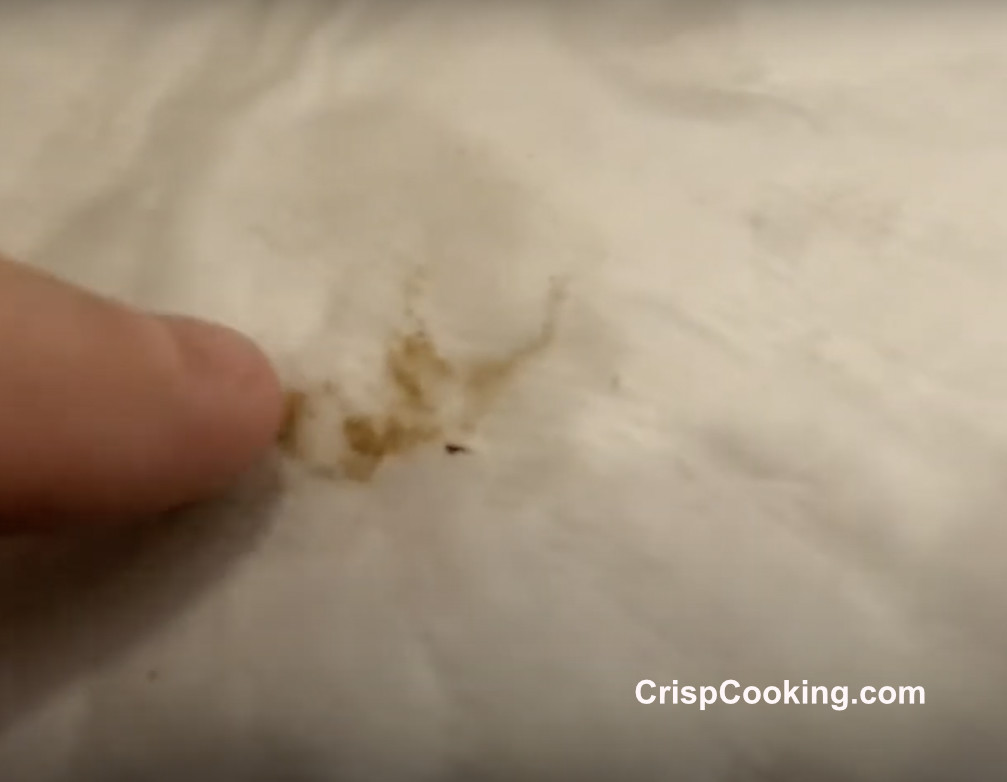
If your gets stained change the filter with a new one. Now to flush out the vinegar entirely you go ahead and fill the coffee maker with just water and run it through a couple of times. To be clear, you brew to coffee pots with just water.
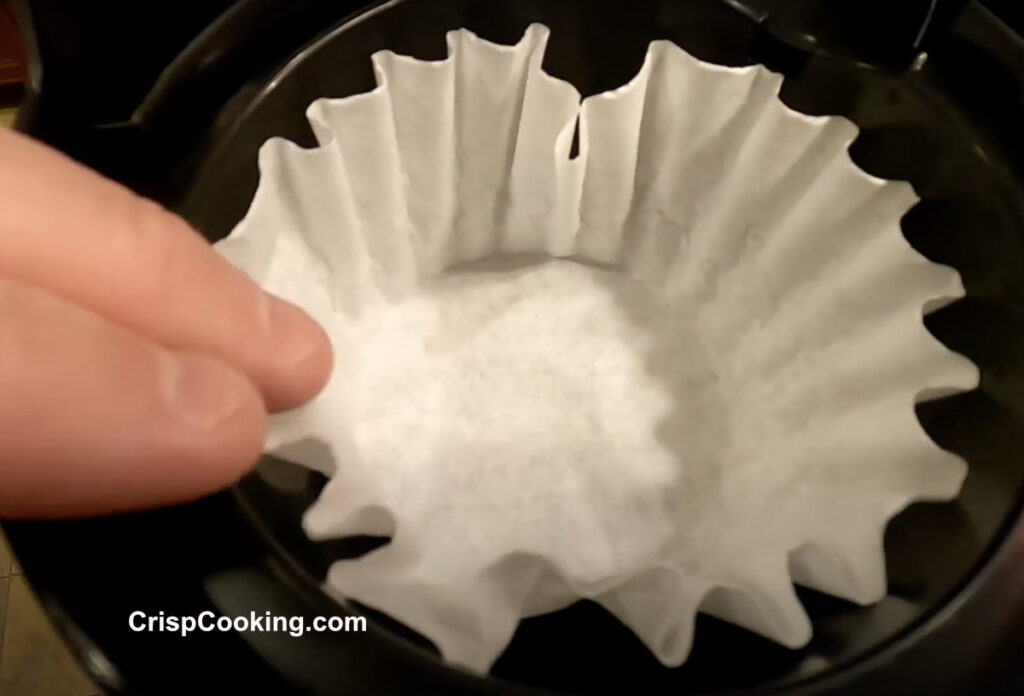
After brewing the two pots of water your Black and Decker Coffee Maker is clean and ready to brew some great cofee!
Tips and Tricks
- Always unplug your Black and Decker coffee maker before cleaning to avoid any risks of electrocution.
- Never soak the Black and Decker coffee machin main unit in water or any other liquid.
- Don’t use strong chemicals or steel sponges to clean any part of your Black and decker coffee maker. These can damage and/or scratch your machine.
FAQs on How to Clean a Black and Decker Coffee Maker
How often should I clean my Black and Decker coffee maker?
This depends on how often you use your Black and Decker coffee maker and the hardness of the water you use on the machine. If you use your coffee maker everyday and the water where you live is hard, we recommend you follow our cleaning process at least once very 3 months.
If you use your Black and Decker coffee maker every other day and/or you use filtered water, you can follow our cleaning guide twice a year to keep your machine at optimal performance.
How to descale a Black and Decker Coffee Maker?
To descale your black and decker coffee maker add 2/3 white vinegar to eh water reservoir and 1/3 of fresh water. Run a complete brew with this mix. Then to remove the vinegar flavor, just brew 2 or 3 times with just fresh water.
How do I remove tough stains from glass carafe of Black and Decker coffee maker?

You can use a special liquid cleaner for glass coffee pots like the made by Clearly. You can follow our complete step by step guide on how to clean a glass coffee pot here.
Final Thoughts
As you can see it was not much difficult to get the job done. The final result should be a brand new looking Coffee Maker. In the following picture you can see my Black and Decker Coffee Maker looking as if it was recently purchased.

Hope you got similar or better results. You should do this cleaning on a regular basis, at least once a year, so that each cleaning doesn’t become a hassle.

Hello, I am Cristy. I love cooking but what I love most is keeping my kitchen tools and appliances top notch. I enjoy writing about everything I have learned around the kitchen. I believe that keeping your kitchen tools well cleaned and maintained produces the best dishes and drinks. Besides writing and cooking I enjoy traveling, camping, hiking and music.


